A laundry room has to work when nobody is taking its picture. The washer and dryer are there, a basket needs a place to land, and the little gap between appliances is either useful or wasted. For this custom order, I made the space feel finished by giving each part a job: white X-detail cabinets overhead, a generous dark wood counter, a slim rolling cabinet between the machines, and open basket storage beneath a long shelf elsewhere in the room.
If you came here for the useful part, start with this: measure the actual appliances and the spaces around them before you draw the furniture. Decide what you need to grab during a load, choose your baskets before setting the shelf openings, and include the top and casters in the finished height. The pretty details matter, but the small clearances are what make the room pleasant to use. Below are the finished views and the workshop decisions that got us there.
First, the room as a whole
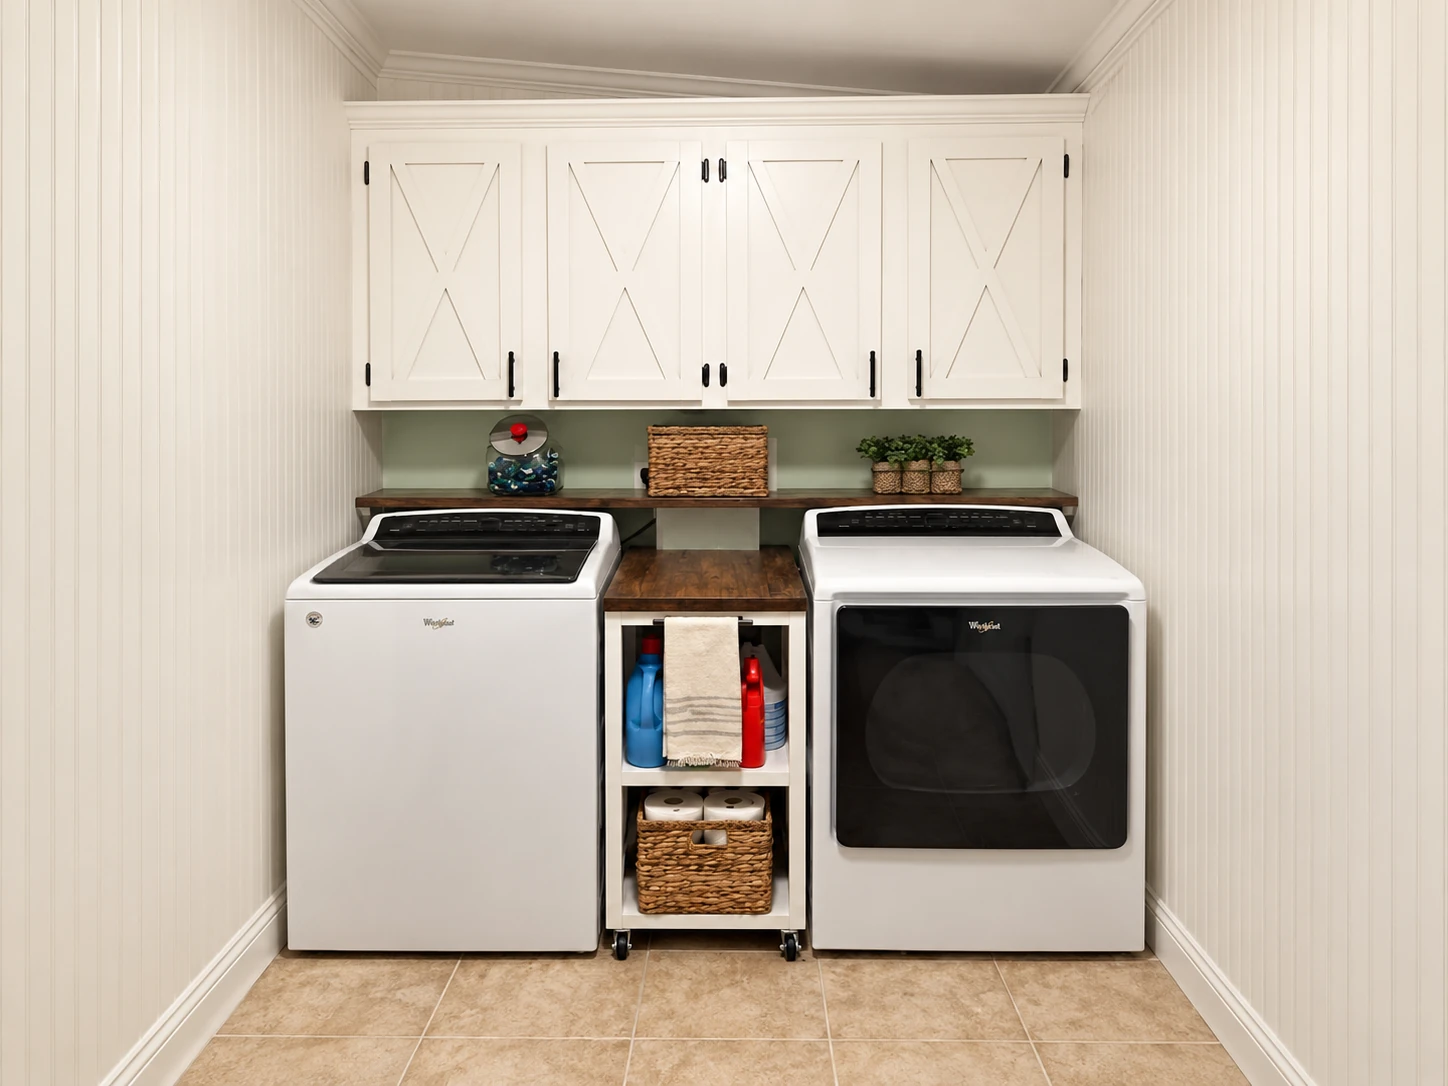
In the finished appliance-wall photo, the white upper cabinets give the wall a strong, clean shape. Their X details are visible without being busy. A dark wood counter runs below them, and a narrow open cart slips into the space between washer and dryer. Instead of an awkward empty strip, there is a place for supplies, a towel, and a basket. The counter visually connects the separate parts, so the room reads as a considered whole rather than a collection of appliances and add-ons.
The other storage area has a different rhythm: a long wood shelf above a four-cubby cabinet with a matching dark top. The open compartments make room for baskets and the kinds of things you want to lift out quickly. Together, these two views explain what I wanted the furniture to do. One side handles the machines and the tight gap; the other gives loose everyday items a place of their own. There is plenty of white to keep it bright, with wood in the places where you actually notice the grain.
I love the finished photographs, of course. But this room really began with questions that don't show in a styled picture. How wide is the gap once both machines are in place? What happens at the back of the counter? How high will the cart sit after the wheels go on? Can a hand get around a basket handle? Working through those questions is how a custom piece earns the word custom.
The sketch that made the questions visible
My first drawing was not a perfect rendering. It was pencil on a notebook page set over boards in the workshop: a few front and side views, an X on the cabinet side, shelves, a top, and wheels. I like keeping sketches like this because they show where the useful decisions began. A line can be changed on paper in a second. It is much nicer to notice a crowded shelf opening there than after everything is painted.
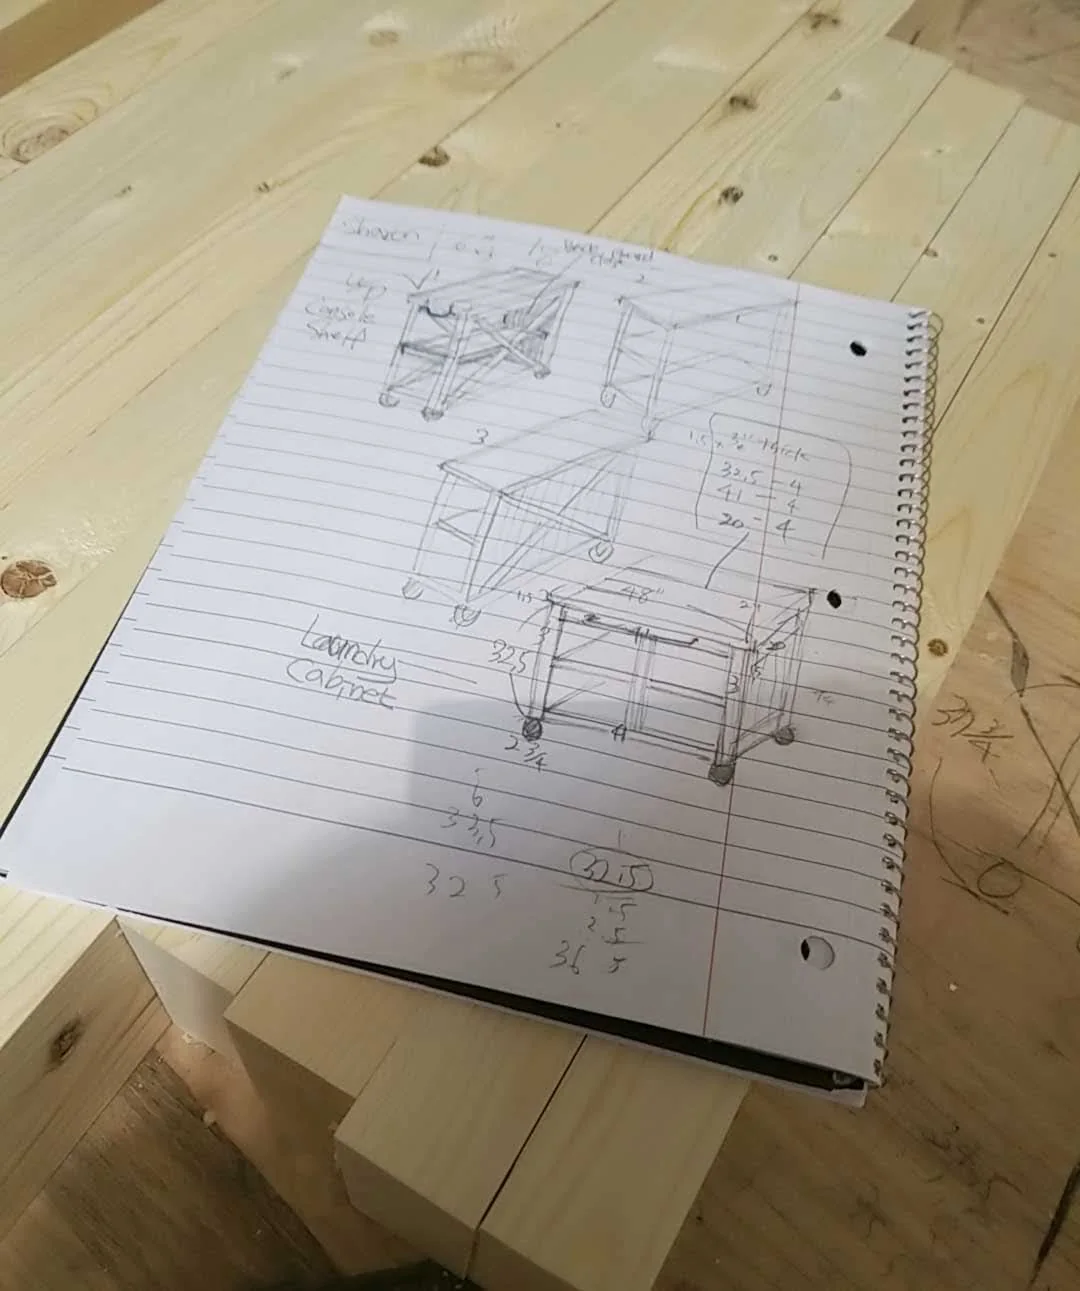
When I sketch storage, I try to draw the objects that will live inside it, even if they are only rough rectangles. A basket isn't just its published width: it needs room to slide, space for your fingers, and enough height to lift it out without scraping the shelf above. I also draw where the cabinet will live. Beside a wall is different from between appliances. A pretty cabinet can still be the wrong answer if a machine door or a nearby drawer cannot open comfortably.
For a room like this, I would make a little list before cutting anything: appliance widths and depth, the smallest point in the gap, the height you want for the counter, the thickness of that top, and the height added by the casters. Check the floor too. Walls and machines do not always line up the way a sketch suggests. Measurements are a starting point; a test fit tells you what is really happening.
A narrow space deserves a real piece of furniture
The unfinished cabinet between the washer and dryer is one of the most useful photos in this story. You can see the raw wood, the open front, two shelves, and the bracing on its sides. There is nowhere for a finish to hide the proportions. The width is dictated by the appliances, so the cabinet has to make every bit of that small footprint count without becoming hard to pull out or use.
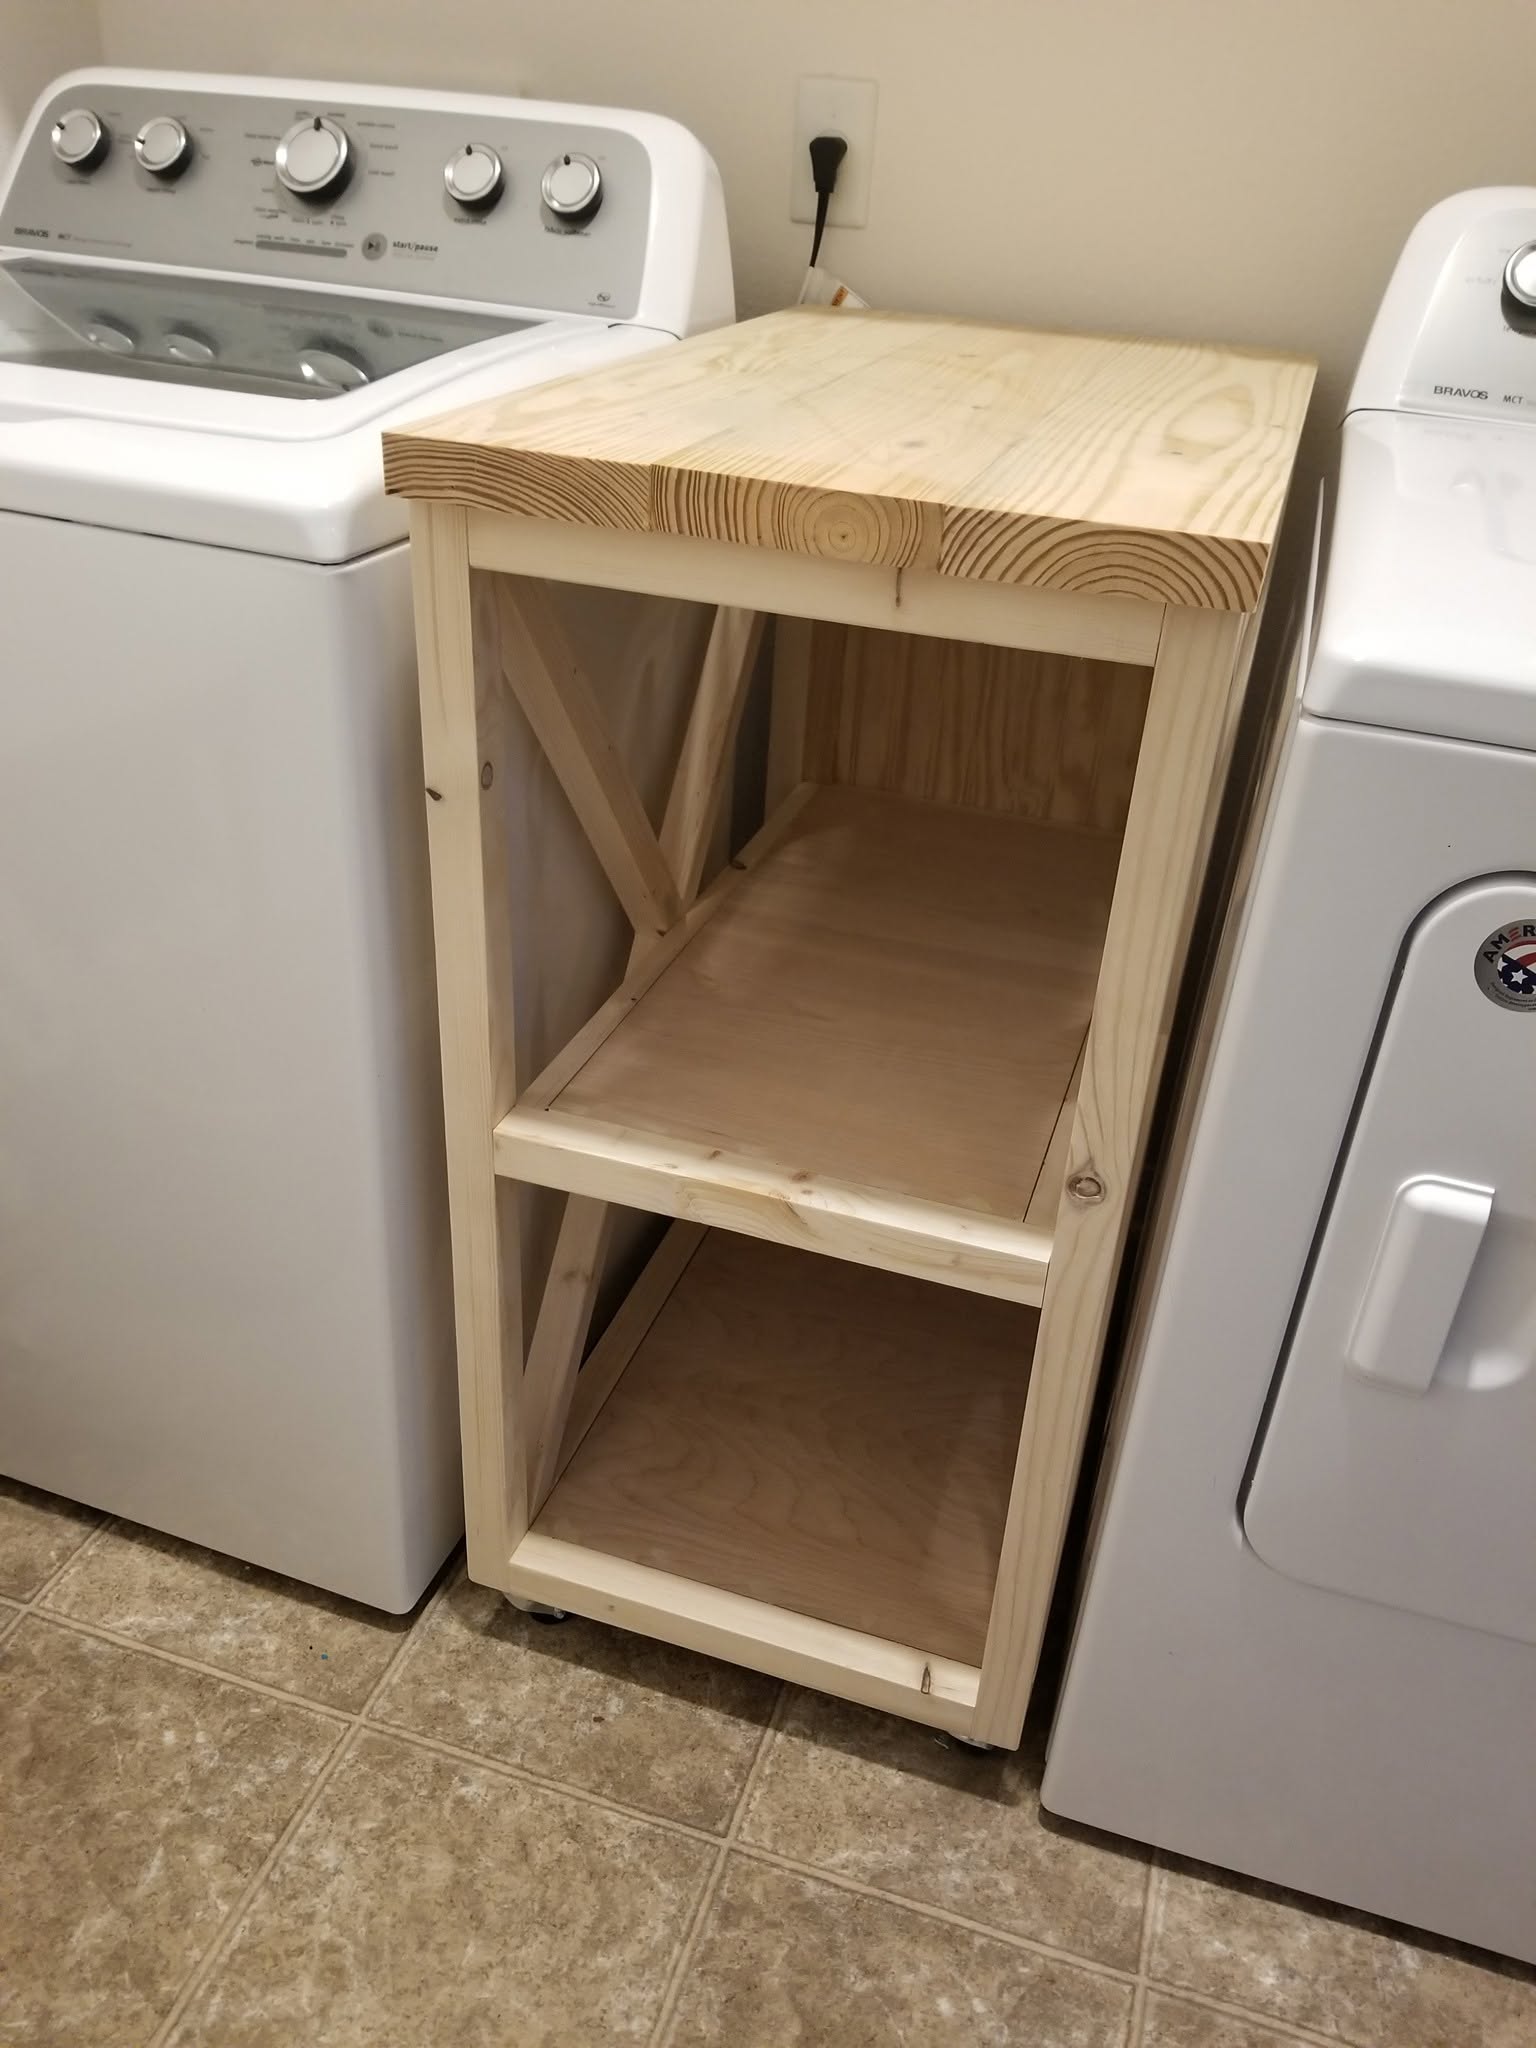
I chose open shelves for a reason. In a tight position, a door would need swing space and another motion every time someone reached for detergent or a towel. Open storage lets the useful things show themselves. A basket can contain the smaller bottles and odds and ends, while an empty bit of shelf makes it easier to put something down in a hurry. The X on the side gives the cart a farmhouse line and leaves the frame feeling light.
Casters are a small part with an outsized effect. They let a narrow piece pull forward for cleaning or access instead of becoming a permanent trap between two machines. They also change the height, so they belong in the first set of measurements. If you're planning a similar cabinet, decide whether the wheels will actually clear the floor and whether you can still reach the front of the piece when it is loaded. A rolling cart should be easier to use because it rolls.
The photo of the custom pieces together before installation shows how much of this order had to be considered as a group. White frames and doors, stained tops, and the open storage piece all had separate shapes, but they needed to land in the same room comfortably. This is the stage when I keep looking from part to part. I want the wood surfaces to relate, the painted pieces to feel intentional, and the practical openings to remain practical after everything is assembled.
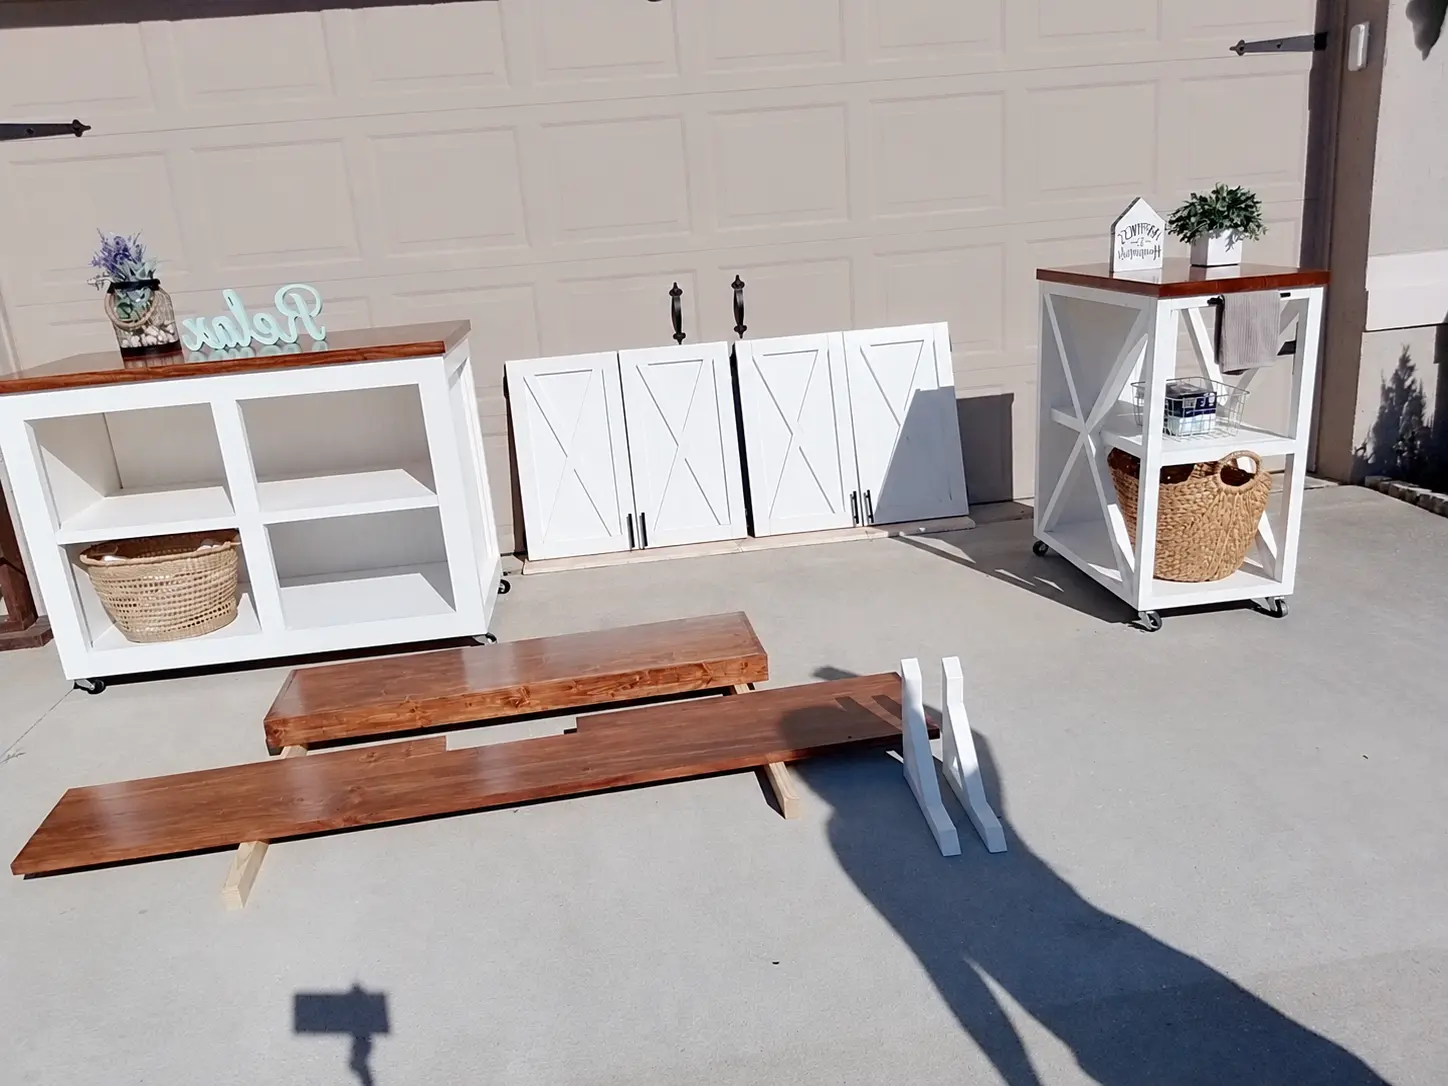
And yes, when every piece finally fit exactly where it needed to, I laughed. That is a very satisfying moment after the measuring, sketching, building, and checking. The fitting doesn't happen by magic; the finished room just makes all those little decisions look easy.
The counter, the upper cabinets and the dark line of wood
The large wood counter is the visual bridge on the appliance wall. It gives baskets and folded laundry a landing place, and it brings warmth between the white cabinets above and the white machines below. I like that the wood isn't trying to cover the room. Its strong horizontal line is enough. The darker finish also makes the white X-door fronts and black hardware feel crisp.
Before choosing a counter height for your own room, check the appliances you actually own and how you use them. Think about lids, doors, controls, plugs, and access behind the machines. A continuous-looking surface is lovely, but it should never make servicing an appliance or doing a load harder. The same goes for upper cabinetry: keep what you reach for most where you can reach it, and let the closed cabinets take the things that do not need to stay in sight.
What draws me to the upper doors is that they carry a distinct detail without competing with the counter. The X is a simple line you can read across the room. The white paint lets the whole wall stay bright. I come back to this combination often in my furniture: the frame feels fresh, the wood has a chance to be wood, and a little dark hardware sharpens the outline. You get personality without asking the laundry supplies to become decoration.
A second wall for baskets and breathing room
On the other side of the storage story, the long shelf and open cabinet solve a different problem. They make use of a wall without closing every inch of it. In the in-progress photo, the shelf is still being positioned against the pale wall. That image is a reminder to step back before filling a space. The distance between the shelf and what sits below it is part of the design, and it is part of how comfortably the room will work.
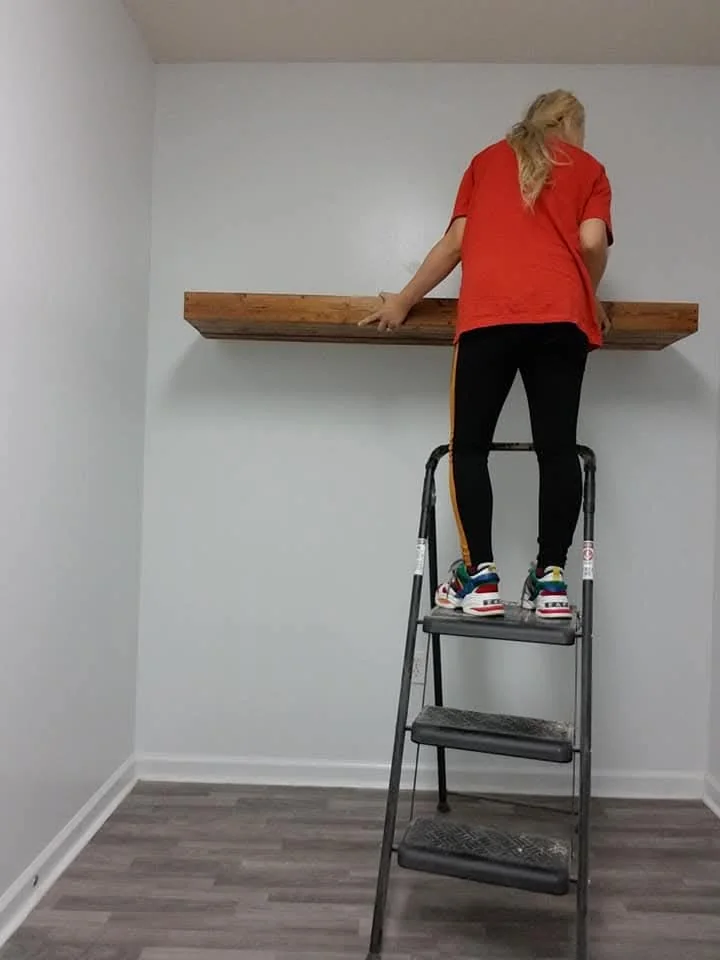
The finished four-cubby cabinet below has a dark top and a white frame. Woven baskets fit the open sections, with room for smaller containers where they make sense. The upper shelf repeats the wood at a different height and leaves a clear area between the two. It is a straightforward composition, but it changes the feeling of a working room: items have a destination, and the wall still has breathing room.
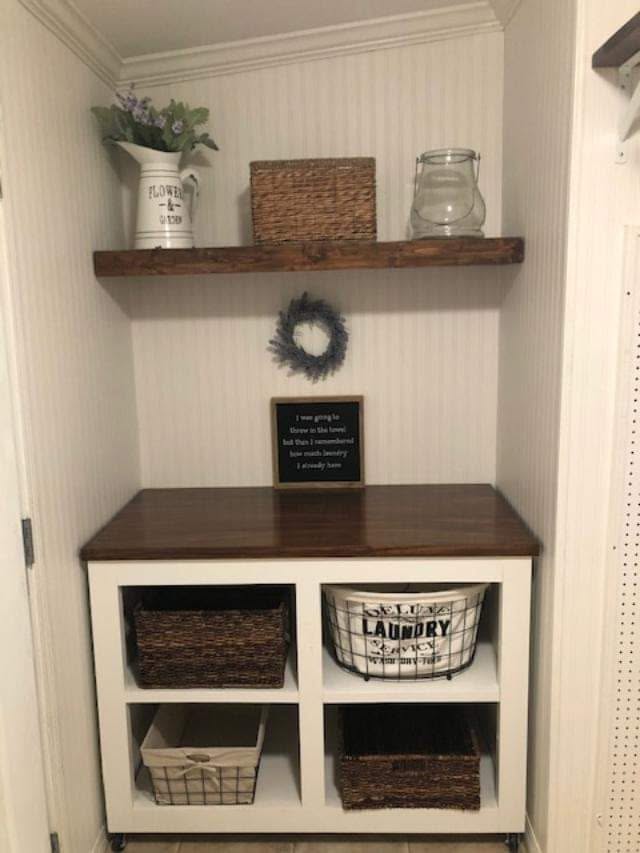
If you are making something like this, choose the baskets before deciding the final openings. Measure their widest point, including handles or a soft rim that spreads outward. Leave room to reach in and pull them out. Give larger, heavier things the lower compartments. Keep the items you grab every load at the easiest height. The shelf above can carry lighter things or a few details that make you smile, but it doesn't need to become the answer to every storage problem.
There is a useful difference between open and closed storage in this room. The upper doors can hide backup supplies and visual clutter. The cubbies and rolling cart can hold the baskets that move with daily life. The long shelf gives the wood itself room to be seen. I didn't want three pieces all doing the same job; the room feels better when each one answers a different need.
The wider rolling cabinet, up close
One more workshop view shows the rolling cabinet as furniture on its own. Away from the machines, the X-braced side is easy to see. The stained wood top has presence, the white frame stays open, a slim black towel bar gives a cloth a place to hang, and baskets can live on the shelves. It is the sort of small piece that can be understood at a glance: set something down, pull out what you need, move it when the room asks you to.
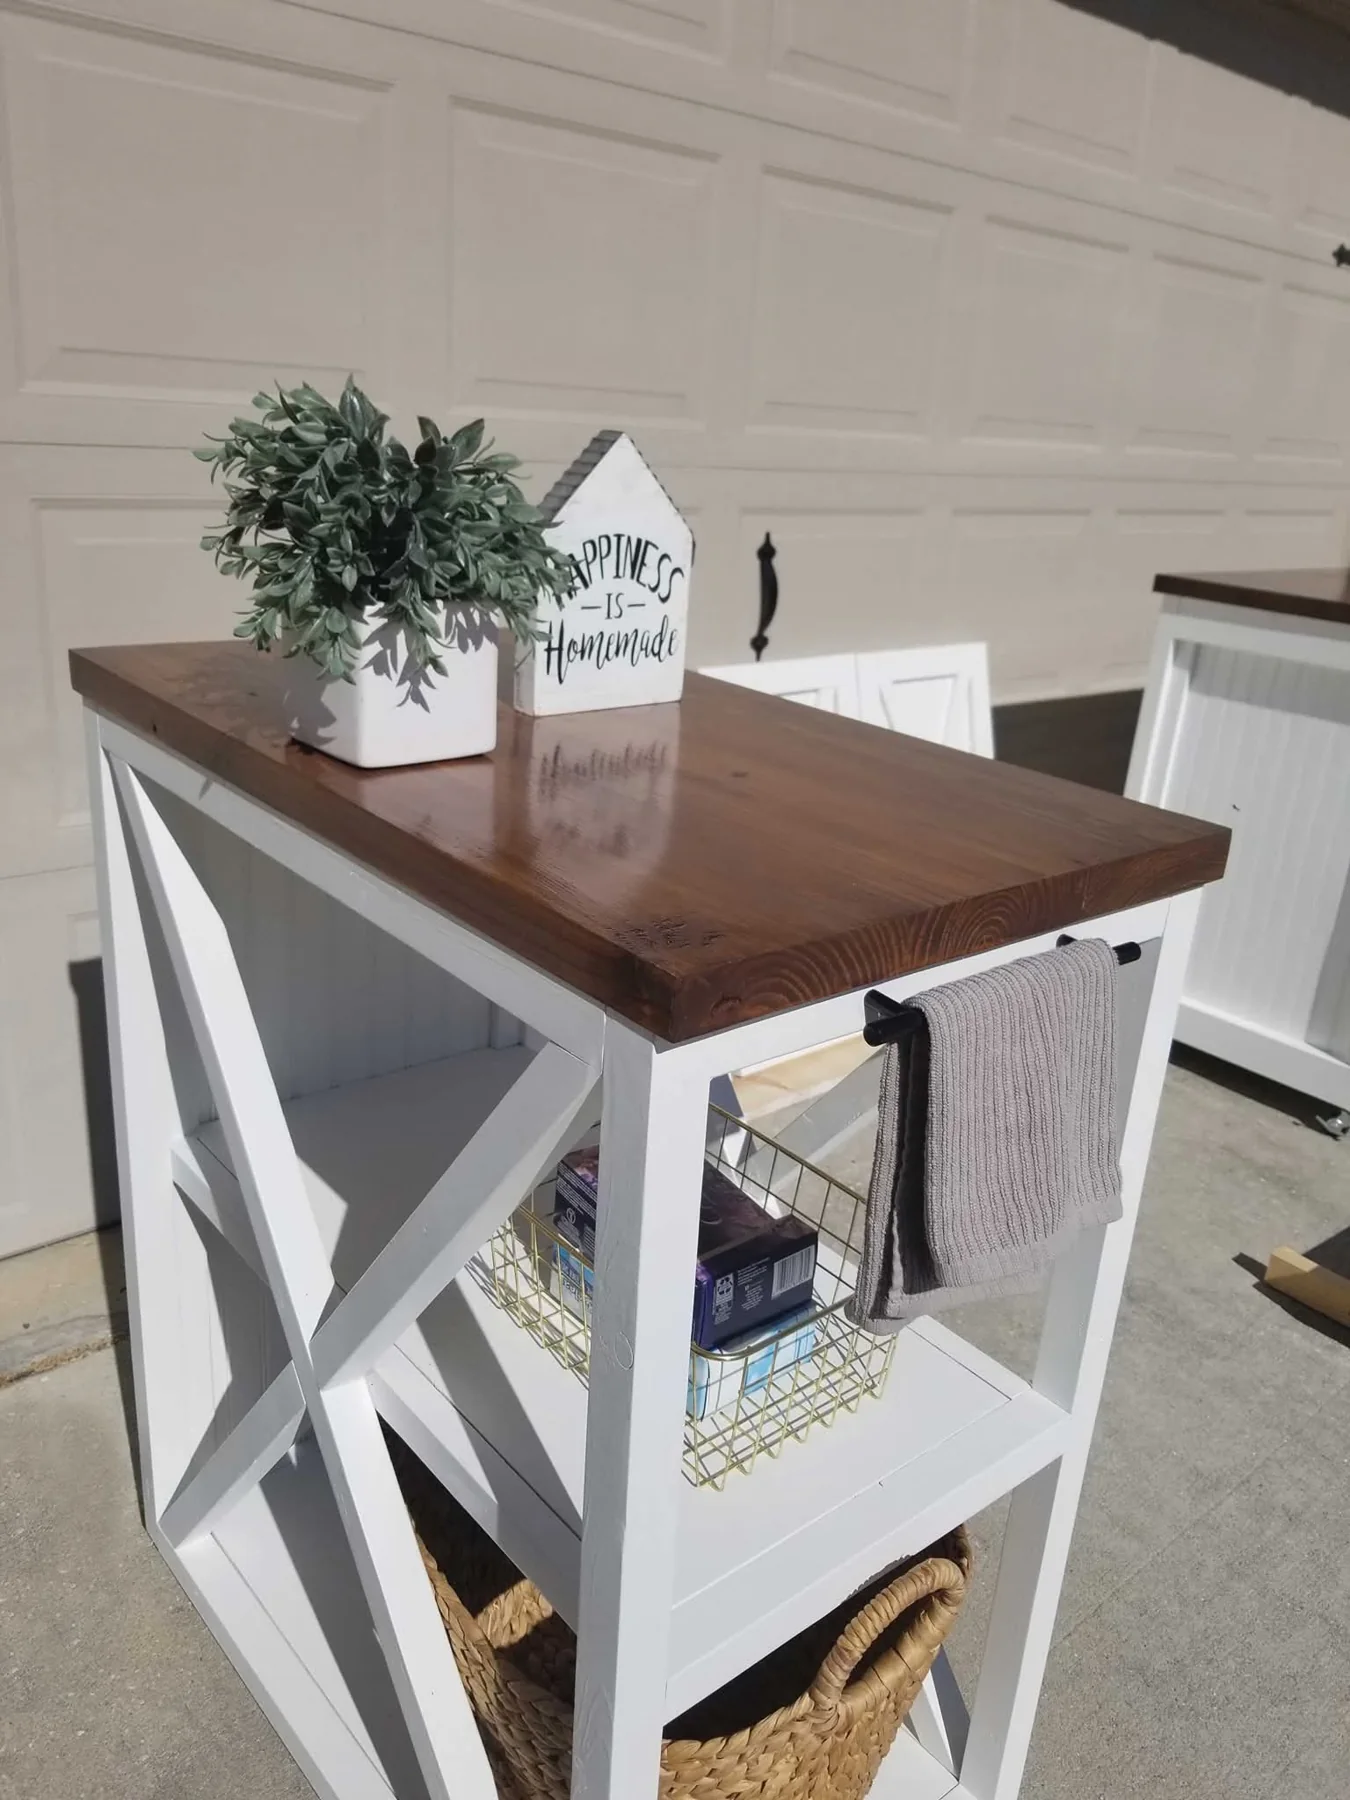
I like photographing a piece before it is surrounded by everything else because you can see why I made the side open and why the top is substantial. The X isn't only a farmhouse flourish; it gives the cabinet a recognizable silhouette without turning the side into a solid wall. The baskets bring a softer texture to all those straight wooden lines. And the wheels make the piece feel ready to work instead of fixed in place for a photograph.
The narrow unit between machines and the wider X-braced cabinet show the same idea at different scales. Start with what a particular space needs, then give the useful shape its own character. You don't have to force one cabinet size into every spot just because the finishes are related. A room often needs several kinds of storage to feel easy.
What I would check before building a laundry room like this
I would start at the appliance wall. Measure with the machines in place if you can, and make a note of the controls, doors, hoses, outlets, and any access you need to keep. Take the gap measurement at more than one point. Decide where a basket will land while laundry is happening, not just where it will look best when the room is tidy.
Next I would choose what stays out in the open. Put actual baskets beside the drawing. Think about their handles, their weight when full, and whether the people using the room will want to pull them forward or lift them. If there is a rolling piece, include the caster height and check whether there is enough space to grasp and move it. If there is a long shelf, check the reach and the clearance below it before styling the top.
Only then would I settle the visual details. A white frame with a dark top is one way to keep the room bright and grounded, but the useful proportions come first. I like repeating the wood at counter and shelf height and using black hardware sparingly. I leave some space between the things on display so the grain, X details, and baskets can each be seen. You can change a plant or a sign later; changing a cabinet opening is much more work.
The lesson from this order is not that every laundry room needs the same cabinets. It is that a working room becomes more welcoming when the pieces answer its real dimensions and real routines. A narrow gap can become storage. An empty wall can hold a shelf and a cabinet without becoming crowded. The necessary chores stay necessary, but the room can meet you with a little more ease and a little more joy.
Note
Draw the rough version first, then measure the things that have to fit inside and around it. Give baskets a little room, count the wheels in the height, and look at the whole room before you decide where the pretty details go. My favorite part of this custom build was seeing those separate pieces land exactly where they belonged—haha. That feeling is worth the extra time with a pencil and a tape measure.
Joy