You don’t need a wall of tools to start. Learn how to mark, drill, and fasten with the few things in front of you. Here are five small skills I would practice before a bigger furniture project.
In my workshop, I still begin with the basics in this guide.
JOY’S WORKBENCH BASICS
The bits I keep reaching for
When I started building, I tried all kinds of bits and fasteners. The pocket-hole jig helped me learn the joint. Later, a slim spade bit and a thin pilot bit became the basics I reached for and replaced most often.
3/8″ stepped jig bitMy starting teacher: it works inside the pocket-hole jig to make the angled pocket and screw path.
Slim 3/8″ spade bitAfter I learned the joint, I practiced shaping a hidden angled pocket by hand on clamped scrap.
1/16″ twist bitMy small starting path before some screws and hardware. I check the final pilot or clearance size against the actual fastener.
The stepped jig bit and slim spade bit do different jobs. Match the screw, bit, wood thickness, and final hole size to your project.
FIVE SKILLS TO KEEP
Start small Make something useful
Take a scrap board and repeat these moves before the finished piece is on your workbench.
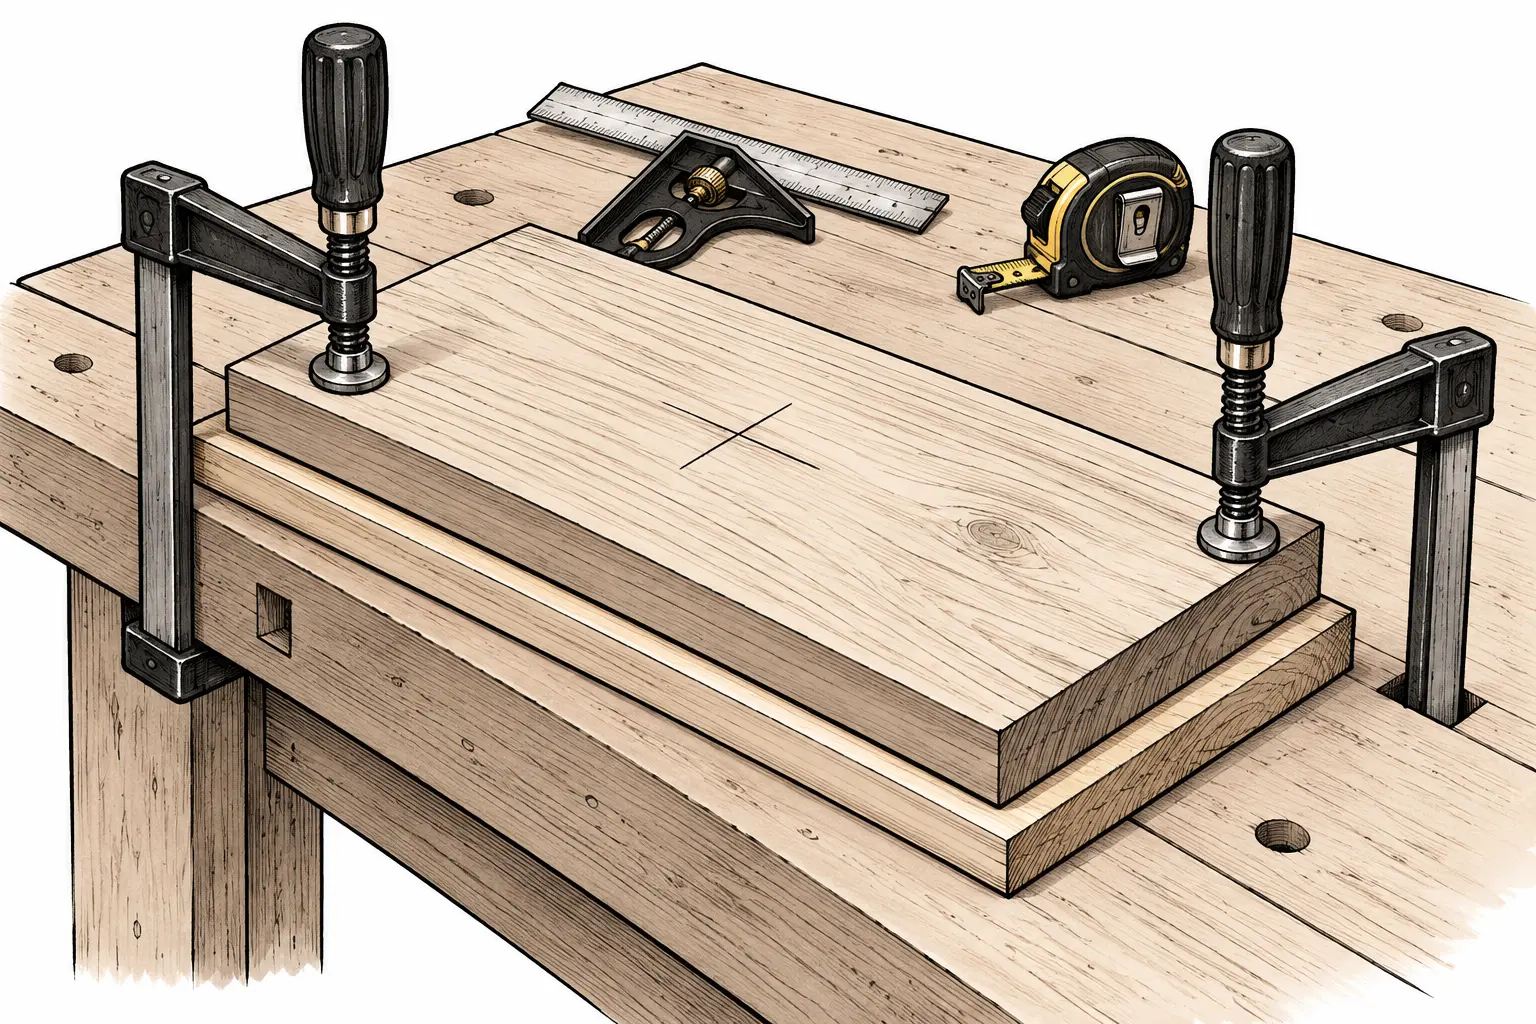
01Tape measure · pencil · square · clamps
Mark the center. Clamp the board. Support the exit side.
Mark the hole before you touch the trigger
A straight hole starts before the drill is turned on.
Measure twice, mark the center, and look at the board from the side. Is there enough wood around the hole?
Clamp the workpiece to a stable surface. Put a scrap board underneath if the bit will come through the back.
Place the bit on the mark before starting slowly. Keep your eyes on the bit and the wood, not just on the drill body.
NOTETry the whole sequence on an offcut first. It is the easiest way to see where the bit exits and whether your mark is in the right place.
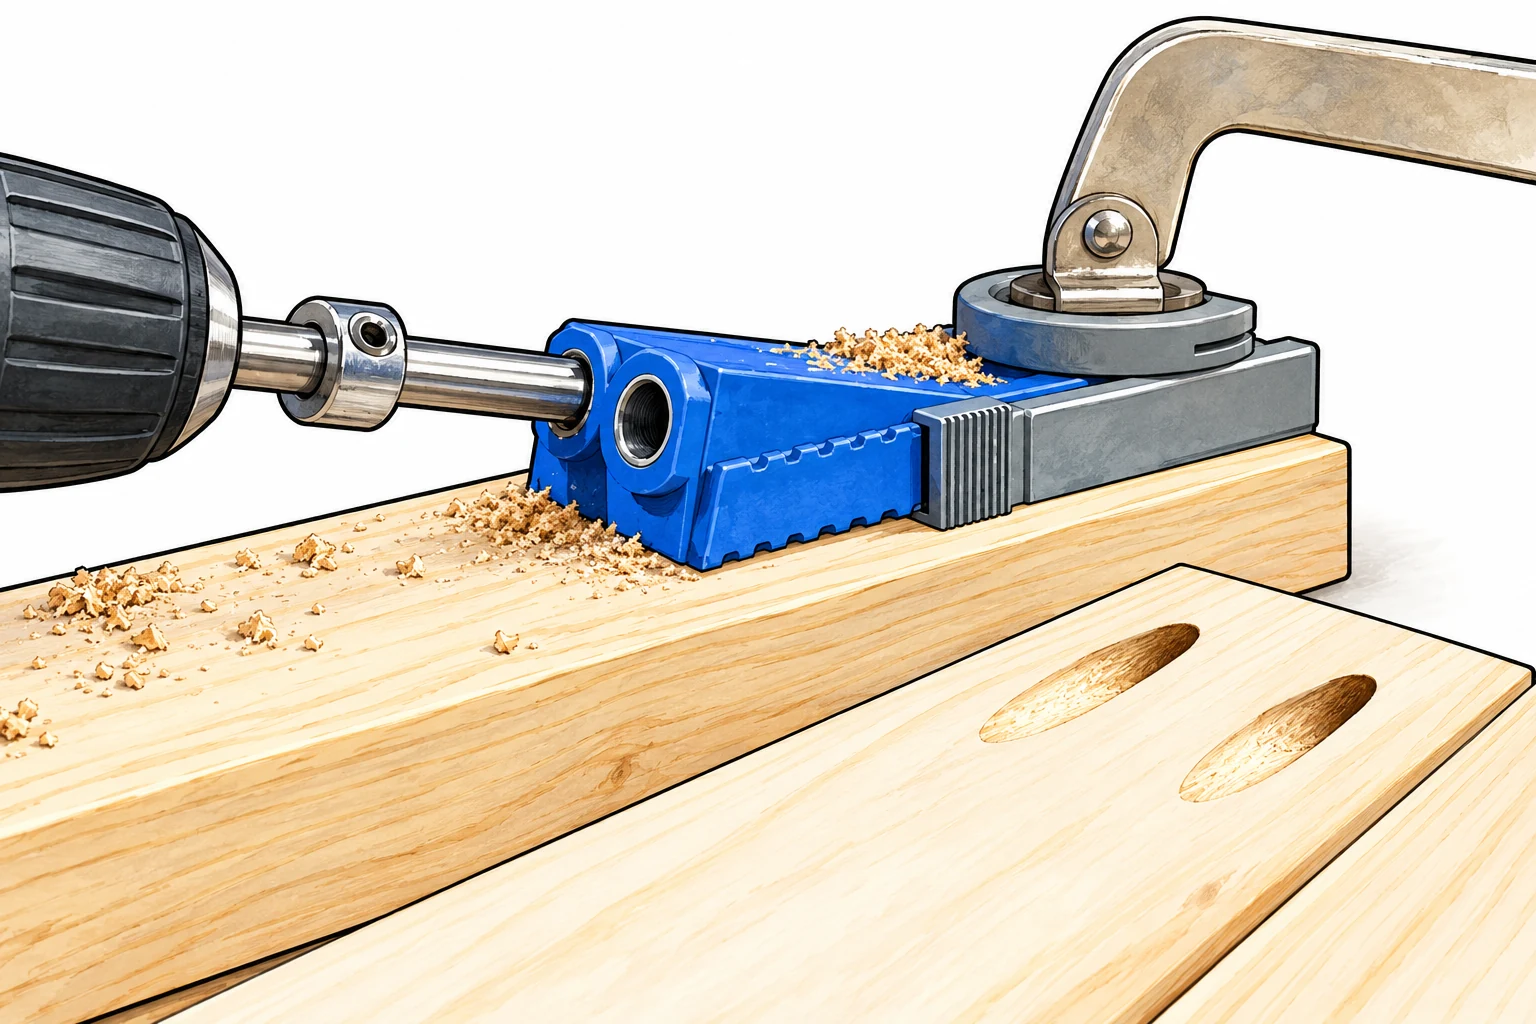
The jig guided my first angled pockets while I learned how the boards join.
First, learn the joint with a jig
When I first made furniture, this jig taught me where an angled pocket goes and how two boards come together. Once this joint made sense, frames, tables, and cabinets felt possible.
Measure the actual board thickness. Set the jig and its bit stop collar for that thickness, then clamp the board firmly with the pockets on a face you can hide.
Use the jig’s stepped pocket-hole bit in its guide. The guide fixes the drilling angle and the bit makes both the pocket and screw path. Stop as the collar reaches the guide.
Clamp the mating boards flush and use pocket-hole screws of the right length. Practice on scrap until the faces meet squarely and stay aligned.
NOTEThis was my woodworking “aha.” The jig is a helpful teacher for the joining geometry; its stepped bit is a different tool from the slim spade bit I use later by hand.
03Slim 3/8″ spade bit · clamp · scrap board
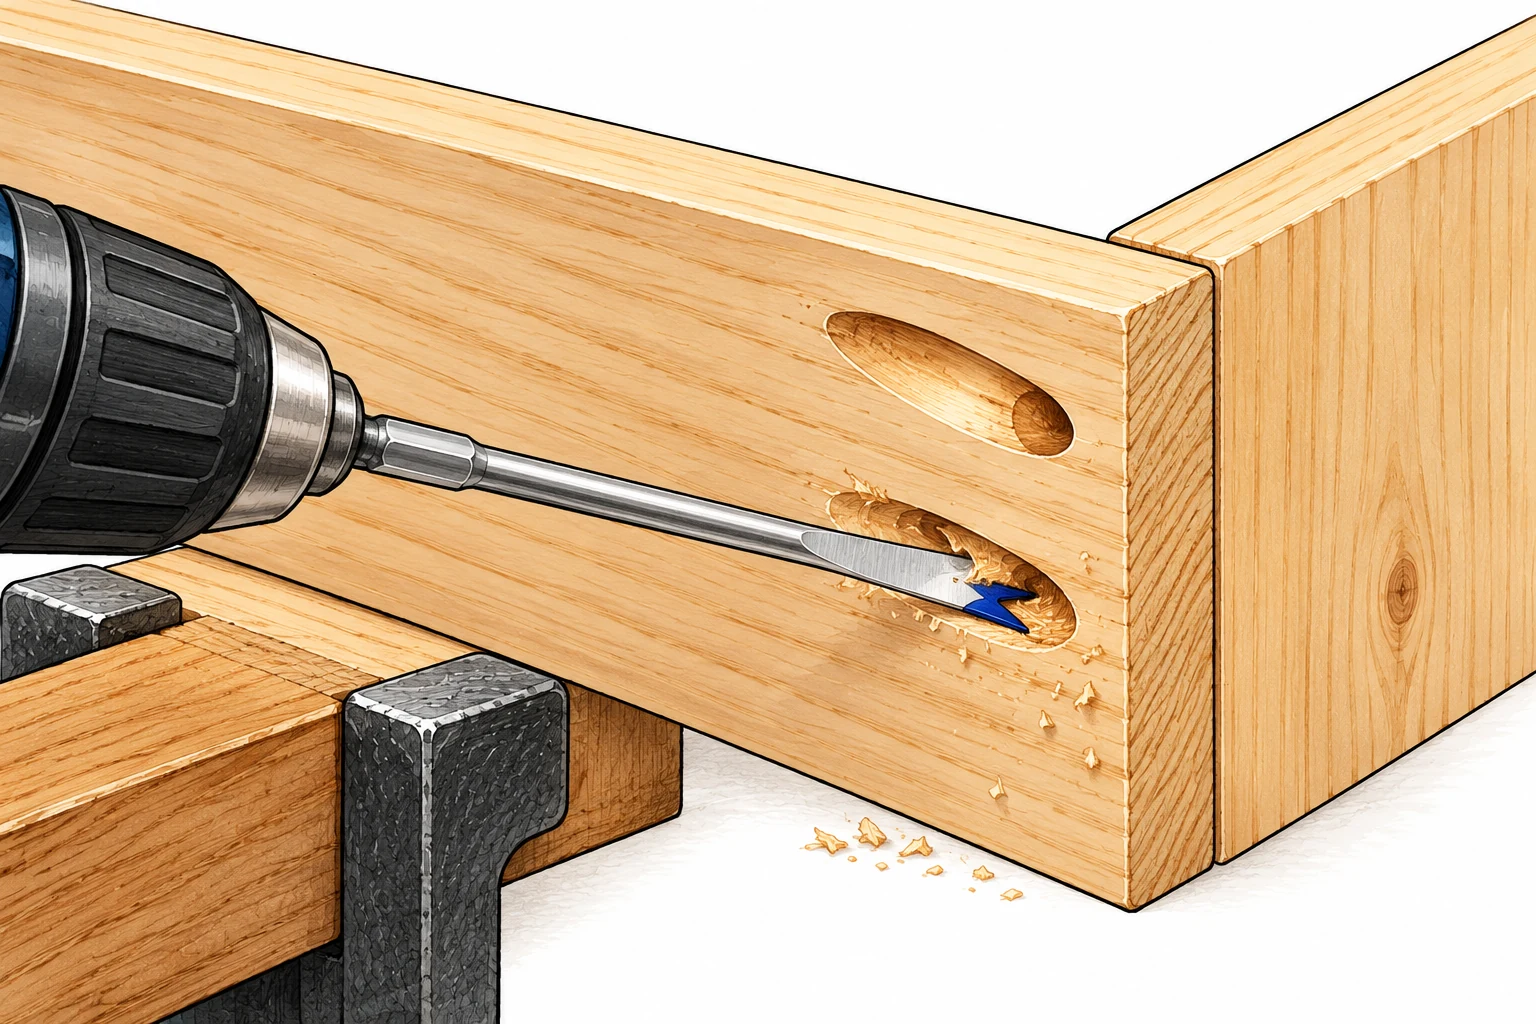
After learning with the jig, I practiced shaping the hidden pocket with my slim spade bit.
Then practice an angled pocket by hand
After the jig made the joint familiar, I practiced making the angled pocket myself with a slim 3/8″ spade bit. That repeated motion became one of the basics I use and replace most often.
Mark the hidden face and the direction of the screw. Clamp an offcut securely and check that the wood is thick enough around the pocket.
With the slim spade bit, start gently and shape the angled recess on scrap. Check its position and depth against the mating board before trying the finished piece.
Dry-fit the two boards. The spade bit shapes the recess; the thin pilot bit in the next step makes the screw path. Keep practicing until the joint sits where you intended.
NOTEThis is the hand-worked method I use after learning the jig. A flat spade bit is not the stepped bit supplied with a pocket-hole jig, and there is no universal angle or depth for every board.
041/16″ twist bit · drill/driver · matching star bit and screw
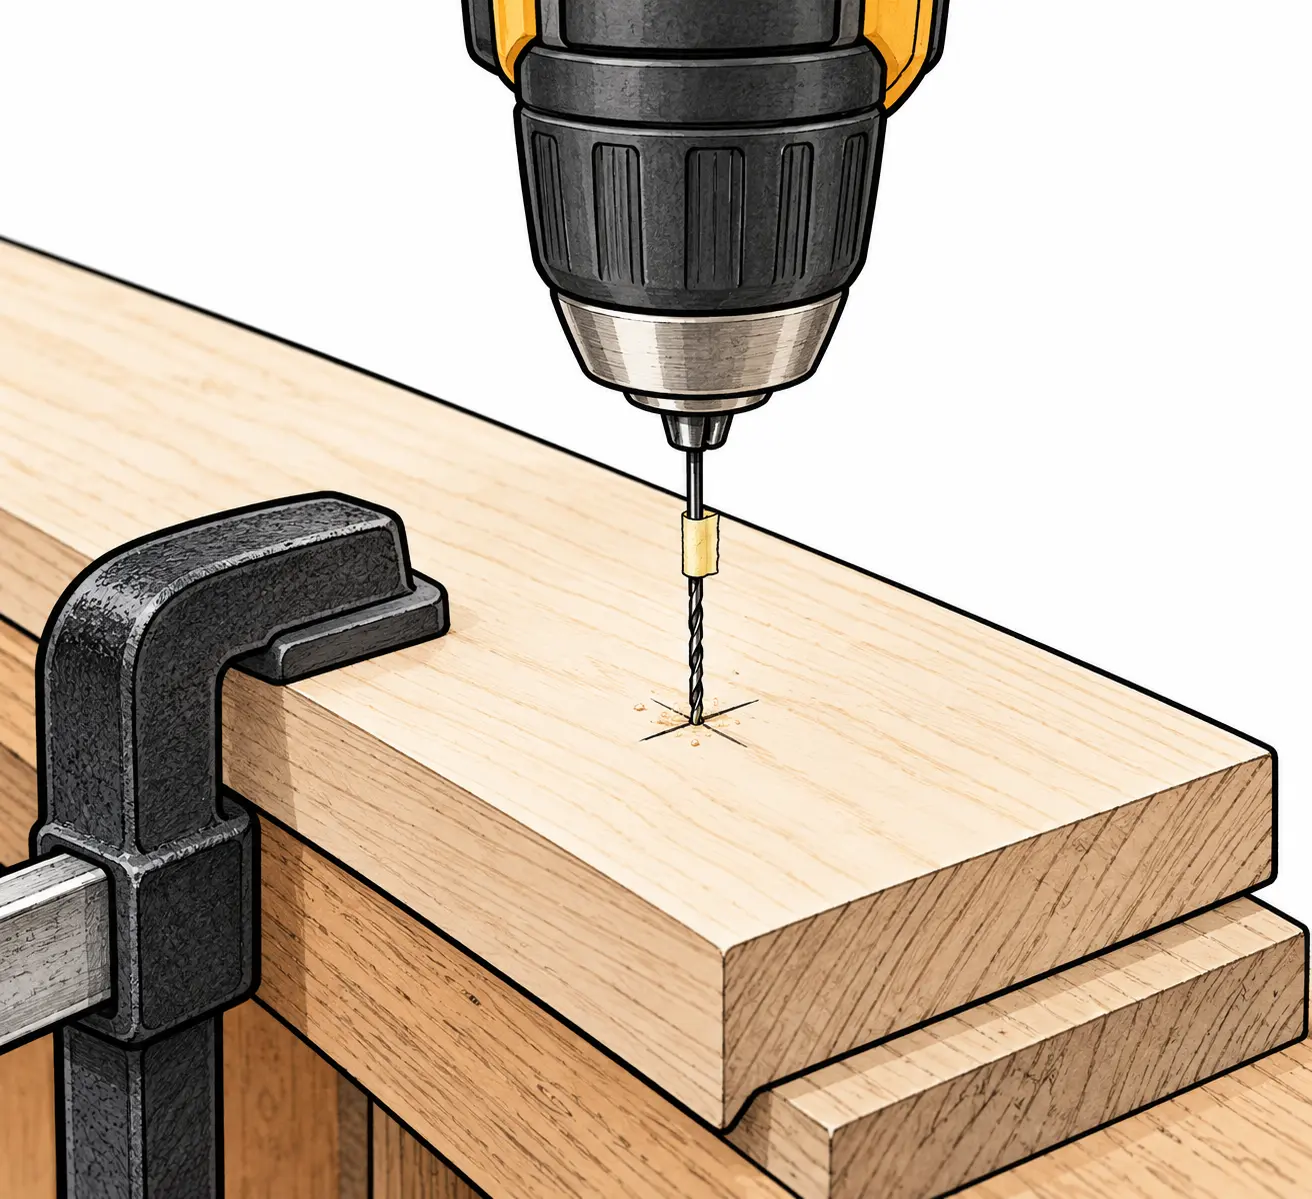
My thin 1/16″ bit starts the screw path before I reach for the driver.
Give the screw a path, then fasten
Before I drive a screw, I often start its path with a thin 1/16″ bit. Once this sequence was in my hands, the work moved faster and felt more controlled.
Check the screw, wood, and intended depth. Use the 1/16″ bit only when it is an appropriate starting or pilot size; test on scrap first.
Mark the path from the angled pocket toward the mating piece and drill gently without breaking through the visible face. Clamp the boards flush and verify where the screw will emerge.
Choose a screw of the right length. I often use gold-toned star-drive construction screws with a matching star bit in my Harbor Freight drill/driver. Seat the driver fully and tighten without forcing the wood.
NOTEThe narrow twist bit drills; the matching star bit drives. A tiny starter hole is not the right finished pilot for every screw, so follow the fastener guidance and adjust to the material.
051/16″ twist bit · square or handle template · backing board
Mark two centers, start carefully, then size the holes for the hardware.
Start small for a clean drawer front
Bring the same small-start habit to visible hardware. On a drawer front, careful marks and a straight start matter even more because every hole stays in view.
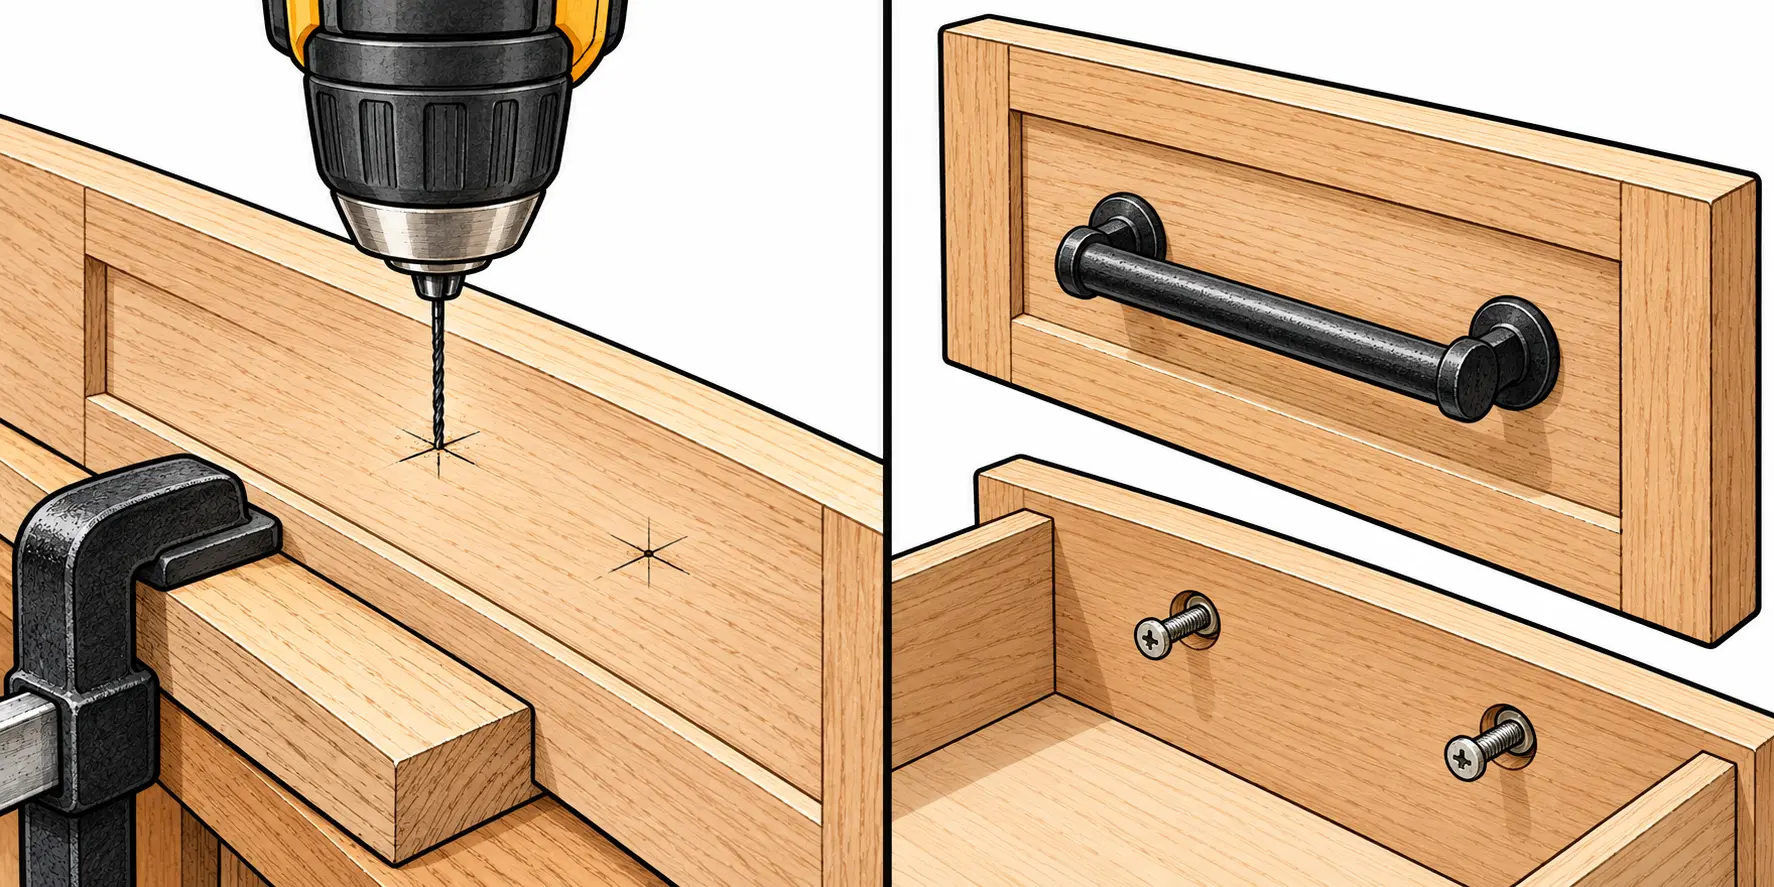
Measure the handle’s center-to-center spacing. Mark both centers with a square or template, check that they are level, and clamp a scrap board behind the drawer front.
Start the marks with the thin 1/16″ twist bit. For a wood screw, choose the pilot size that fits that screw and wood. For a typical drawer pull with machine screws, enlarge each starting hole to the clearance diameter specified for that hardware.
Drill straight and ease through into the backing board for a cleaner exit. Fit the handle, insert its screws from inside the drawer, check alignment, and tighten gently.
NOTEA 1/16″ starter hole is not the finished hole for most drawer pulls. Follow the handle’s screw and hole-size instructions so the visible front stays neat.
READY TO MAKE?
A first project is a better teacher than a perfect tool collection
Pick a small shelf, a bench, or a simple table that has a real place in your home. Read the whole plan, check your wood, practice the unfamiliar hole on scrap, and build from there.
For bit types, pilot-hole fit, pocket-hole angles, star-drive naming, and drill controls, I checked the manufacturers’ guides. Your tool manual and screw packaging should guide the exact setup for your project.