WOODWORKING · DIY · A HANDMADE HOME @grainbyjoy
GRAIN by JoyWOODWORKING PLANS · WORKSHOP STORIES · HOME
FIND YOUR NEXT GOOD THING
WOODWORKING PLANPullout Bin Kitchen Island
WOODWORKING PLANFarmhouse Media Console
WOODWORKING PLANRound Coffee Table
WOODWORKING PLANGeometric Hairpin Coffee Table
WOODWORKING PLANHollow Panel Waterfall Console
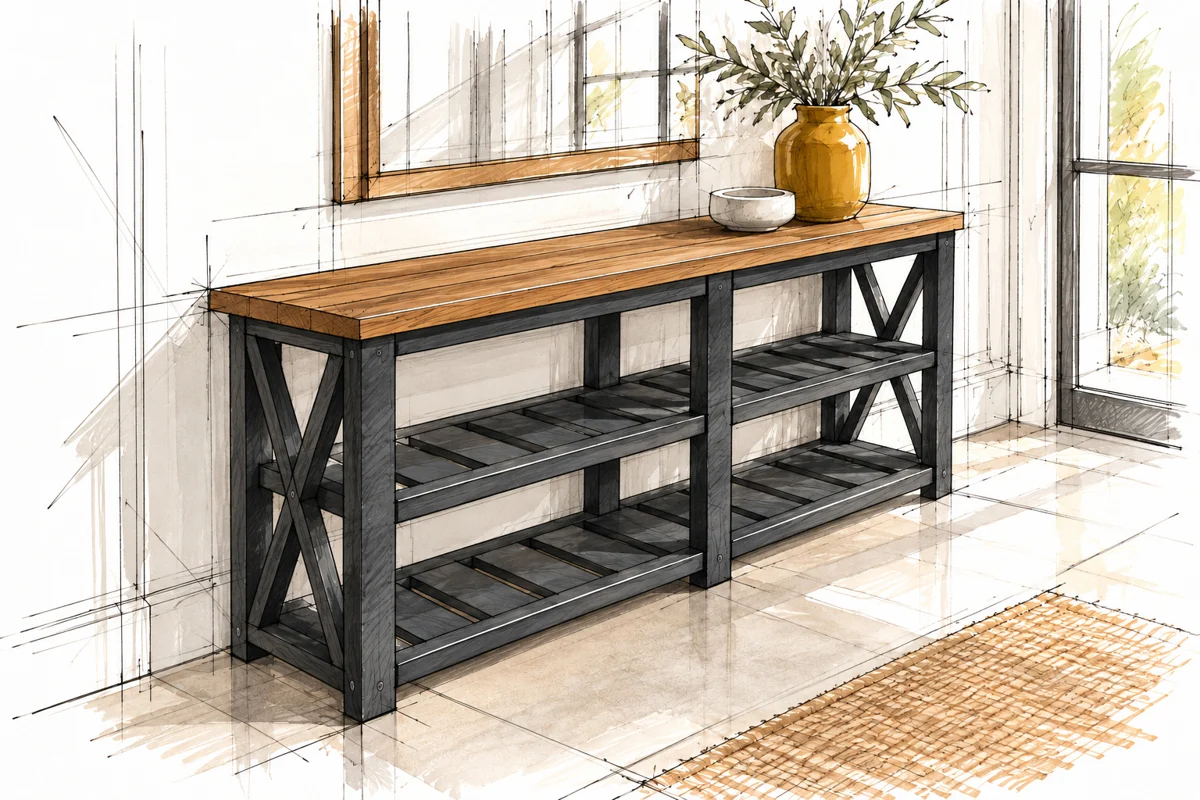
WOODWORKING PLANFarmhouse Console Table
WOODWORKING PLANBarn Door Console
WOODWORKING PLANBeginner Farm Table
WOODWORKING PLANFarmhouse Coffee Table
Farmhouse Console TableFREE WOODWORKING PLAN
Storage / BEGINNER

Farmhouse Console Table

A six-leg console with two slatted shelves and X details at each end.

FINISHED DIMENSIONS73 1/2 × 16 1/2 × 30 in
SKILL LEVELBeginner
WHAT IS INCLUDEDMaterials, cut list and illustrated steps
Read the free planMade this plan? Share your build
A GOOD BUILD STARTS WITH A CLEAR PLAN
  • Materials and tools
  • Cutting information and dimensions
  • Illustrated assembly steps
FROM THE FIRST CUT TO THE LAST DETAIL

Take it one step at a time

Everything you need to follow this build is written below. Read the materials, measurements and construction notes before your first cut.

Read the build steps

Yes. The complete plan is available to read on this page.
THE FREE BUILD GUIDE

Farmhouse Console Table

A six-leg console with two slatted shelves and X details at each end.

BEFORE THE FIRST CUT

Materials

Buy straight, dry boards. The source stock list is below; confirm local board sizes before purchase.

QuantityNominal stockPurchase length
6 boards2×28 ft / 96 in 2438.4 mm
6 boards2×6Stud length or 8 ft 8 ft = 2438.4 mm
2 boards2×4104 5/8 in 2657.5 mm

Fasteners and supplies

The source lists 100 self-tapping trim screws, 2 1/2 in (63.5 mm) long. Keep spare screws: 100 is the published shopping quantity, not a verified complete fastening allowance. Add wood glue, abrasives and your chosen finish.

Do not shorten the 2×4 purchase length

Each 2×4 must yield three 28 1/2 in legs and one 12 1/2 in crosspiece: 98 in (2489.2 mm) before saw kerf and end trimming. An 8 ft board is too short for that layout.

For outdoor placement

Choose lumber, glue, fasteners and finish rated for the intended exposure. The source allows 2×2 furring strips; select sound, straight pieces and check their actual dimensions.

WORKSHOP SETUP

Tools and preparation

Read the whole sequence before starting. Label parts as you cut, then dry-fit each assembly before fastening.

Basic tools from the source

Tape measure, square, safety glasses, hearing protection, drill, compound miter saw and sander.

Useful additions

Pencil, clamps, a level work surface, suitable drill and driver bits, dust protection and scrap spacer blocks. A pocket-hole jig is optional for joining the tabletop boards; it is not required for the basic build.

Repeat cuts with care

The 23 short 2×6 pieces share one length. A securely clamped stop block can improve consistency. Follow the saw maker’s safe stop-block setup, support long stock and allow for the blade kerf. Check the first cut before repeating it.

Work safely

Clamp work before drilling or cutting. Keep hands outside the tool manufacturer’s danger zone and isolate power before adjustments. Use appropriate dust control, eye and hearing protection. Ask for help when turning the long frame over.

How to read the sketches

Expressive lines show form and assembly, not machining tolerances. The warm wood and mustard accents are visual cues, not a required finish. Use written dimensions and measured stock; never scale a length from the drawing.

PARTS A TO F

Cut list

Source lengths in inches and millimeters. Check every first cut.

PartQtyStockLength inmmUse
A62×428 1/2723.9Legs
B232×612 1/2317.5Crosspieces and shelf slats
C42×226 1/4666.8X blanks
D22×412 1/2317.5End middle crosspieces
E122×230762.0Long rails
F32×673 1/21866.9Top planks

C has angled ends

Cut both ends 24° off square, parallel to one another. Measure 26 1/4 in (666.8 mm) from long point to short point. If the frame size changes, fit each brace to its opening.

Allocate the 23 B pieces before assembly

Use 7 for the frame: 4 end crosspieces and 3 center crosspieces. The other 16 are shelf slats: 4 per bay at each of the two shelf levels.

MEASURE THE WOOD YOU HAVE

Nominal and actual sizes

Nominal labels are shopping names, not finished dimensions. These are typical dry, surfaced sizes.

NominalActual cross-section inActual cross-section mm
2×21 1/2 × 1 1/238.1 × 38.1
2×41 1/2 × 3 1/238.1 × 88.9
2×61 1/2 × 5 1/238.1 × 139.7

Keep the broad crosspiece faces horizontal

Lay B and D flat, 1 1/2 in (38.1 mm) thick vertically. Stand all six A legs upright with their broad faces in the console’s long-side plane.

Three heights and two bays

Set lower crosspiece undersides 1 1/2 in (38.1 mm) above the feet. Keep both vertical openings 11 1/4 in (285.8 mm) clear. Twelve E rails join front and back at three heights in both bays.

Calculated checks for standard stock

The base is 70 1/2 × 15 1/2 in (1790.7 × 393.7 mm). Centering the top gives 1 1/2 in (38.1 mm) at each end and 1/2 in (12.7 mm) at front and back. These checks are derived from typical actual sizes, not separate source dimensions.

25.4 mm = 1 in. Metric values round half up to 0.1 mm. Use one unit system.

STEP 01 / ASSEMBLY

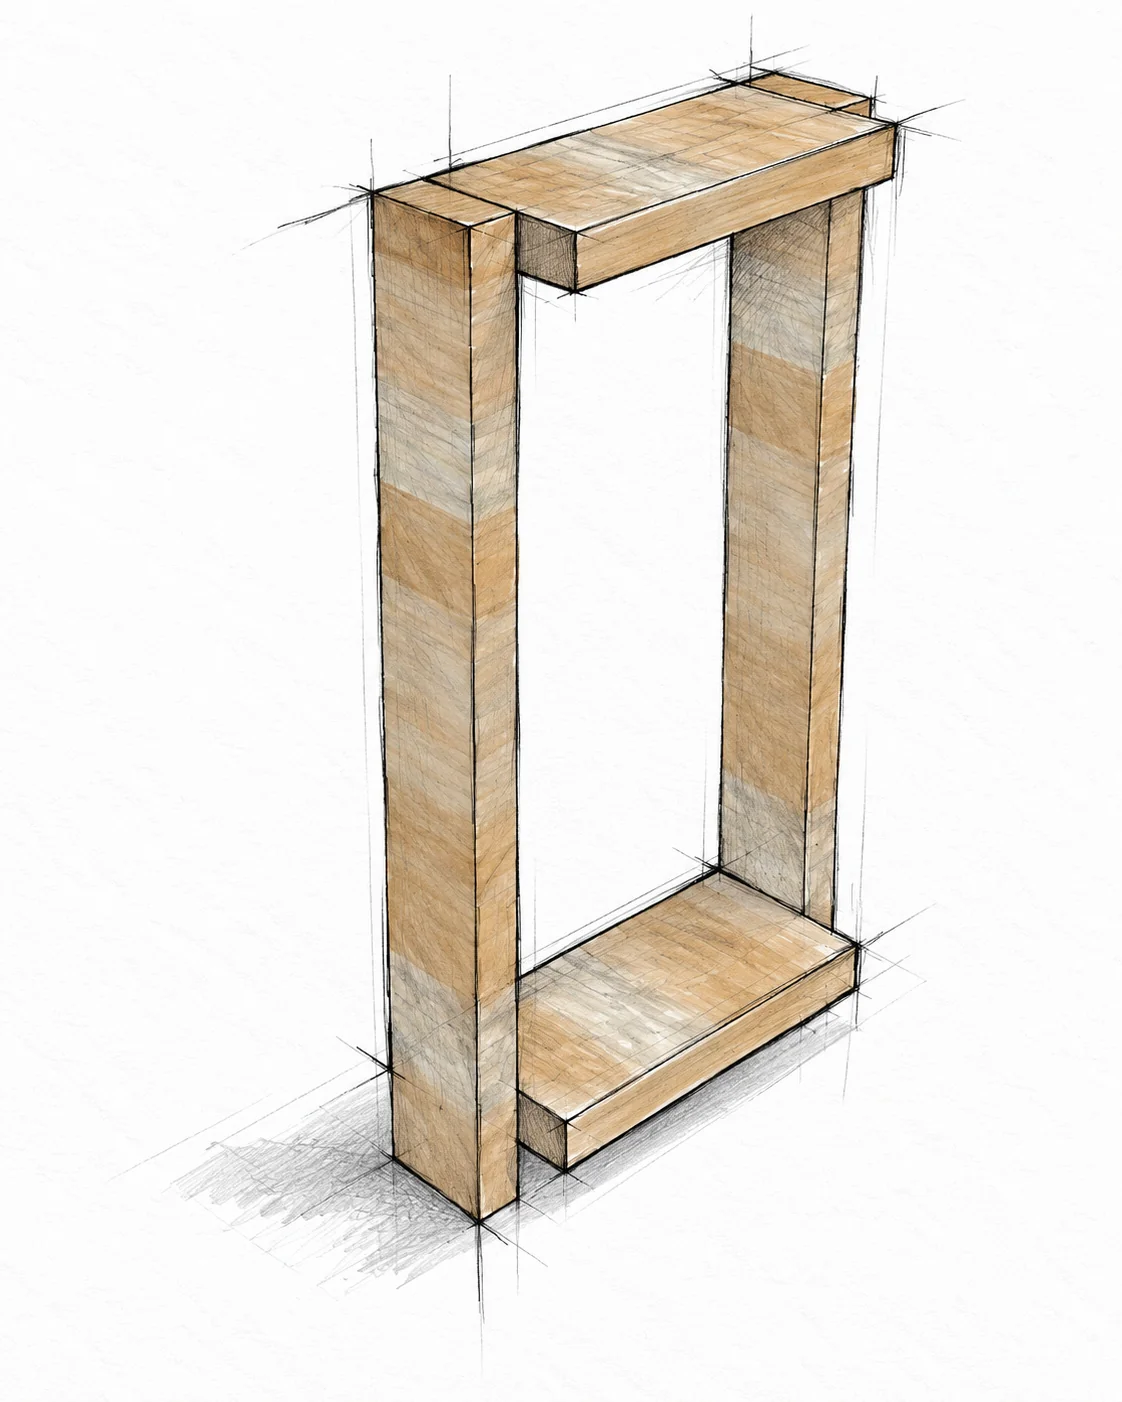
Build two end leg sets

A × 4 / B × 4

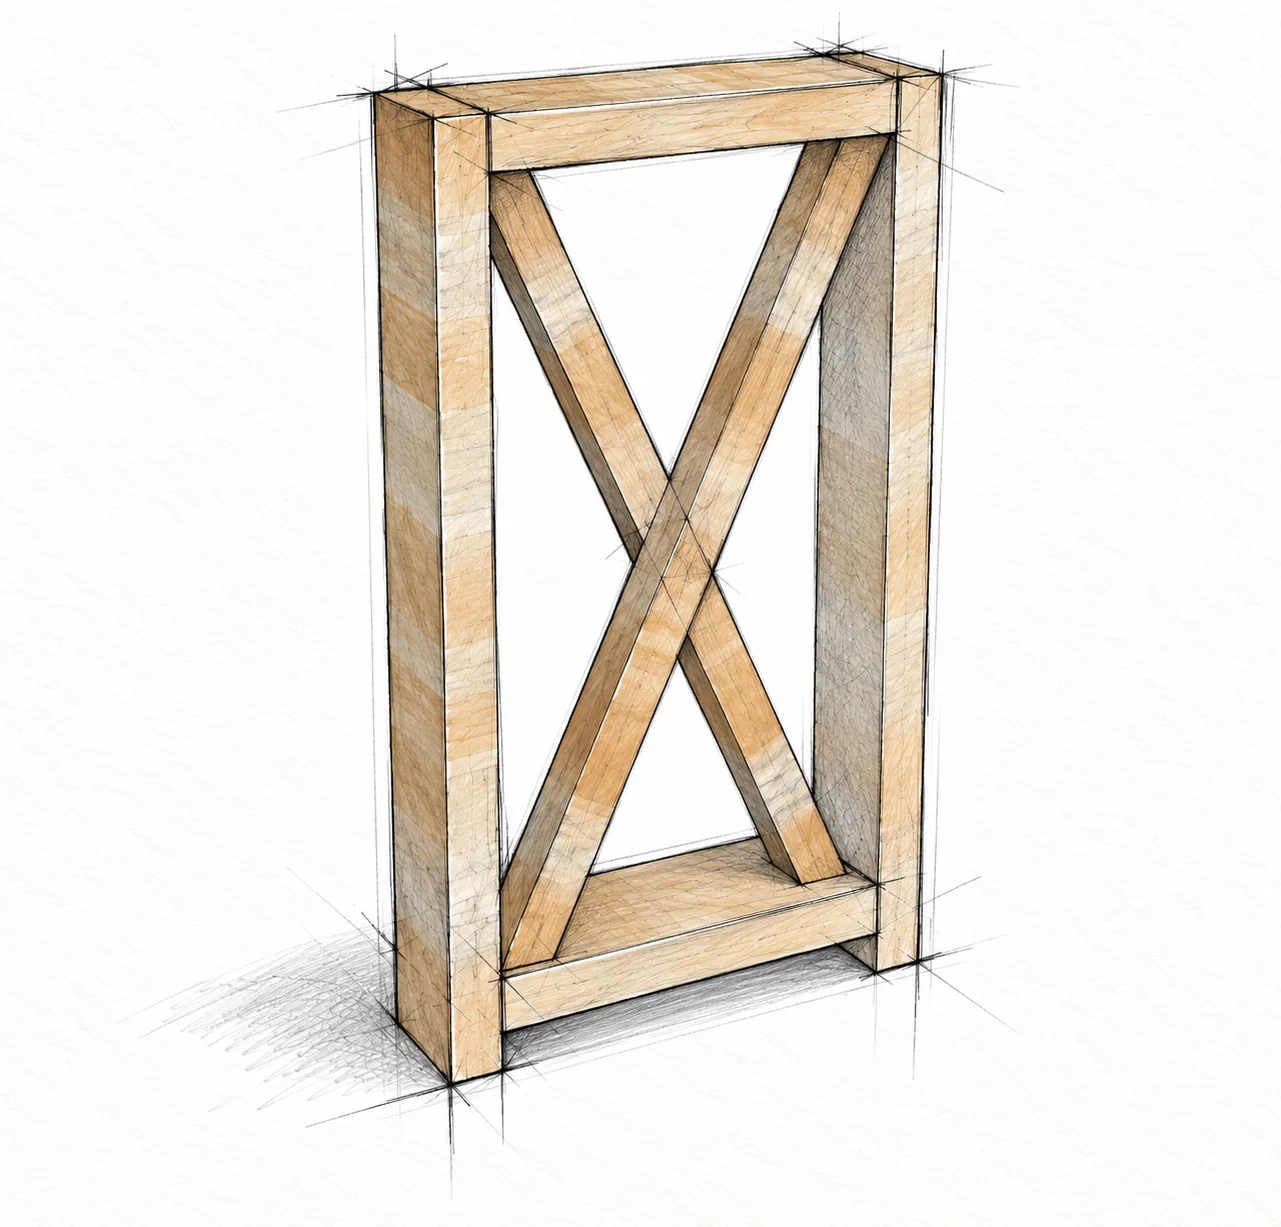
farmhouse console table — 6 illustration
Build two end leg sets · Farmhouse Console Table

Set the frame

Use two legs A and two B crosspieces per end. Lay the B pieces flat, with their broad faces horizontal. Keep the top crosspiece flush with the leg tops.

Set the lower shelf height

Support the lower B on a 2×2 scrap: its underside is 1 1/2 in (38.1 mm) above the feet. Keep the end crosspieces flush outside, projecting inward.

Clamp and fasten

Square the assembly. Apply glue and use two 2 1/2 in (63.5 mm) self-tapping screws at each joint. Make the second end the same way.

BEFORE YOU CONTINUE

Compare both end sets before the glue cures. The crosspieces must be level and their heights must match.

STEP 02 / ASSEMBLY

Mark and cut the X overlap

C × 4 / Two C blanks per end

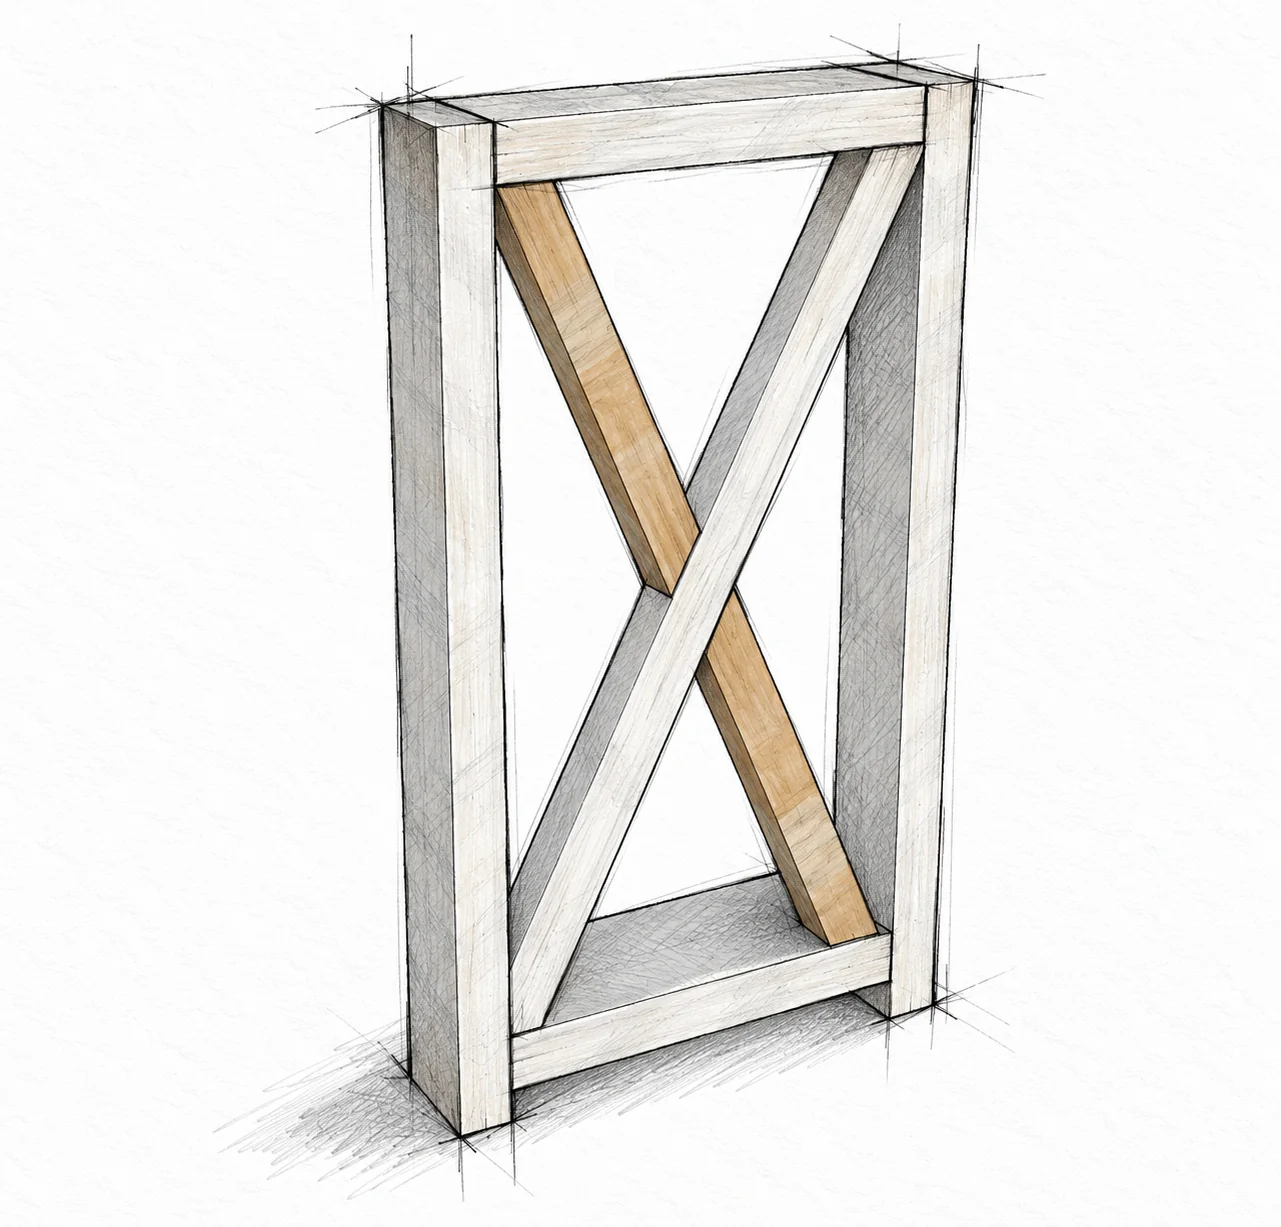
farmhouse console table — 7 illustration
Mark and cut the X overlap · Farmhouse Console Table

Dry-fit both diagonals

Put two C blanks across one short-end opening to form an X. Each blank has parallel 24° ends and a 26 1/4 in (666.8 mm) long-point-to-short-point length.

Mark the crossing

Trace the overlap on both blanks. Keep track of the top, bottom and marked faces so you can return every piece to the same position.

Cut only one blank

Leave one diagonal continuous. Remove the marked overlap from the other to create two fitted pieces. Test-fit, then repeat for the other end.

BEFORE YOU CONTINUE

Each completed X uses three pieces: one continuous diagonal and two short pieces. This is not a half-lap joint.

STEP 03 / ASSEMBLY

Fasten each end X

One continuous diagonal + two fitted pieces per end

farmhouse console table — 8 illustration
Fasten each end X · Farmhouse Console Table

Start with the full diagonal

Fit the intact C piece into the end frame first. Check that it seats without forcing the frame out of square, then glue and screw it in place.

Add the lower piece

Align the lower cut piece to the pencil marks on the continuous diagonal. Keep all faces in the same plane, then secure it.

Finish the upper piece

Fit the upper piece to the marks. The source allows slightly angled screws, or glue and clamps here: the middle crosspiece added next also secures the X. Repeat at the other end.

BEFORE YOU CONTINUE

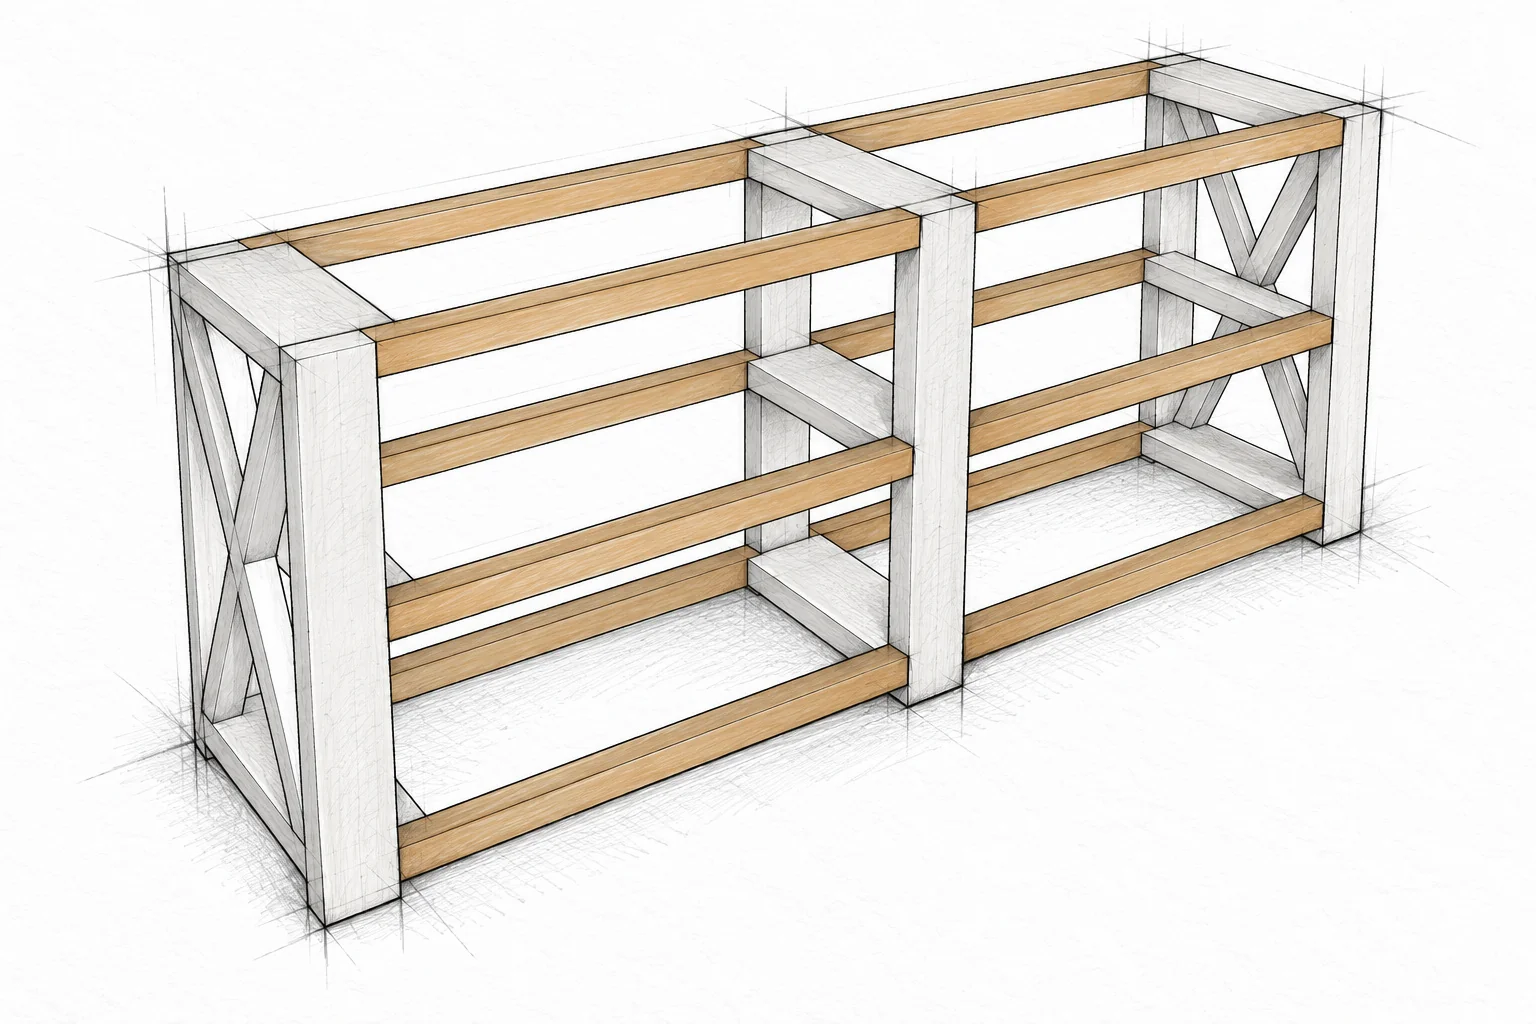
X details belong only at the two short ends. Keep both long faces open; check for split brace ends before continuing.

STEP 04 / ASSEMBLY

Add the end middle supports

D × 2 / One middle crosspiece per end

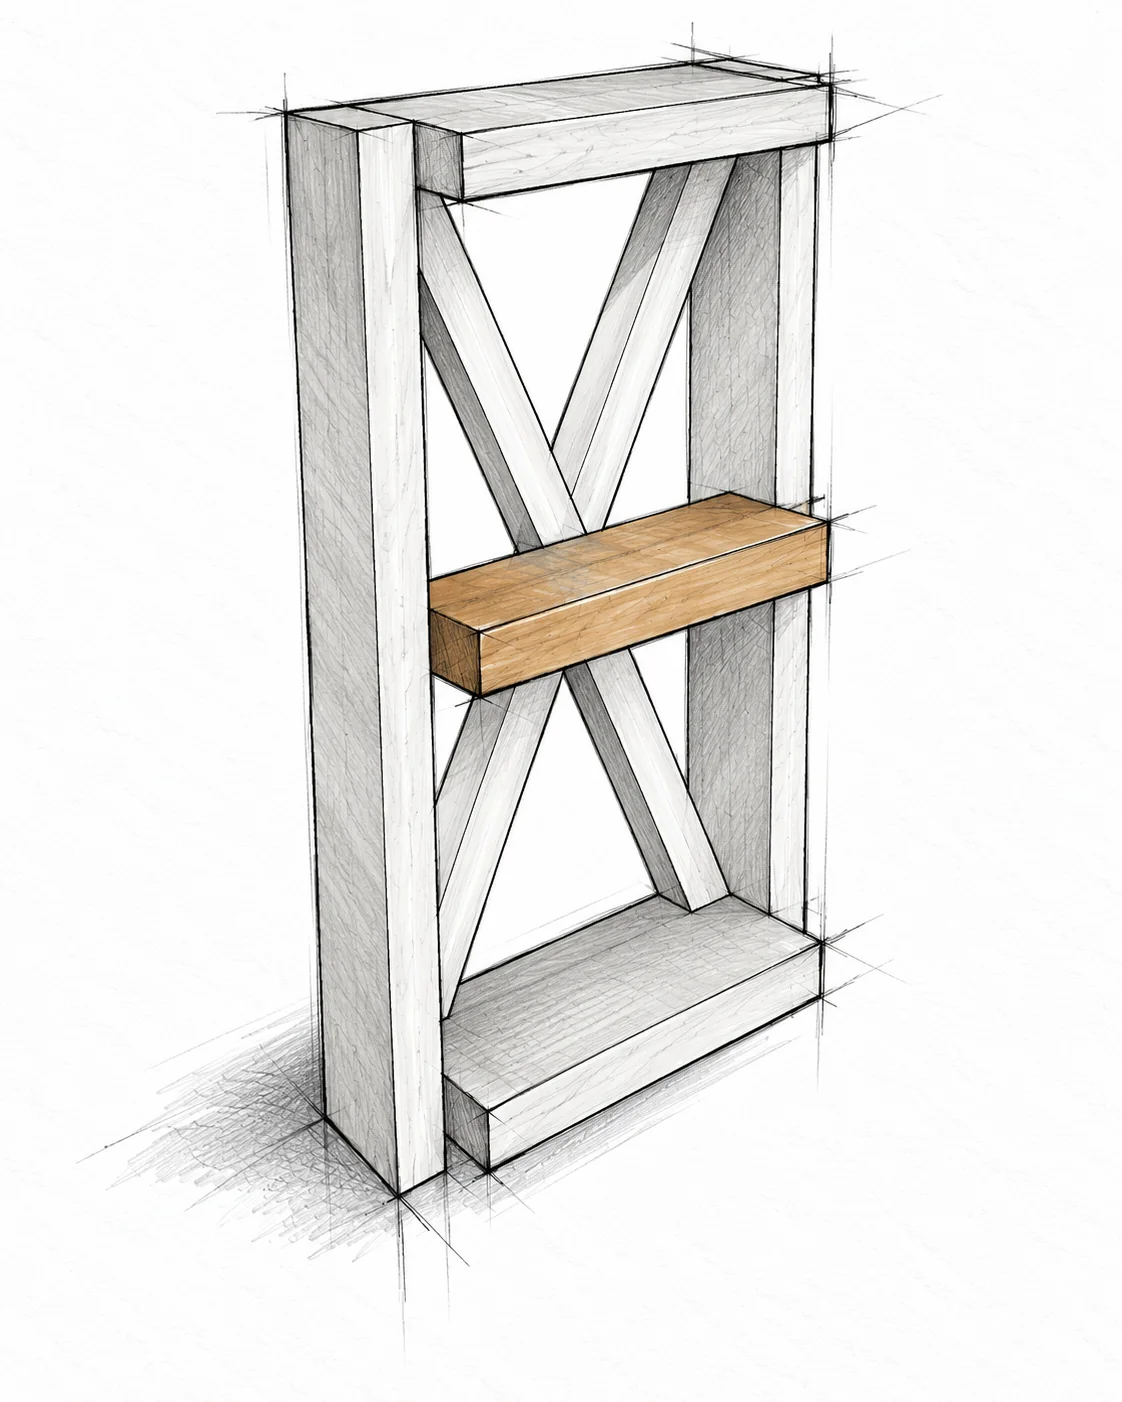
farmhouse console table — 9 illustration
Add the end middle supports · Farmhouse Console Table

Position the 2×4

Lay D flat inside each end frame. Leave 11 1/4 in (285.8 mm) clear above the lower crosspiece and below the upper crosspiece.

Keep the inward edge aligned

The middle 2×4 sits inward, with its inner edge aligned to the inner edge of the lower 2×6. Do not center it across the leg width.

Secure the shelf and X

Glue the joints and fasten D to the legs with 2 1/2 in (63.5 mm) screws. Also drive screws through the outside of the X into D. Check the screw path before driving.

BEFORE YOU CONTINUE

Both middle supports must match in height. Keep D square to the legs and leave no screw tips protruding.

STEP 05 / ASSEMBLY

Build the center leg set

A × 2 / B × 3

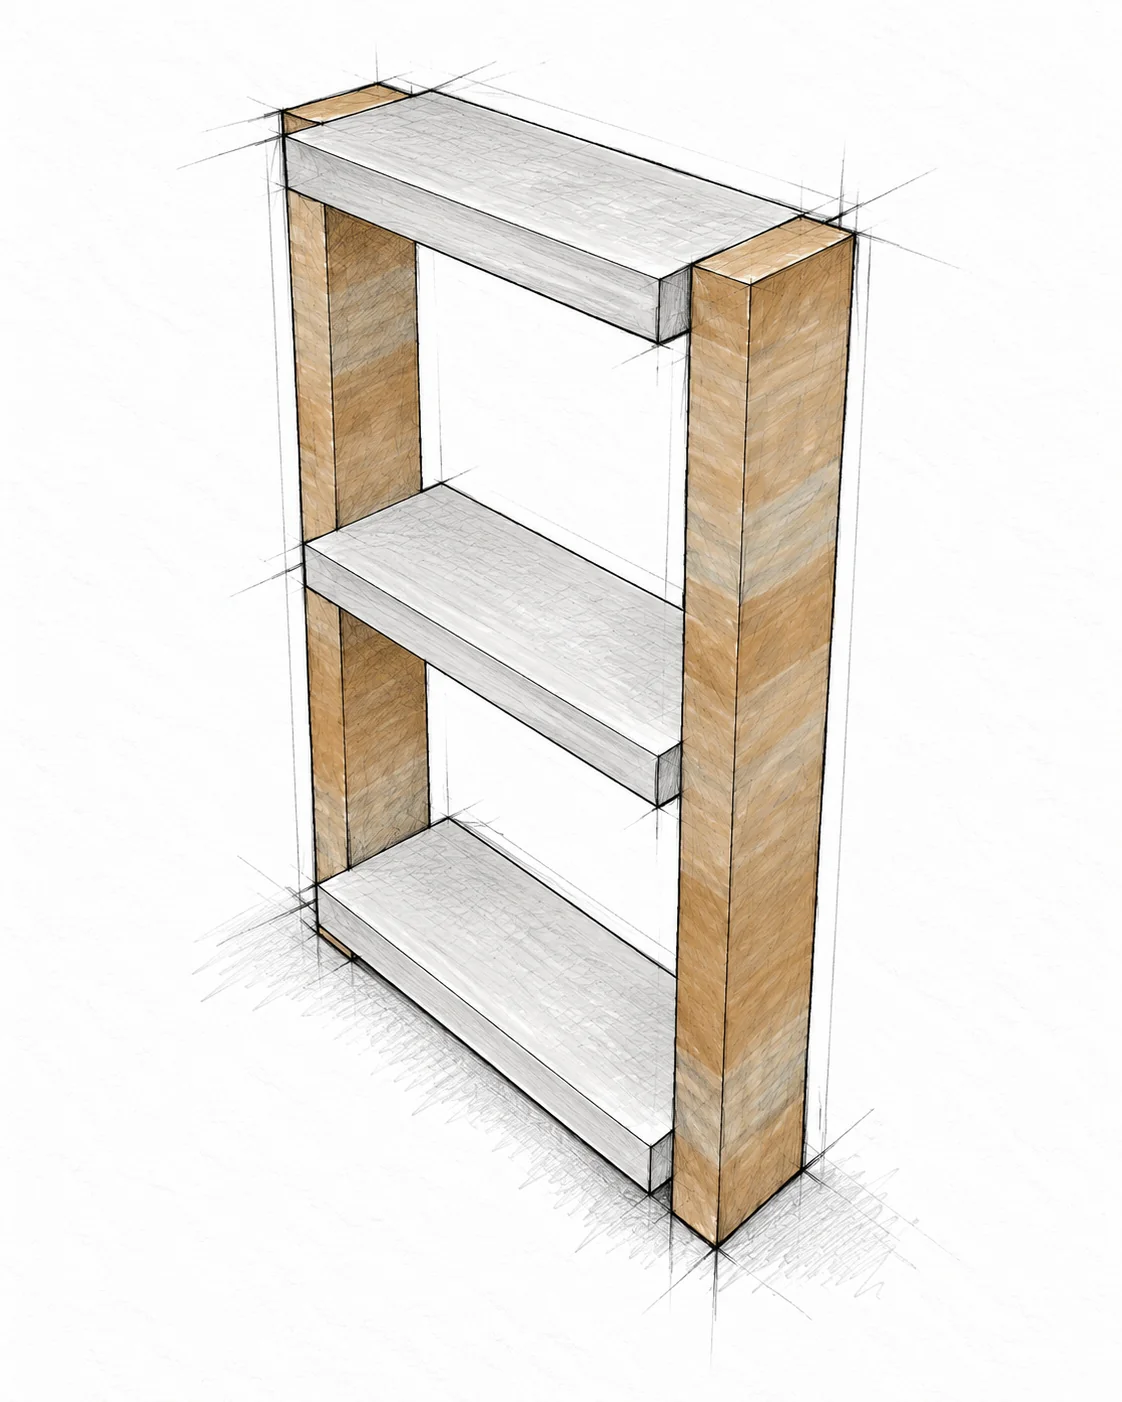
farmhouse console table — 10 illustration
Build the center leg set · Farmhouse Console Table

Begin upside down

Join both legs to the top B crosspiece with glue and screws. Keep all top edges flush. Center B across the leg width so it projects 1 in (25.4 mm) into each bay.

Add the lower crosspiece

Turn upright. Use a scrap of 2× material to hold the bottom B 1 1/2 in (38.1 mm) above the feet; keep its projection equal on both sides.

Add the middle crosspiece

Turn the assembly onto its side. Position the last B with 11 1/4 in (285.8 mm) clear openings above and below. Square it to the legs before fastening.

BEFORE YOU CONTINUE

There is no center X. Unlike the end middle supports, all three center crosspieces are 2×6.

STEP 06 / ASSEMBLY

Connect the three leg sets

E × 12 / Two end sets + one center set

farmhouse console table — 11 illustration
Connect the three leg sets · Farmhouse Console Table

Stand and align the assemblies

Glue and join all twelve rails

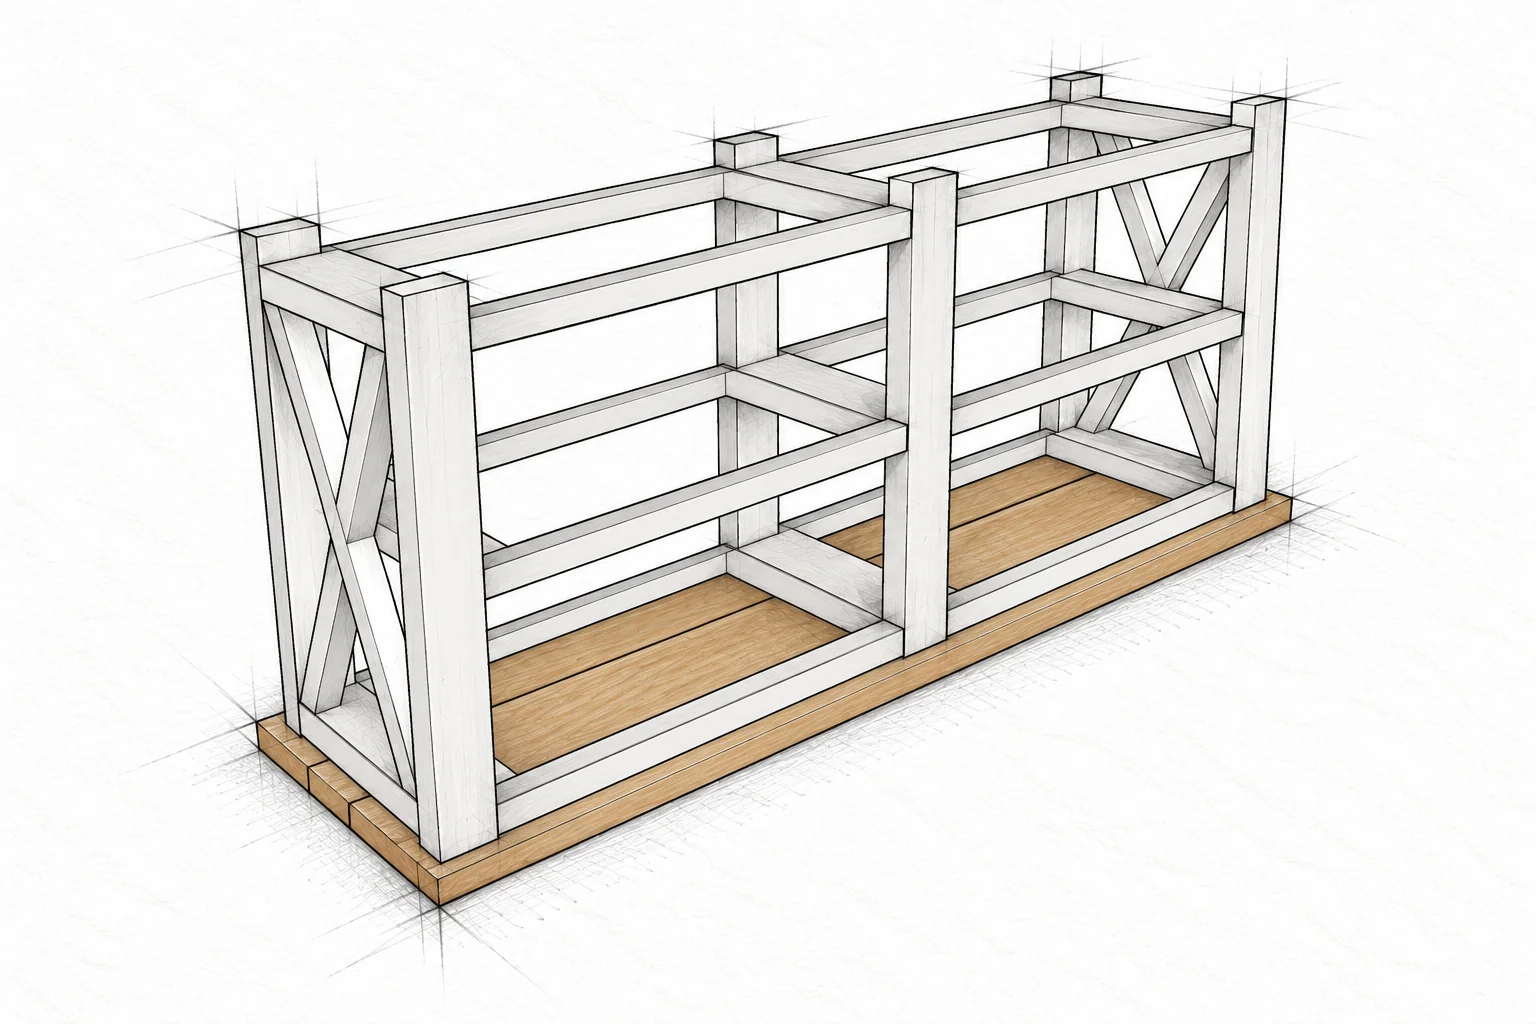
Use a flat, level work surface, not a sloped garage floor. With help, stand the end and center sets about 30 in (762.0 mm) apart. The E rails establish the bay spacing.

Fit front and back rails at the top, middle and bottom of each bay, flush with the corresponding crosspiece surfaces. Use ample glue. Drive 2 1/2 in (63.5 mm) screws at a slight angle into the crosspieces, as the source directs.

BEFORE YOU CONTINUE

Count 12 rails. Check square at both bays and confirm that all six feet contact the level surface without rocking.

STEP 07 / ASSEMBLY

Attach the three-board top

F × 3 / Fasten from underneath

farmhouse console table — 12 illustration
Attach the three-board top · Farmhouse Console Table

Lay out the tabletop

Center and fasten the base

Put the three F boards face down on a protected, flat surface with their ends aligned. If you have a pocket-hole jig, you may join the boards first; the source makes this optional.

With help, lower the inverted frame onto the boards. Center it in both directions, then attach from below with 2 1/2 in (63.5 mm) screws. Check screw paths and penetration so no point reaches the finished top face.

BEFORE YOU CONTINUE

For standard stock, check 1 1/2 in (38.1 mm) end overhangs and 1/2 in (12.7 mm) front/back overhangs. These are calculated checks.

STEP 08 / ASSEMBLY

Install the sixteen shelf slats

B × 16 / Four slats per bay at each shelf level

farmhouse console table — 13 illustration
Install the sixteen shelf slats · Farmhouse Console Table

Dry-lay one bay at a time

Space and secure

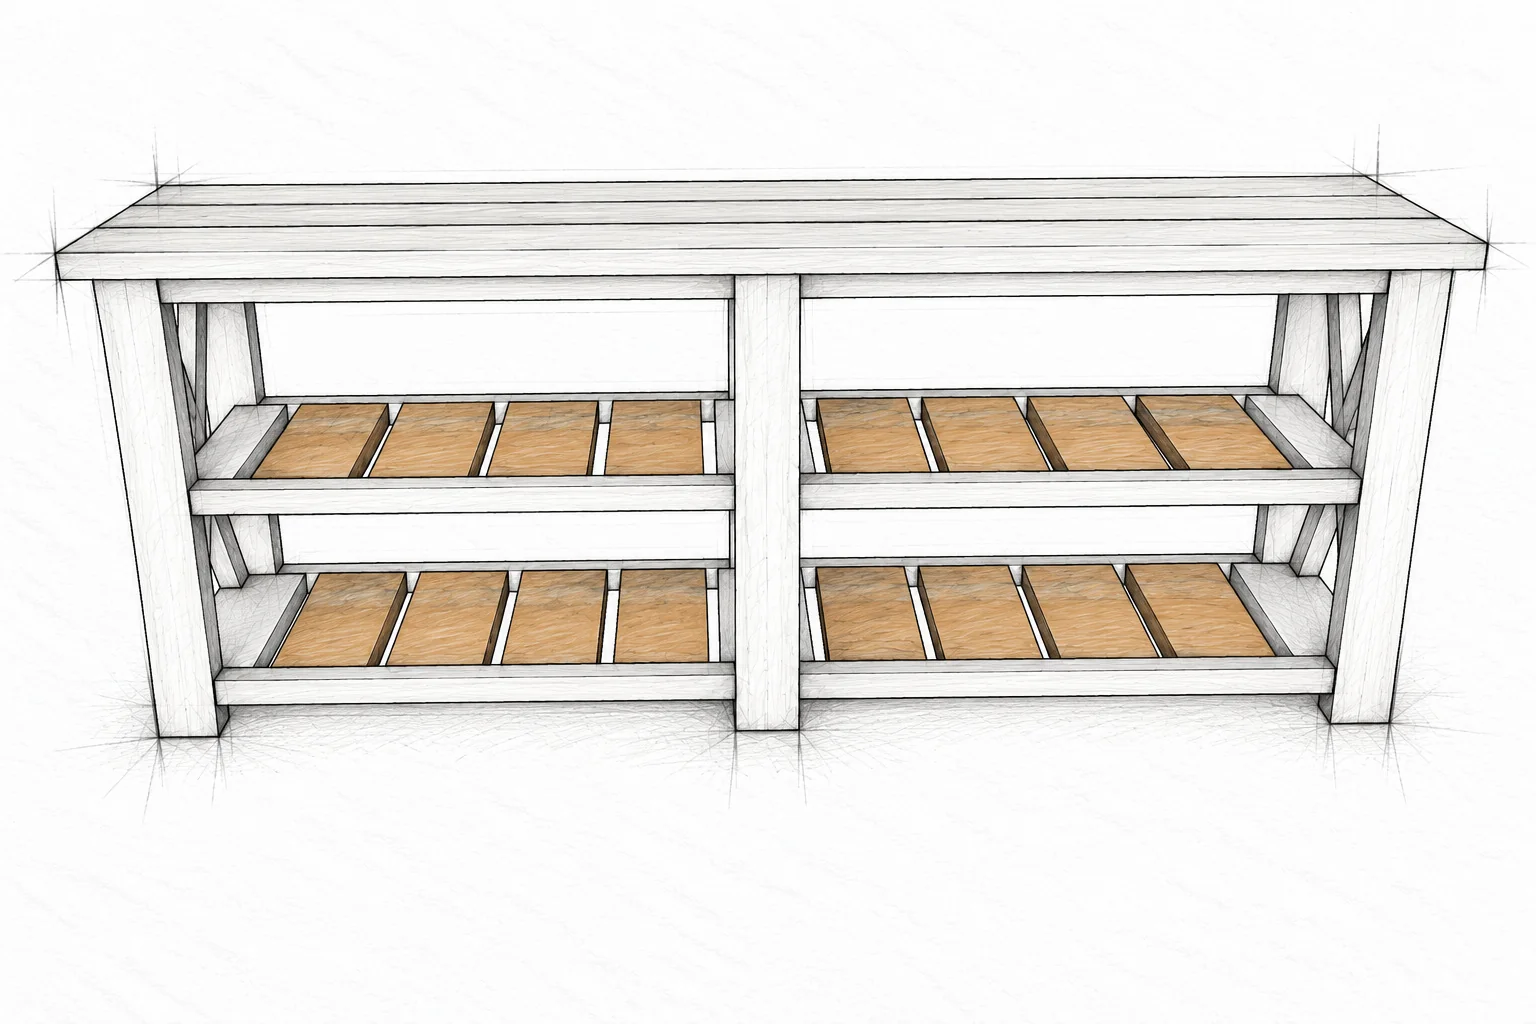
With help, turn the console upright. Place four B slats in each bay on both shelf levels. The 12 1/2 in (317.5 mm) length runs front to back; the broad faces lie horizontal.

Use 1 in (25.4 mm) spacer blocks between slats. With standard stock, leave the same gap at each bay boundary. Keep slats flush with the shelf frame and fasten with two 2 1/2 in (63.5 mm) screws per joint. Repeat all four bays.

BEFORE YOU CONTINUE

Count 16 added slats: eight on each level. Each slat has two end joints, so these slats alone use 64 screws at two per joint.

FINISH AND INSPECT

Make it ready for your space

The cover shows a charcoal base and warm wood top. Choose a compatible finish system for the actual location.

Prepare the surface

Inspect all joints, soften sharp edges and sand with the grain. Remove dust thoroughly. Test the full finish on an offcut first and follow the product maker’s preparation, ventilation and safety directions.

Interior paint

Fill exposed holes, let filler dry, then sand smooth. Remove dust and let the wood dry. Apply primer or a suitable paint-and-primer system. Sand between coats only where the product directs.

Interior stain

Sand and clean first. Apply stain with the grain, then remove excess as directed. Fill visible holes afterward with a color-matched filler if desired. Protect with a compatible clear topcoat and allow full cure before use.

Exterior color or stain

Select an exterior coating suitable for the wood and exposure. The source suggests a deck/fence product: opaque for solid color or semi-transparent for a stained look. Follow its preparation, coat, drying and cure schedule.

Final check and care

Check all six feet, frame squareness, shelves, loose joints, splits and exposed screw tips. No tested load rating is provided: do not use the console as a seat or step. Recheck joints and finish periodically.

REFERENCE AND PROJECT RECORD

Sources and build notes

Keep this page with the guide. Read the original plan and its eight diagrams before building.

Original furniture design

Ana White, Farmhouse Console Table (Beginner - Indoor/Outdoor). The original page supplies the shopping and cut lists, dimensions and eight assembly stages. It also credits reader Jessica’s photographed build.

Open the original Ana White plan

About this illustrated guide

The new AI-assisted designer sketches interpret the original assembly sequence; they are not construction photographs or dimensioned engineering drawings. Part labels, checks and metric conversions are editorial additions. Calculated geometry is identified in the text.

Details the source does not specify

Unspecified: screw gauge, corrosion rating, verified screw count, top fastener spacing, wood-movement allowance, anchoring method and tested load capacity. Do not infer hardware or safe loads from sketches. Ask a qualified woodworker about materials and use.

Access and reuse

The plan was publicly readable on October 29, 2026. This does not establish permission to republish source illustrations, resell plan packets or claim the design. Reuse permission has not been verified.

Ana White Terms of Service

MAKE IT YOURS

Measure your own stock and dry-fit before fastening. If you make this project, I would love to see what you built.

Share your build