WOODWORKING · DIY · A HANDMADE HOME @grainbyjoy
GRAIN by JoyWOODWORKING PLANS · WORKSHOP STORIES · HOME
FIND YOUR NEXT GOOD THING
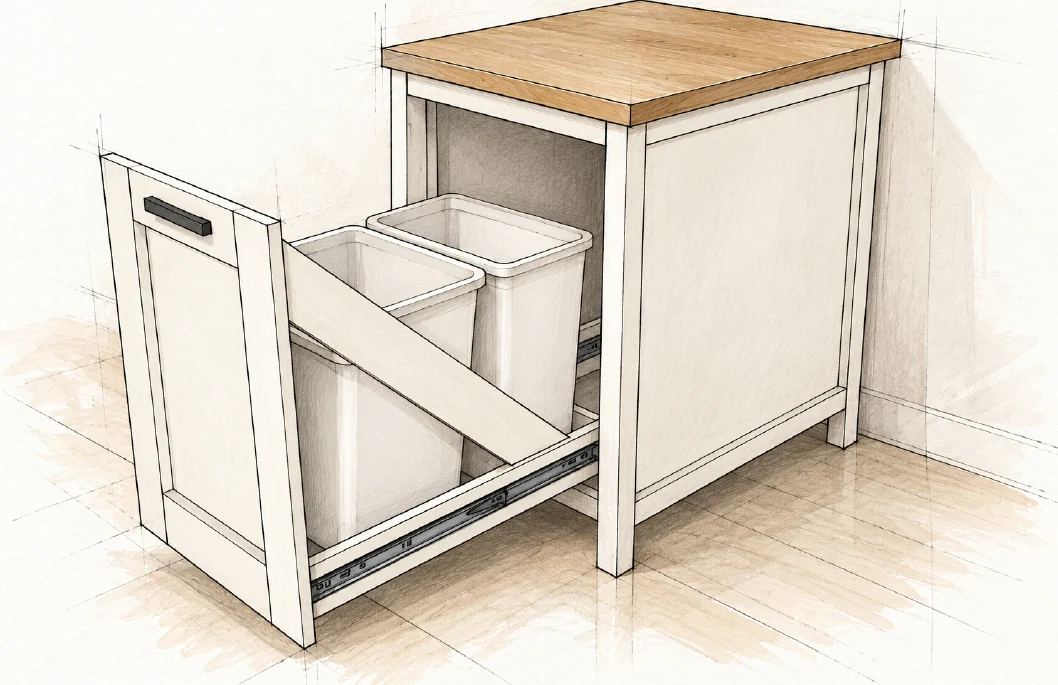
WOODWORKING PLANPullout Bin Kitchen Island
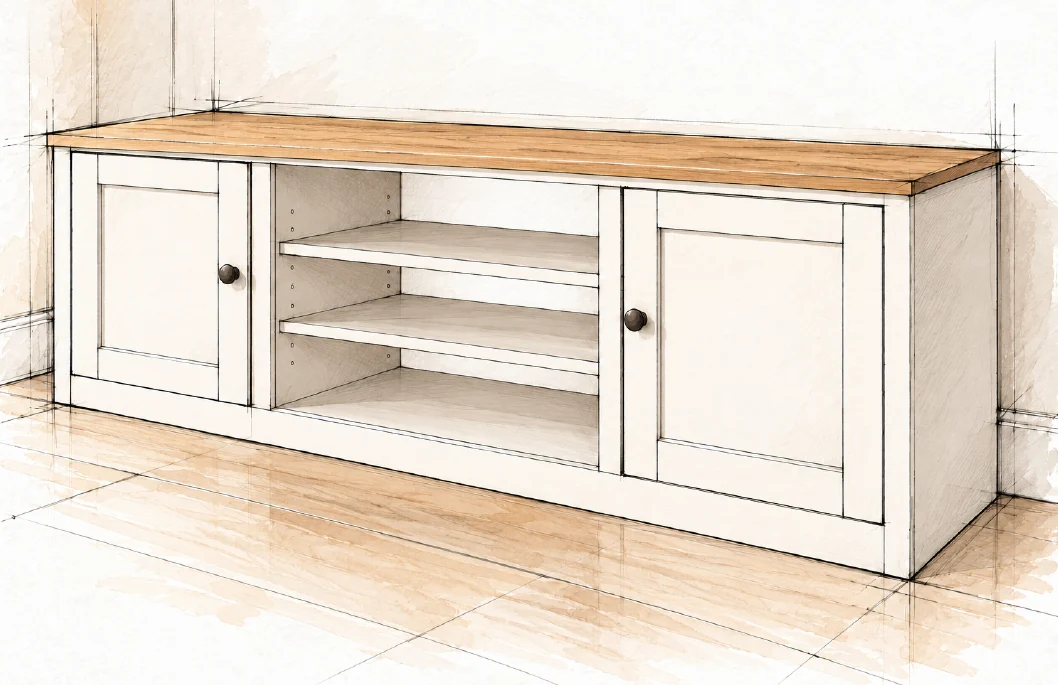
WOODWORKING PLANFarmhouse Media Console
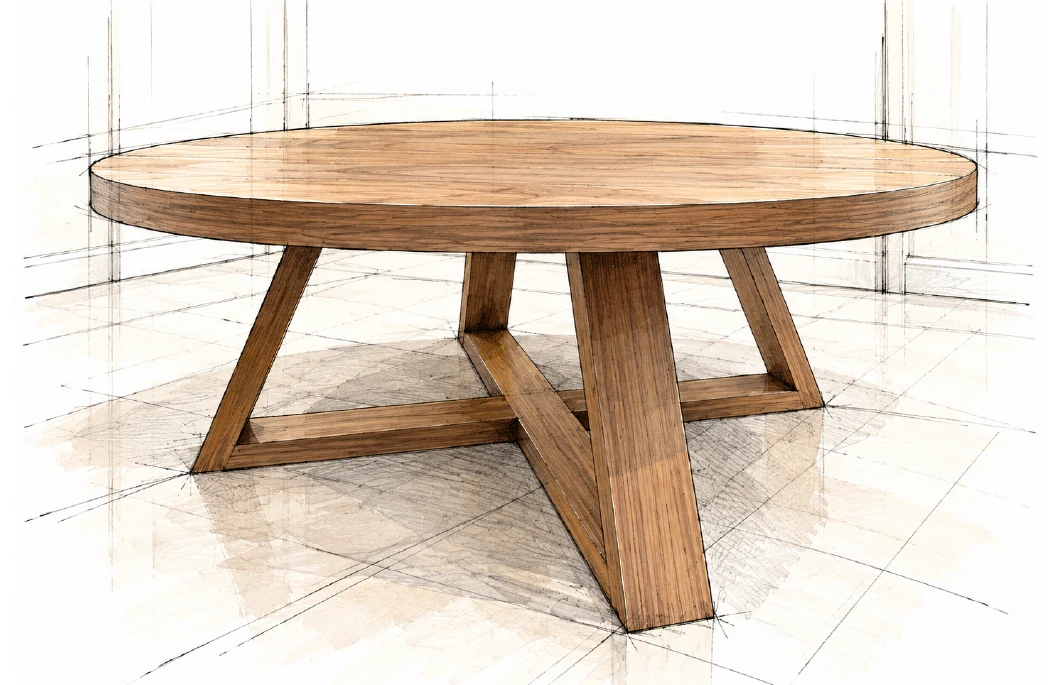
WOODWORKING PLANRound Coffee Table
WOODWORKING PLANGeometric Hairpin Coffee Table
WOODWORKING PLANHollow Panel Waterfall Console
WOODWORKING PLANFarmhouse Console Table
WOODWORKING PLANBarn Door Console
WOODWORKING PLANBeginner Farm Table
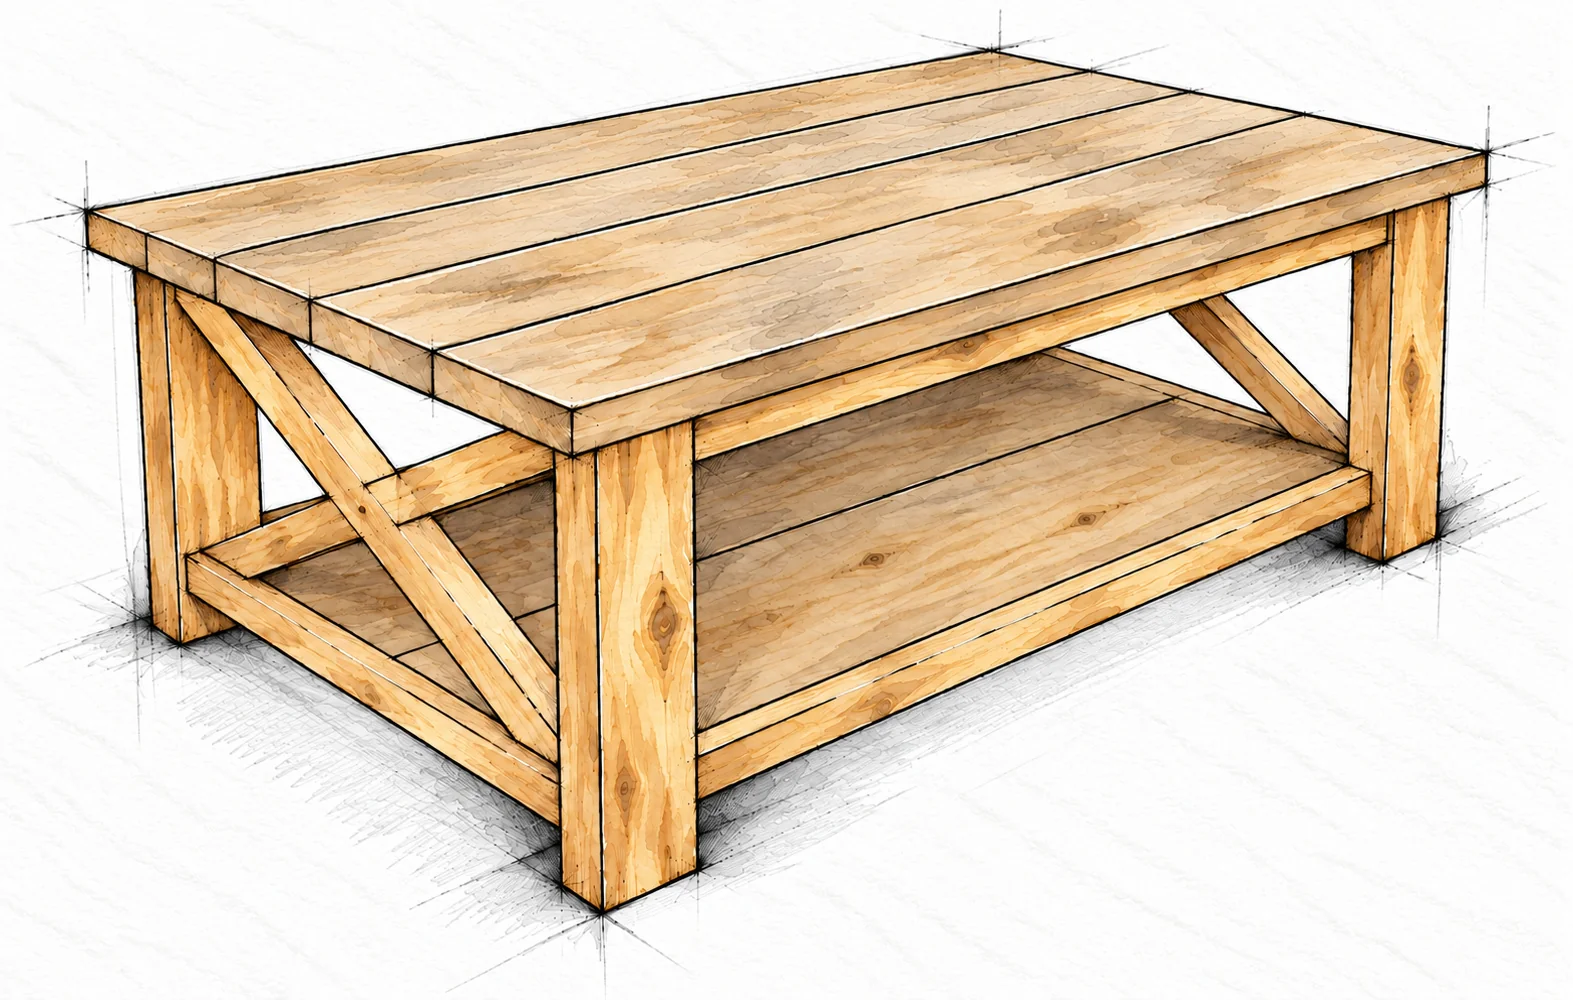
WOODWORKING PLANFarmhouse Coffee Table
Rustic X Coffee TableFREE WOODWORKING PLAN
Tables / INTERMEDIATE

Rustic X Coffee Table

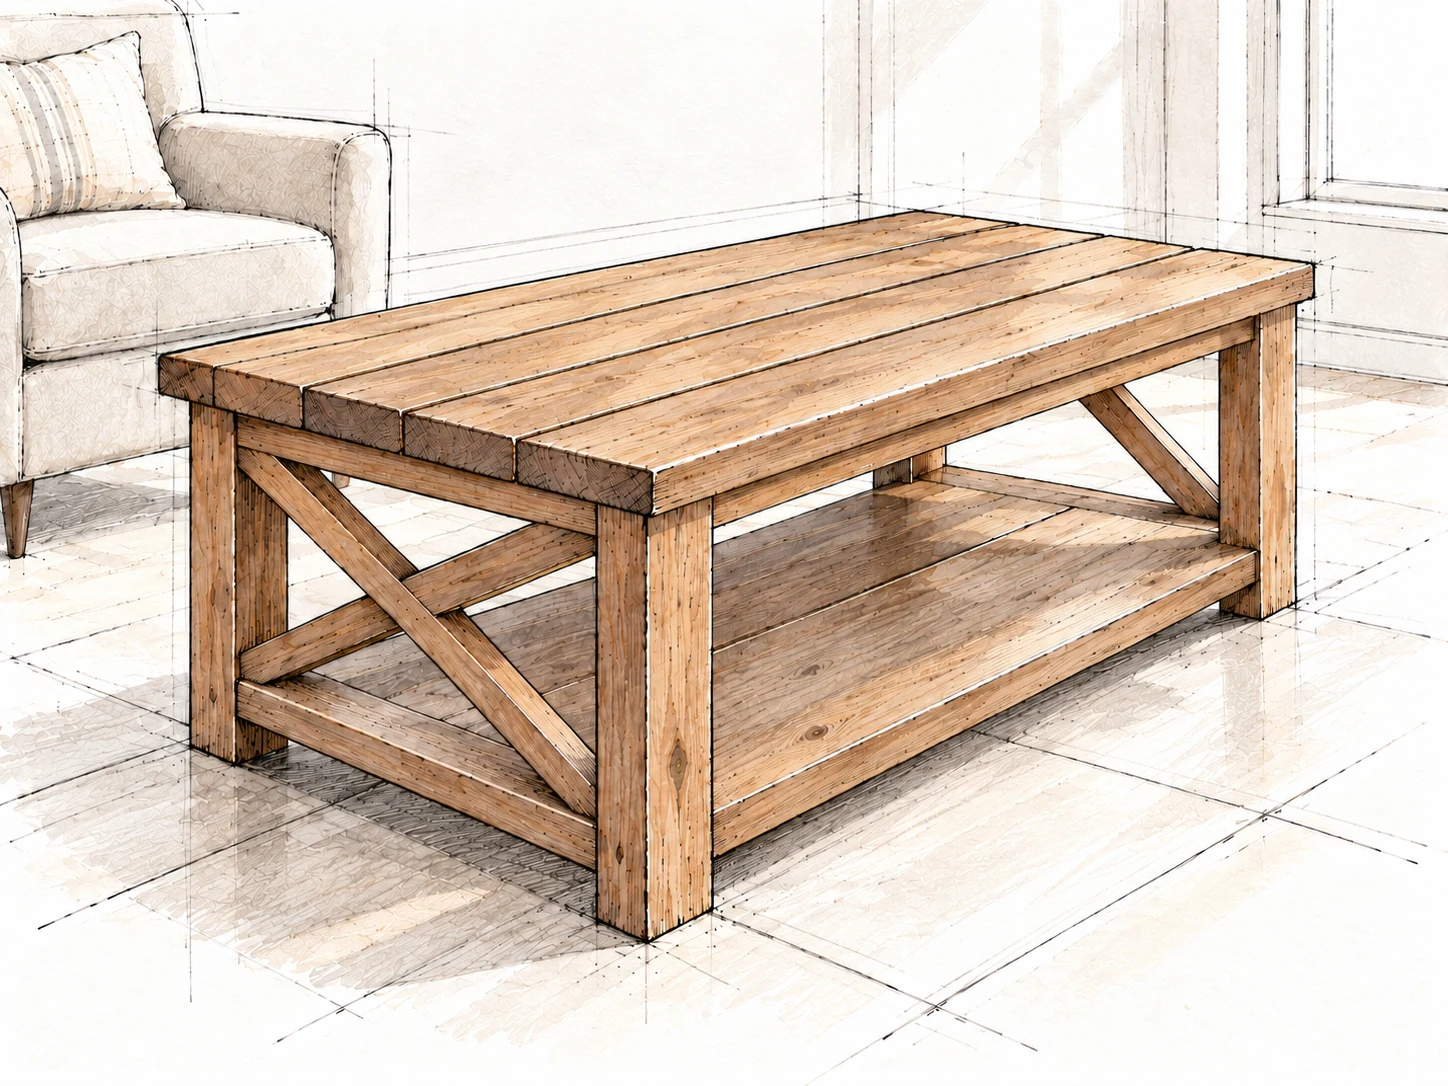
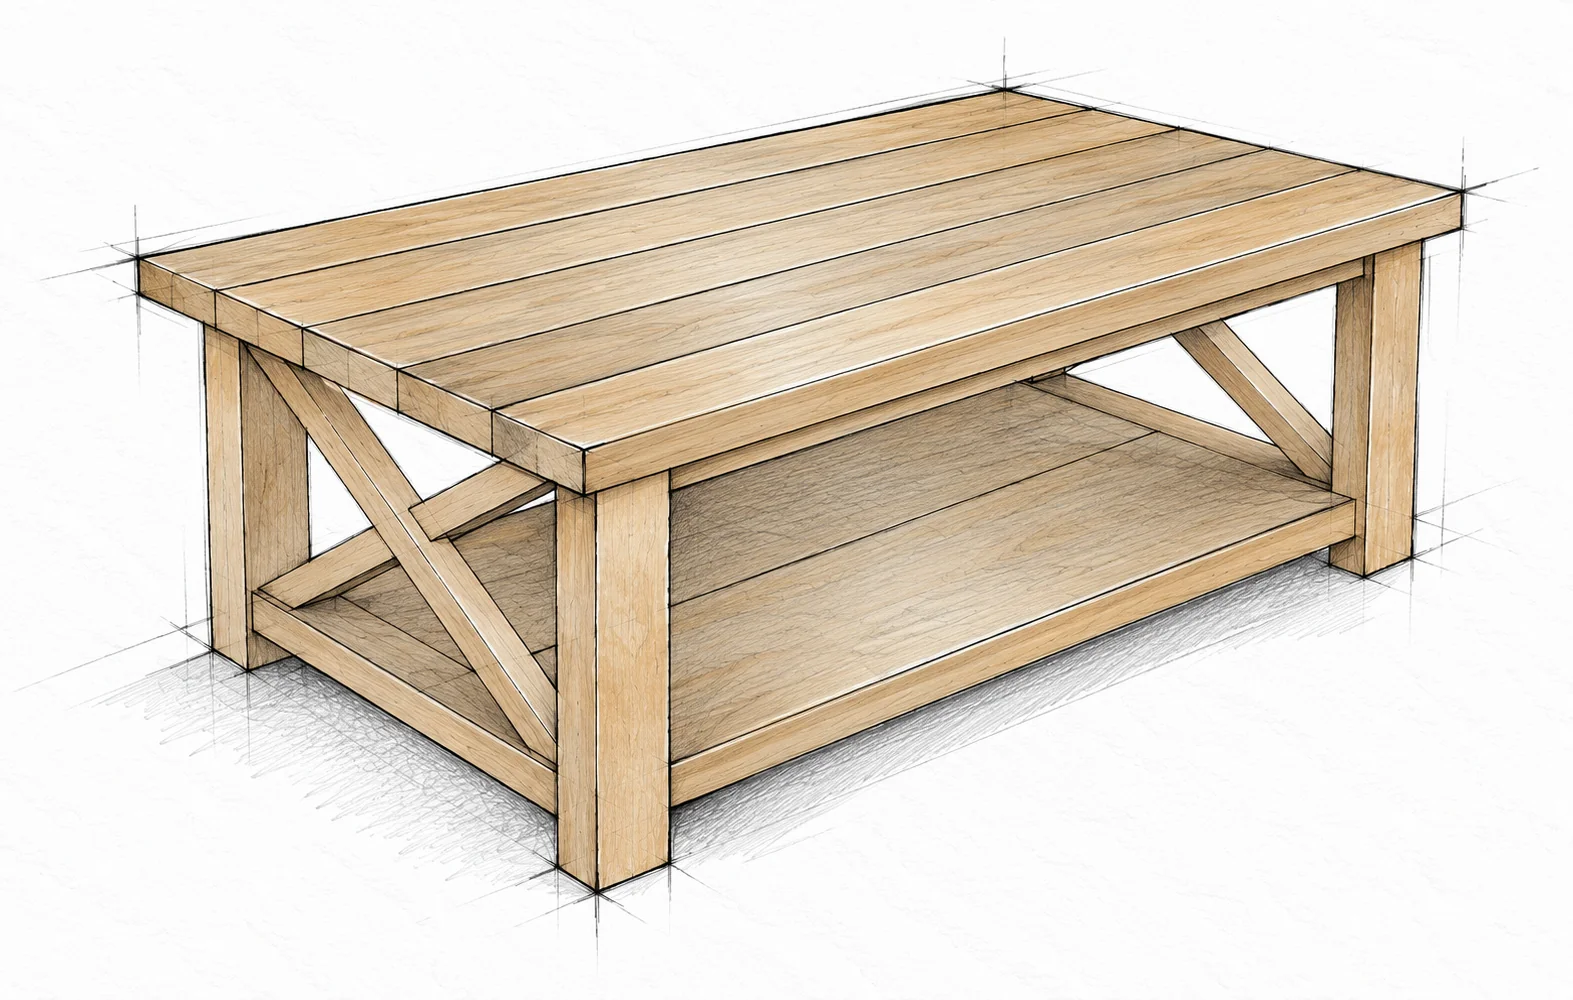
A rustic coffee table with cross-braced sides and an open lower shelf.

FINISHED DIMENSIONS52 × 27 1/2 × 18 in
SKILL LEVELIntermediate
WHAT IS INCLUDEDMaterials, cut list and illustrated steps
Read the free planMade this plan? Share your build
A GOOD BUILD STARTS WITH A CLEAR PLAN
  • Materials and tools
  • Cutting information and dimensions
  • Illustrated assembly steps
FROM THE FIRST CUT TO THE LAST DETAIL

Take it one step at a time

Everything you need to follow this build is written below. Read the materials, measurements and construction notes before your first cut.

Read the build steps

Yes. The complete plan is available to read on this page.
THE FREE BUILD GUIDE

Rustic X Coffee Table

A rustic coffee table with cross-braced sides and an open lower shelf.

STOCK FOR ONE PROJECT

Materials and fasteners

Use the purchase sizes below. Check the straightness and measured size of every board.

QuantityItemSize or specification
2 boardsNominal 2×4 lumber8 ft each or stud length
4 boardsNominal 2×2 lumber8 ft each
1 boardNominal 1×12 lumber8 ft long
5 boardsNominal 2×6 lumberStud length; each must yield a 52 in (1320.8 mm) top board
Confirm countPocket-hole screws1 1/4 in (31.8 mm) for the shelf
Confirm countPocket-hole screws2 1/2 in (63.5 mm) for 2× stock
As neededAssembly and preparationWood glue, filler and sanding abrasives
As neededInterior finishPaint or stain and a compatible protective finish
BEFORE THE FIRST CUT

Plan the stock and hardware

Quantities to confirm

Screw counts, glue volume and finish coverage are not specified. Select screw type for your wood and pocket-hole system; do not substitute drywall screws.

Stock length check

8 ft = 96 in (2438.4 mm). Stud lengths vary. Each tabletop board must yield a 52 in (1320.8 mm) piece plus saw kerf and end trimming.

Read the visual language

Warm wood tones are illustrative, not required finish colors. Drawings explain assembly, not scale. Use the written dimensions and actual measurements, not the size of the illustration.

Confirm before fastening

Screw counts, exact top-attachment screw positions, movement allowance and a dedicated fastener specification for every X joint are not established. Confirm these details for the actual stock and hardware. Do not infer missing hardware from the artwork.

WORKSHOP SETUP

Tools and preparation

This is an intermediate project with beginner-friendly explanations. The angled X-brace cuts need particular care.

Tools for the build

Tape measure, square, pencil, safety glasses, hearing protection, pocket-hole jig, drill, compound miter saw, nailer, sander and countersink drill bit.

Practical setup

Prepare clamps, a flat stable work surface and appropriate dust protection. Support long boards and keep hands outside the tool manufacturer's danger zone. Disconnect power before changing blades or making adjustments.

Before cutting the X pieces

The cuts reach 60° off square. Many miter saws cannot make that setting directly. Never force a saw past its stops or improvise a hand-held angled setup. Use a manufacturer-approved method and suitable secured jig, or ask an experienced woodworker or shop to cut these parts.

CUT AND LABEL BEFORE ASSEMBLY

Cut list

Confirm actual stock before cutting fitted components. Inches are primary. Read the angled-end notes before cutting E and F.

PartQtyStock and useCut inCut mm
A42×4 Legs16 1/2419.1
B42×2 Long rails411041.4
C42×4 Flat end rails22 1/2571.5
D21×12 Shelf boards411041.4
E22×2 Full X members22 1/2571.5
F42×2 Short X members11 1/4285.8
G52×6 Top boards521320.8
CUTTING AND FITTING

Angles and fit checks

E and F require angled ends

E: both ends 60° off square, parallel; measure long point to short point. F: one end 60° and the other 30° off square; ends are not parallel and are cut in the same direction. Measure long point to short point.

Fit before fastening

Cut and test one X set before repeating it. The end rails C must match the combined measured width of the two shelf boards D; the listed cuts assume each D is 11 1/4 in (285.8 mm) wide.

Measurement convention

Metric references convert inches at exactly 25.4 mm per inch and round to the nearest 0.1 mm using half-up rounding. Do not mix rounded metric values with fractional-inch settings within one assembly.

SAFE SETUP

Review Tools and preparation before cutting the 60° ends. Do not bypass a saw's stops or use an unsecured angled setup.

KNOW YOUR LUMBER

Nominal and actual sizes

Nominal board names are shopping labels. Typical dry, surfaced board sizes are shown below; measure your own stock.

Nominal lumberActual inchesActual mm
1×123/4 × 11 1/419.1 × 285.8
2×21 1/2 × 1 1/238.1 × 38.1
2×41 1/2 × 3 1/238.1 × 88.9
2×61 1/2 × 5 1/238.1 × 139.7

A and C have different orientations

Leg A stands vertically with its broad 3 1/2 in (88.9 mm) face along the long side of the table. End rail C lies flat: its broad face is horizontal and its vertical thickness is 1 1/2 in (38.1 mm). Do not rotate C onto its narrow edge.

Keep the table proportions

Five top boards at 5 1/2 in (139.7 mm) wide produce a 27 1/2 in (698.5 mm) top. Two shelf boards at 11 1/4 in (285.8 mm) wide produce 22 1/2 in (571.5 mm). If your boards differ, recheck rail lengths and X openings before proceeding.

DIMENSION REFERENCE

Check the overall size

52 × 27 1/2 × 18 in / 1320.8 × 698.5 × 457.2 mm

rustic x coffee table — 8 illustration
Check the overall size · Rustic X Coffee Table

Check the proportions

Length × width × height is measured at the finished tabletop. The shelf-to-upper-rail opening is 11 1/4 in (285.8 mm) with the listed standard stock.

Check actual parts

The lower rail underside is 2 1/4 in (57.2 mm) above the leg bottoms. These dimensions are checks, not a substitute for dry-fitting the real frame and X pieces.

STEP 01 / ASSEMBLY

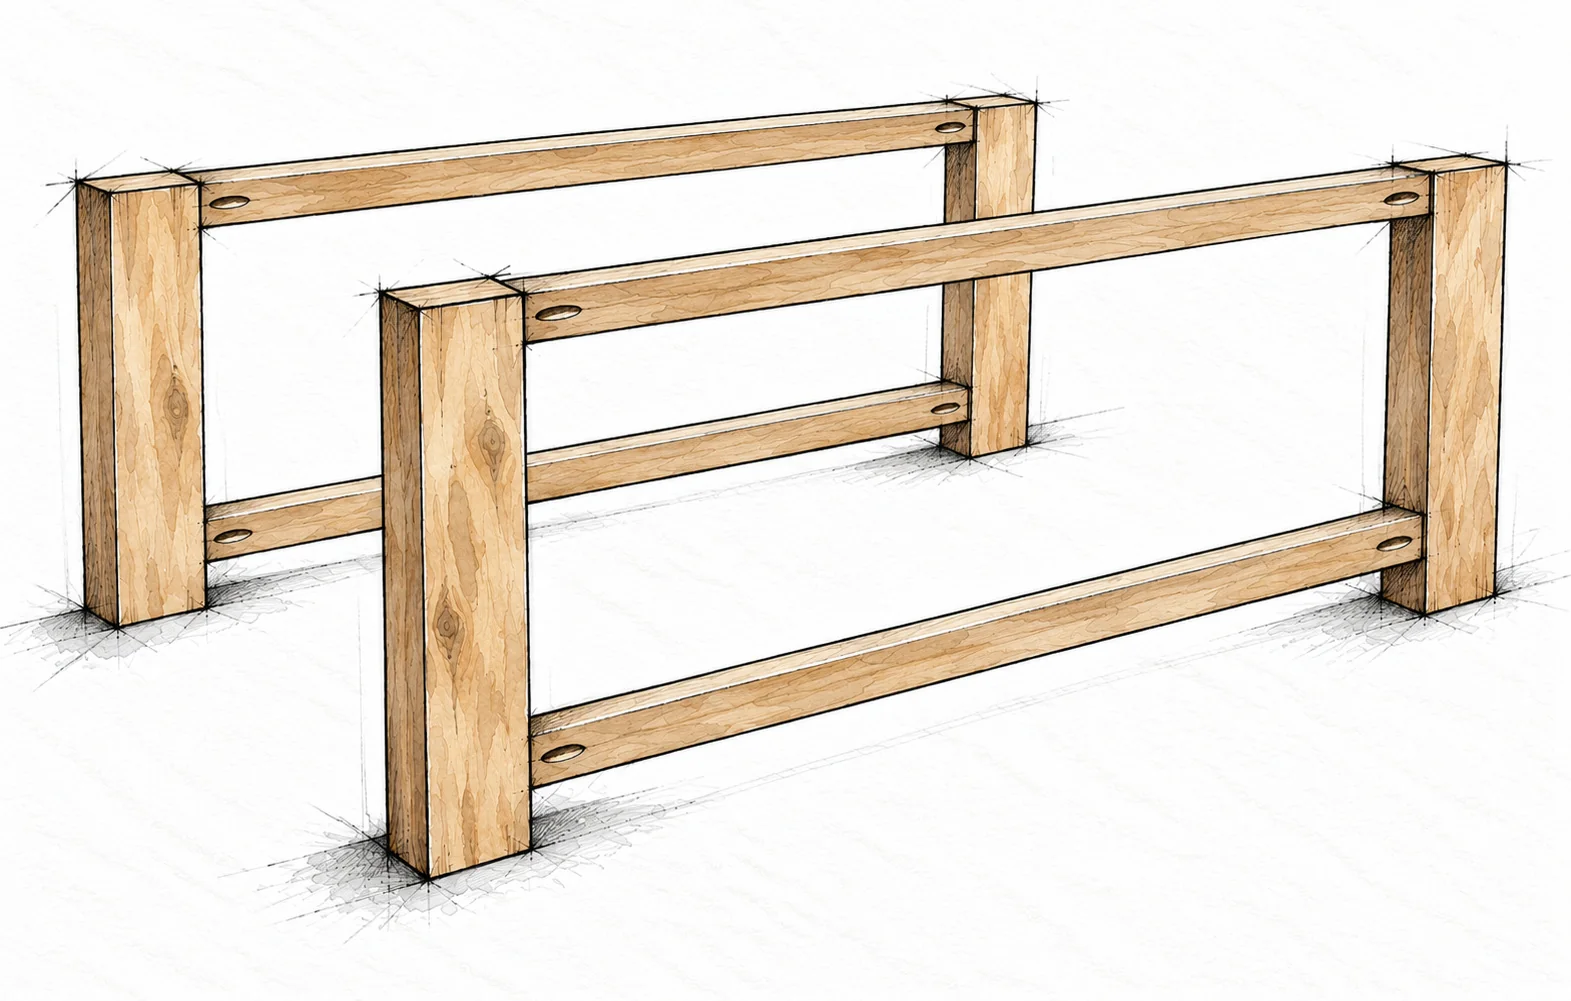
Build two long side frames

A × 4 / B × 4

rustic x coffee table — 9 illustration
Build two long side frames · Rustic X Coffee Table

Lay out matching frames

Place two legs A and two rails B on a flat surface. Keep the broad leg faces in the long-side plane. Set the top rail flush with the leg tops and the bottom rail underside 2 1/4 in (57.2 mm) above the leg bottoms.

Clamp and join

Set the pocket-hole jig for 1 1/2 in (38.1 mm) stock. Glue the joints, clamp faces flush and use 2 1/2 in (63.5 mm) pocket-hole screws. Make a second identical frame.

BEFORE YOU CONTINUE

Compare the frames side by side: their rails must line up and each frame must be square.

STEP 02 / ASSEMBLY

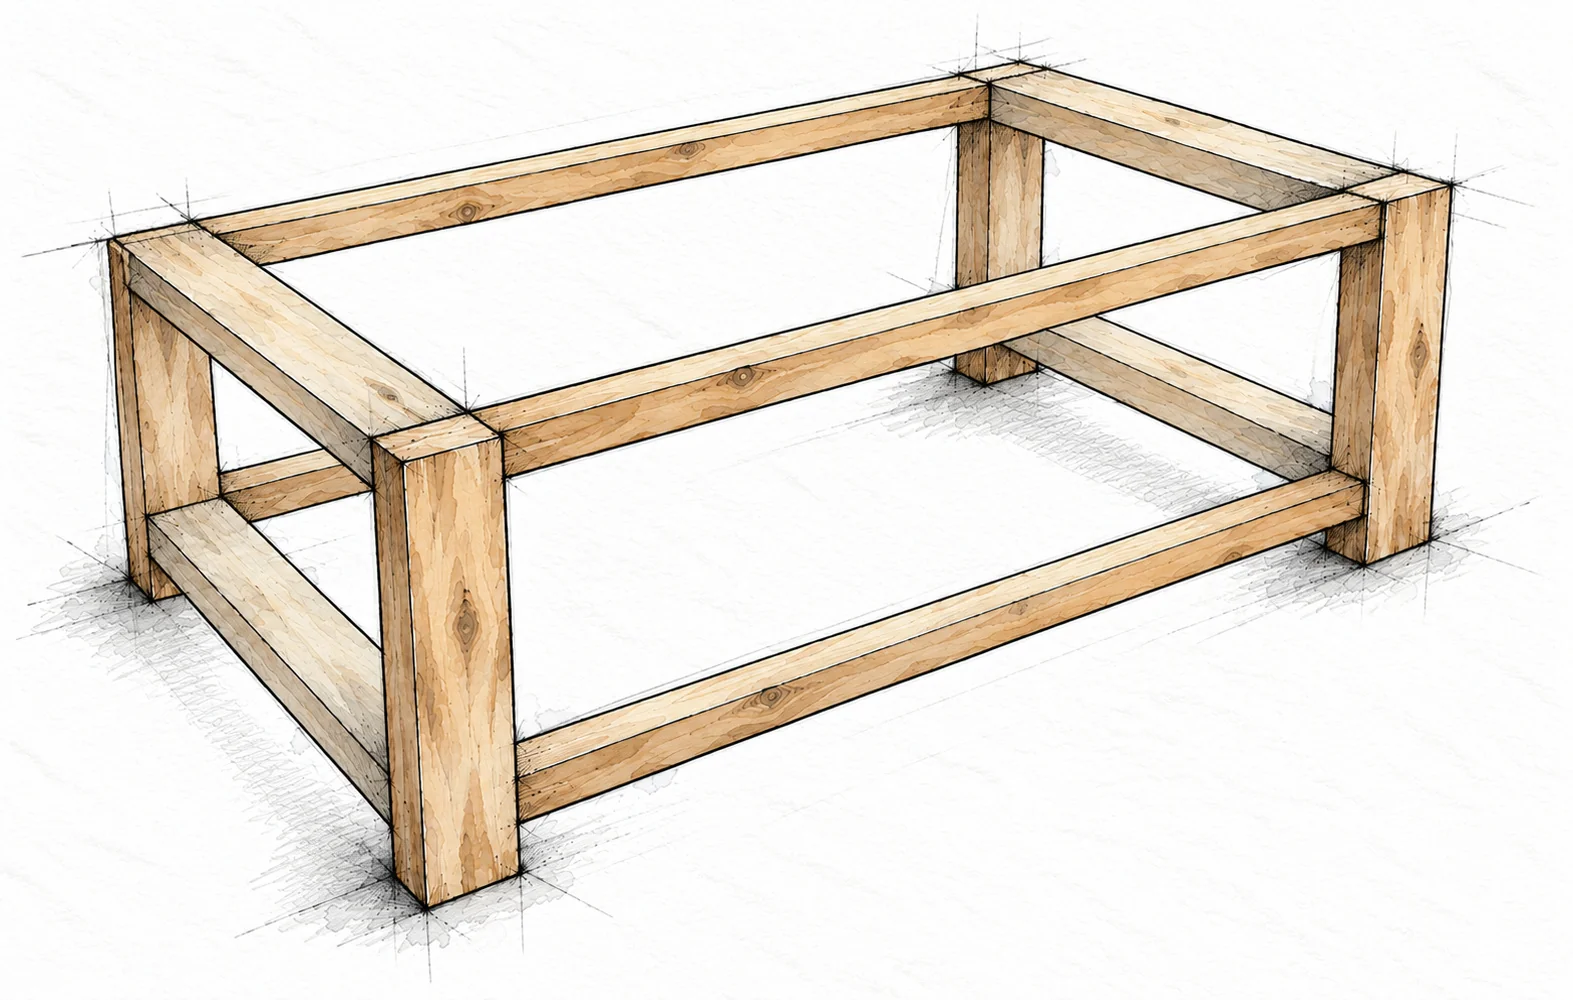
Connect the end rails

C × 4 / Assembled side frames

rustic x coffee table — 10 illustration
Connect the end rails · Rustic X Coffee Table

Measure first

Place both shelf boards D edge to edge and measure their combined width. The target is 22 1/2 in (571.5 mm); check C against that measured width before joining the base.

Bridge the two frames

Fit upper and lower C rails at both short ends, broad faces horizontal. Upper rails are flush with leg tops; lower rails align with B. Glue, clamp square and use 2 1/2 in (63.5 mm) pocket-hole screws. Hide upper holes on top and lower holes underneath.

BEFORE YOU CONTINUE

Check equal corner-to-corner diagonals. All four feet should rest on a flat surface without rocking.

STEP 03 / ASSEMBLY

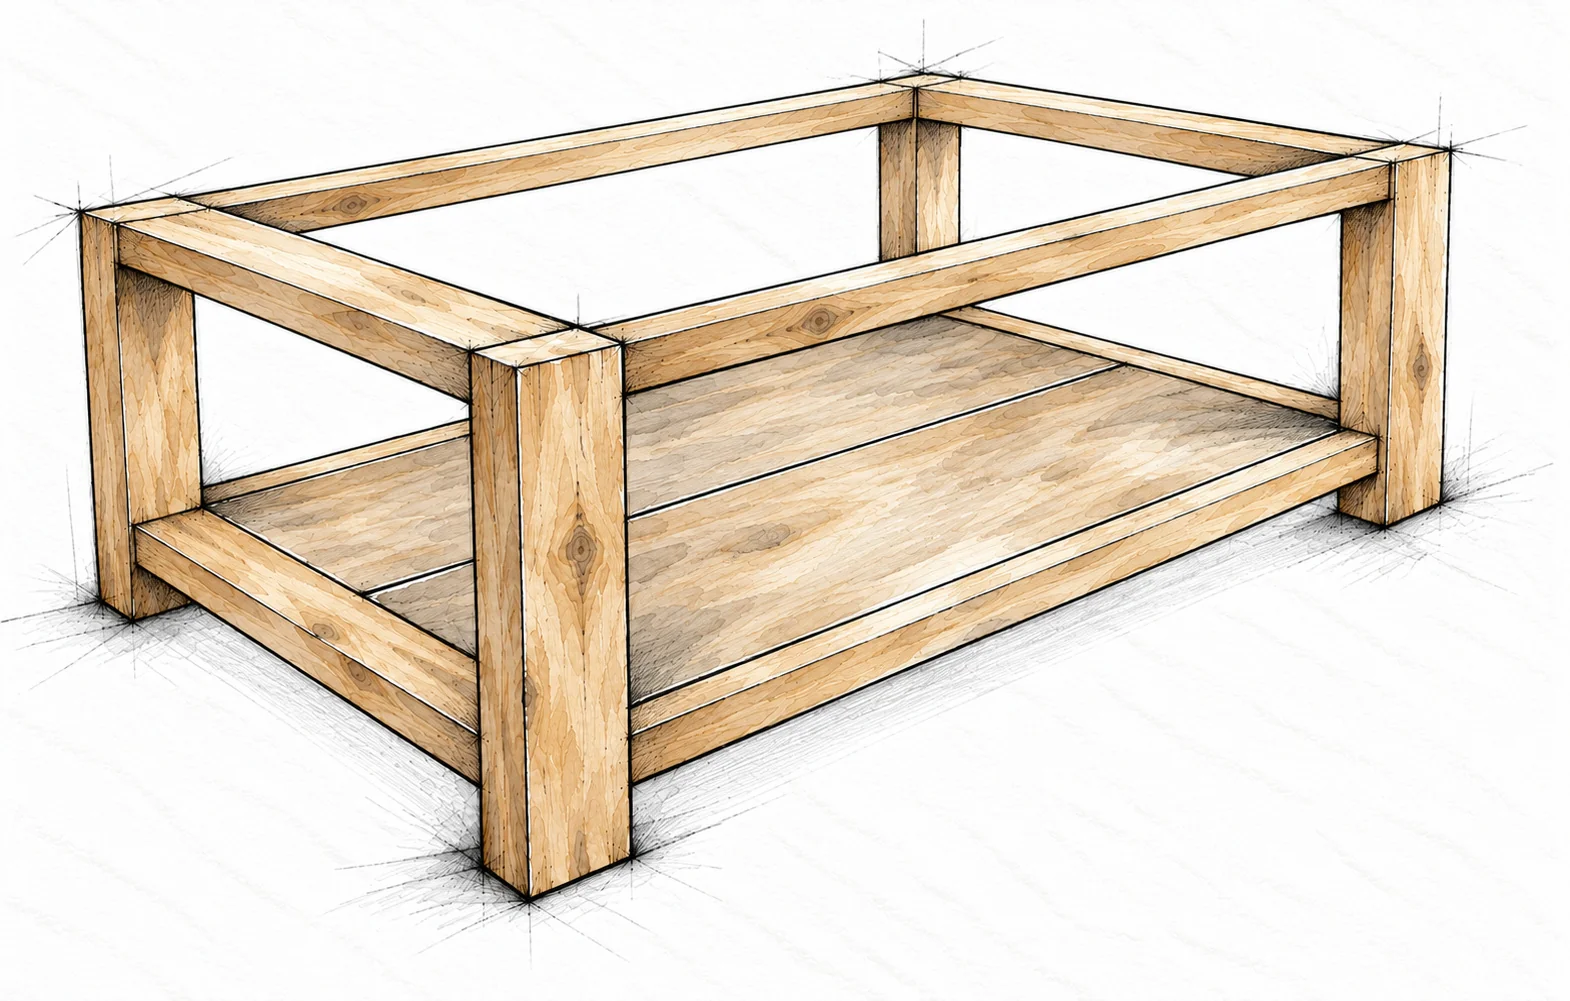
Install the two-board shelf

D × 2 / 3/4 in (19.1 mm) stock

rustic x coffee table — 11 illustration
Install the two-board shelf · Rustic X Coffee Table

Join the shelf panel

Arrange both 41 in (1041.4 mm) boards on a flat surface. Set the jig for 3/4 in (19.1 mm) stock. Clamp the seam flush and join the boards with 1 1/4 in (31.8 mm) pocket-hole screws.

Fit the panel inside the base

Drill the 3/4 in pocket holes around the panel edges before access is restricted. Position the shelf flush with the upper surfaces of the lower rails. Clamp and secure the perimeter with 1 1/4 in pocket-hole screws.

BEFORE YOU CONTINUE

The shelf has two wide boards and one central seam. It sits within the lower frame, not on top of it.

STEP 04 / ASSEMBLY

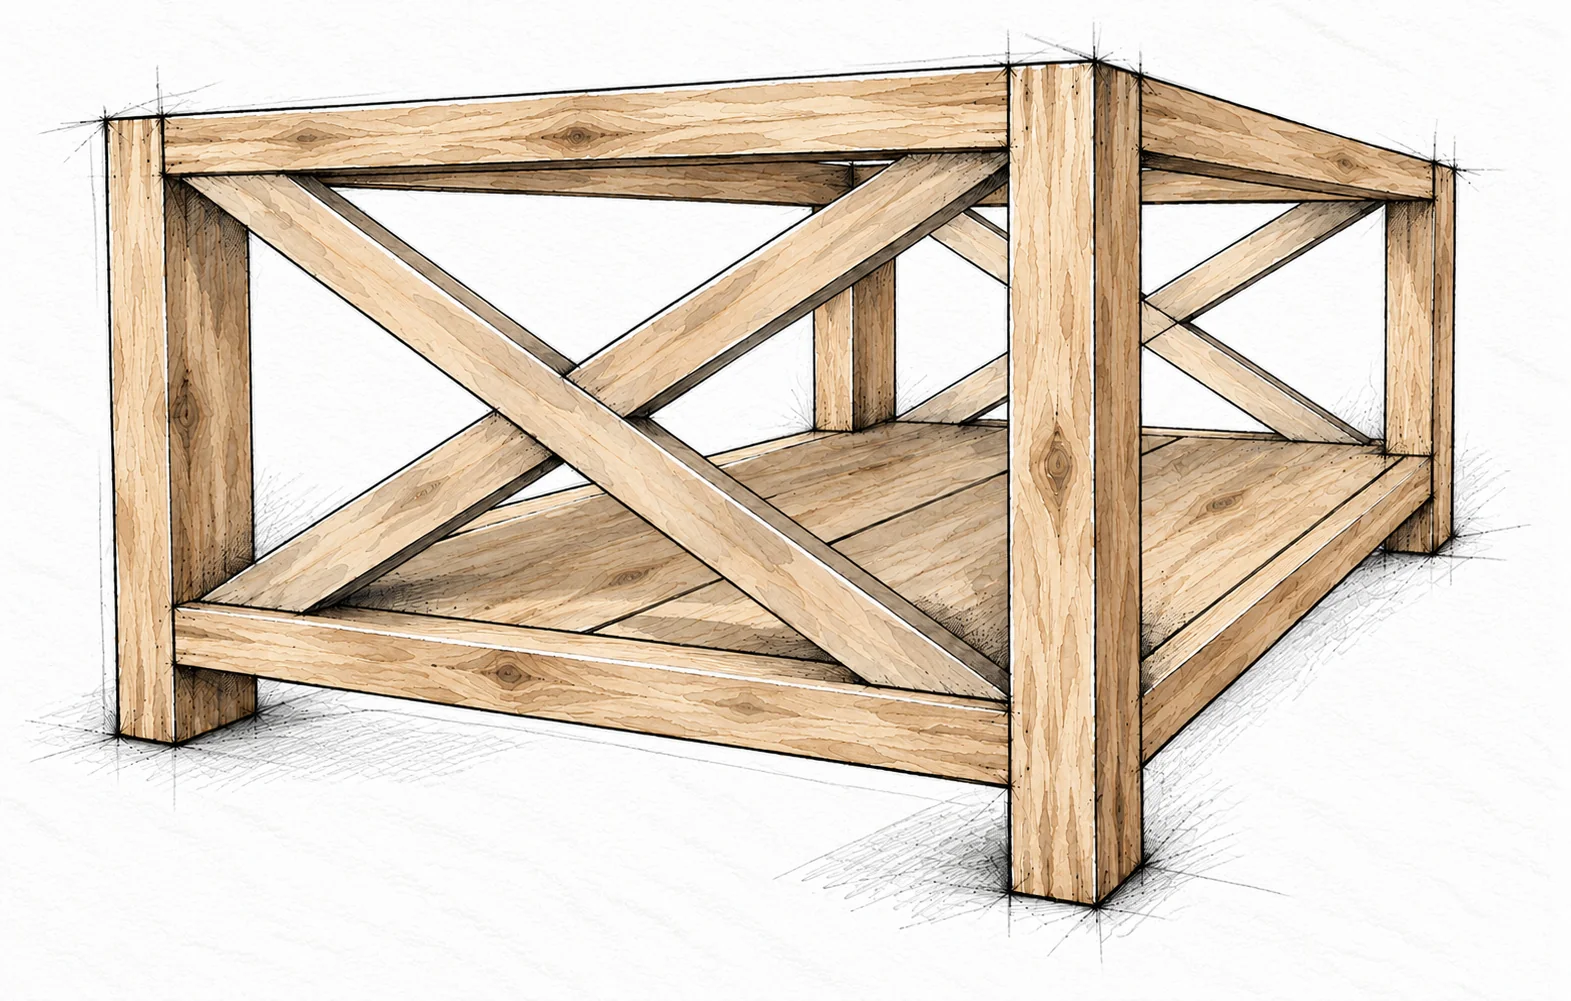
Fit the short-end X details

E × 2 / F × 4

rustic x coffee table — 12 illustration
Fit the short-end X details · Rustic X Coffee Table

Make one X at a time

Review Angles and fit checks and Tools and preparation. Test-fit one full E diagonal in a short-end opening. Fit two F pieces against its sides to complete the X. Repeat at the opposite short end.

Join three pieces not two

Each X has one continuous member and two shorter members butted to it, not a half-lap. Keep pocket holes toward the inside and fasten lower ends from underneath. Use glue and screws without splitting the narrow ends.

BEFORE YOU CONTINUE

Both short ends receive an X; both long sides stay open. Do not force a tight brace into the frame.

STEP 05 / ASSEMBLY

Build and attach the top

G × 5 / 2 1/2 in (63.5 mm) screws

rustic x coffee table — 13 illustration
Build and attach the top · Rustic X Coffee Table

Assemble on a flat surface

Align the ends of all five 52 in (1320.8 mm) boards. Set the jig for 1 1/2 in (38.1 mm) stock. Join with 2 1/2 in (63.5 mm) pocket-hole screws, clamping across the panel to keep faces flush.

Center and secure

With help, center the top on the base. Standard stock gives calculated overhangs of 2 in (50.8 mm) at the ends and 1 in (25.4 mm) at the sides. Fasten through the aprons with 2 1/2 in screws after confirming attachment details.

BEFORE YOU CONTINUE

Check every screw path before driving. No screw tip should break through the tabletop or shelf.

FINISH AND INSPECT

Sand finish and inspect

The hero illustration shows a warm wood finish. Choose the color and sheen that suit your room.

Surface preparation

Inspect the joints, soften sharp edges and sand with the grain. Remove dust before finishing. Test the complete finish system on an offcut from the same stock; color can vary from board to board.

Apply the finish

Use an interior paint system, or stain followed by a compatible protective clear coat. Follow product directions for preparation, ventilation, drying, sanding between coats and full cure time. Handle and dispose of stain-soaked materials according to the label.

Final workshop check

• Both end X details are secure without split ends. • The shelf and top are level; no fasteners protrude. • All four feet contact the floor; the frame does not rack. • The finish is fully cured before placing items on it.

Use and care

No tested load rating is established. This is a coffee table, not a seat or step. Lift it with help rather than dragging the legs across the floor. Recheck joints periodically.

BUILD / FINAL CHECKS

Build notes

Review these checks before assembly and before using the table.

Read the drawings

Illustrations explain the assembly method; they are not scale cutting templates or independently certified engineering drawings. Use the written dimensions and measure the actual parts.

Fasteners and fitting

Screw counts, exact top-attachment screw positions, movement allowance and a dedicated fastener specification for every X joint are not established. Confirm these details for the actual stock and hardware before fastening. Do not infer missing hardware from the artwork.

Decorative details

Decorative metal corners are not included in this build. Keep all structural connections accessible for checking.

Use and care

No tested load capacity is established. Use this coffee table for its intended purpose, not as a seat or step. Lift with help and recheck joints periodically.

MAKE IT YOURS

Measure your own stock and dry-fit before fastening. If you make this project, I would love to see what you built.

Share your build