WOODWORKING · DIY · A HANDMADE HOME @grainbyjoy
GRAIN by JoyWOODWORKING PLANS · WORKSHOP STORIES · HOME
FIND YOUR NEXT GOOD THING
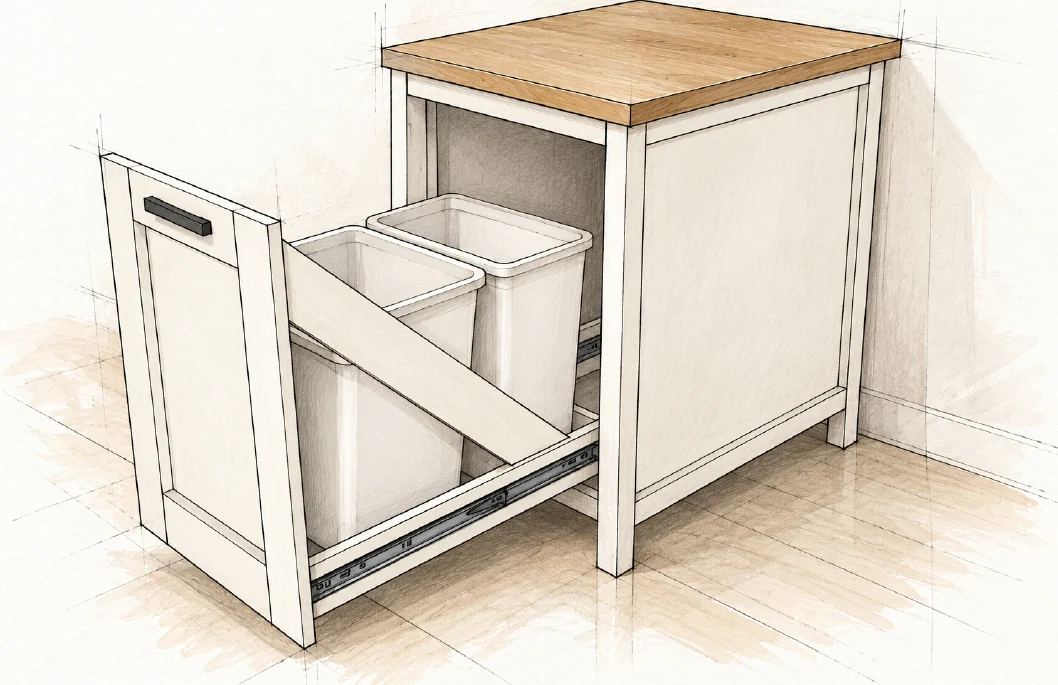
WOODWORKING PLANPullout Bin Kitchen Island
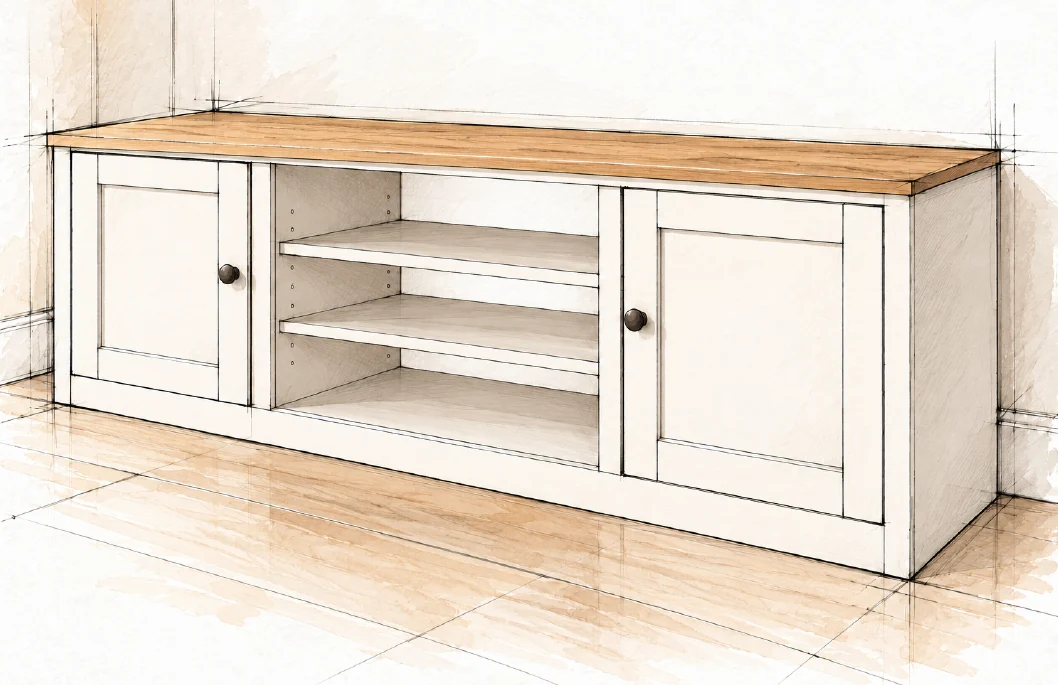
WOODWORKING PLANFarmhouse Media Console
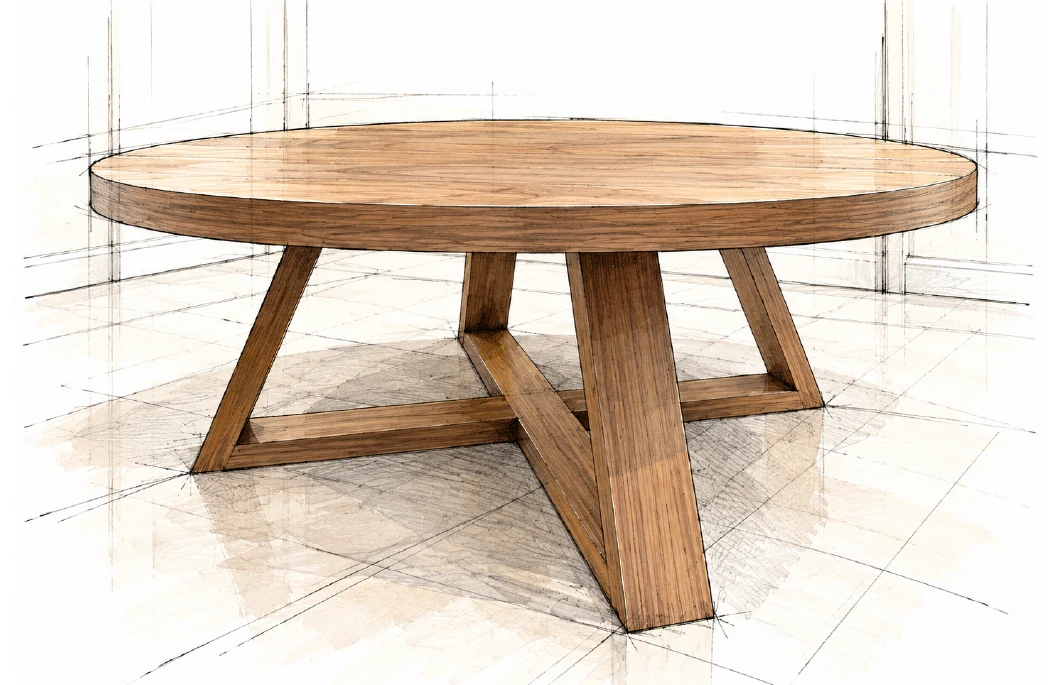
WOODWORKING PLANRound Coffee Table
WOODWORKING PLANGeometric Hairpin Coffee Table
WOODWORKING PLANHollow Panel Waterfall Console
WOODWORKING PLANFarmhouse Console Table
WOODWORKING PLANBarn Door Console
WOODWORKING PLANBeginner Farm Table
WOODWORKING PLANFarmhouse Coffee Table
FREE WOODWORKING PLAN
Storage / INTERMEDIATE

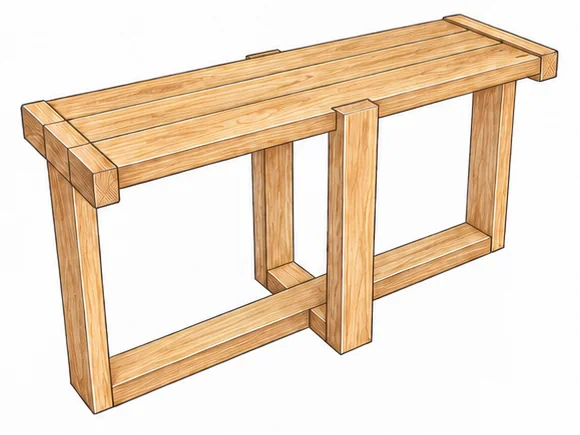
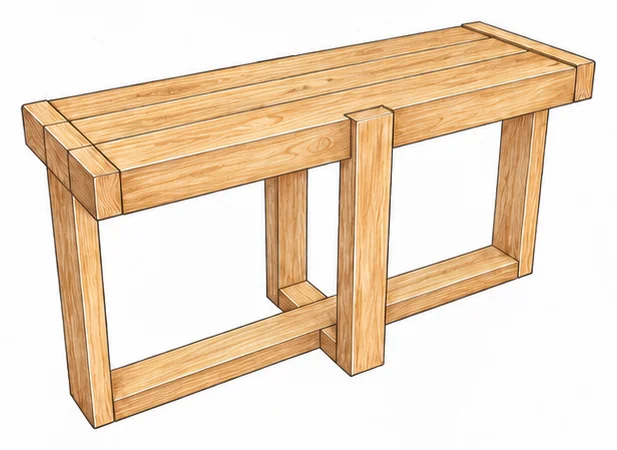
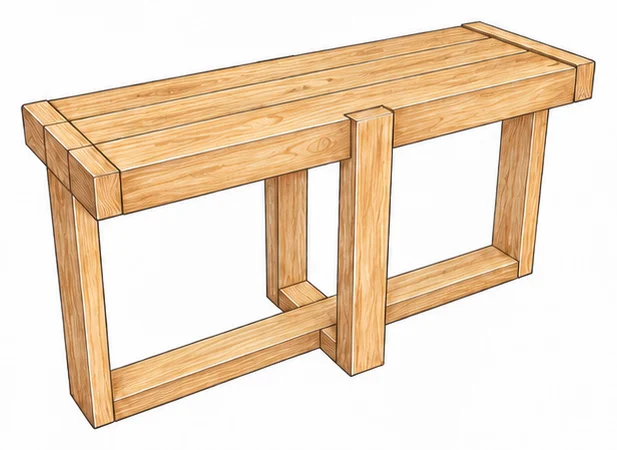
Modern Farmhouse Console

A narrow three-plank top and cross-shaped base create a simple farmhouse silhouette.

FINISHED DIMENSIONS60 L x 18 D x 30 H in
SKILL LEVELIntermediate
WHAT IS INCLUDEDMaterials, cut list and illustrated steps
Read the free planMade this plan? Share your build
A GOOD BUILD STARTS WITH A CLEAR PLAN
  • Materials and tools
  • Cutting information and dimensions
  • Illustrated assembly steps
FROM THE FIRST CUT TO THE LAST DETAIL

Take it one step at a time

Everything you need to follow this build is written below. Read the materials, measurements and construction notes before your first cut.

Read the build steps

Yes. The complete plan is available to read on this page.
THE FREE BUILD GUIDE

Modern Farmhouse Console

A narrow three-plank top and cross-shaped base create a simple farmhouse silhouette.

PREPARE

Materials and tools

QuantityMaterialNotes
62x6 x 8 ft framing lumberNominal stock
22x4 x 8 ft framing lumberNominal stock; fitted trim
Not stated2 1/2 in pocket-hole screws63.5 mm length
Not stated2 in brad nails50.8 mm length
Not statedWood glueFollow product directions

Tools from the tutorial

Miter saw, drill, pocket-hole jig and brad nailer. A face clamp and table saw are listed as optional. The source does not provide a complete consumables or safety-equipment list.

Nominal stock and actual sizes

Common dressed 2x6 stock measures 1 1/2 x 5 1/2 in (38.1 x 139.7 mm); 2x4 measures 1 1/2 x 3 1/2 in (38.1 x 88.9 mm). Measure your actual boards. These common sizes do not resolve the source depth discrepancy.

Preparation for beginners

Practical guidance: label parts A to F after cutting, work on a flat surface, and use appropriate eye and hearing protection. Follow each tool manufacturer's setup and safe-use instructions.

CUT AND LABEL

Cut list

PartQtyStockCut inCut mmUse
A42x630762.0Legs
B12x6571447.8Long base runner
C22x65127.0Short base runners
D32x6571447.8Top planks
E42x427 1/2698.5Long trim; fit to size
F42x46 1/2165.1Short trim; fit to size

Trim is fitted to the assembly

E and F each have one 45-degree miter and one square end in the source cut drawing. The measuring edge is not explicitly labeled. Fit these pieces during steps 6 and 7; do not treat the list as a substitute for checking the actual opening.

Pocket hole setup

The source calls for a 1 1/2 in material setting (38.1 mm) and 2 1/2 in screws (63.5 mm). Hole locations are omitted from the restyled illustrations. Use source guide p2 for the original layout and your jig instructions for setup.

Important depth check

Three common 5 1/2 in planks plus two 1 1/2 in trim edges total 19 1/2 in, not the labeled 18 in. A verified ripping specification was not found. Resolve this before cutting the top or trim; no correction has been invented.

STEP 01 / ASSEMBLY

Build the base

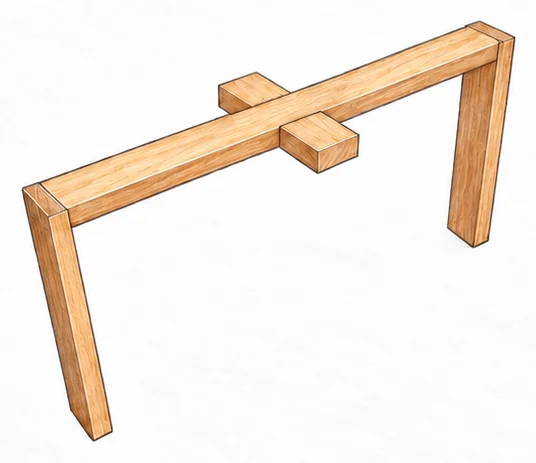
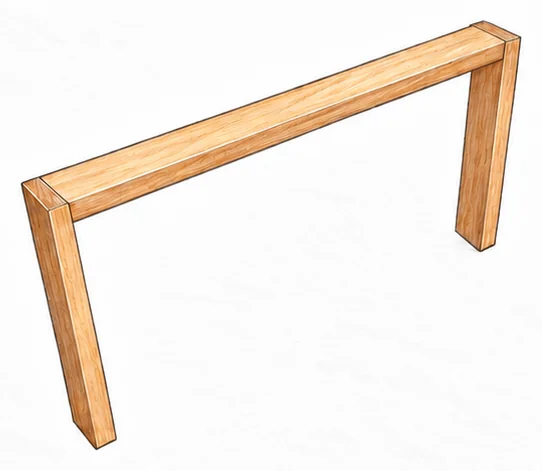
01 Join the end legs

Cut A legs and B runner to the listed lengths. Drill pocket holes at both ends of B using the source's 1 1/2 in material setting. Join one A to each end of B with wood glue and 2 1/2 in pocket-hole screws. The runner ends meet the inside leg faces; leg ends and runner top are flush.

Build the base · Modern Farmhouse Console

Beginner check This view is upside down. The high runner in this picture will sit at floor level after the table is turned over.

Parts: A + B

02 Center the short runners

Drill pocket holes at both ends of each C runner with the same 1 1/2 in setting. Position one C on each side of B at its center, as in the original drawing. Apply glue and fasten with 2 1/2 in pocket-hole screws. Keep the upper faces aligned to form a flat cross.

Build the base · Modern Farmhouse Console

Beginner check Dry-fit both short runners before driving screws. They butt into the long runner; they do not overlap across its top.

Parts: B + C

STEP 02 / ASSEMBLY

Assemble the top

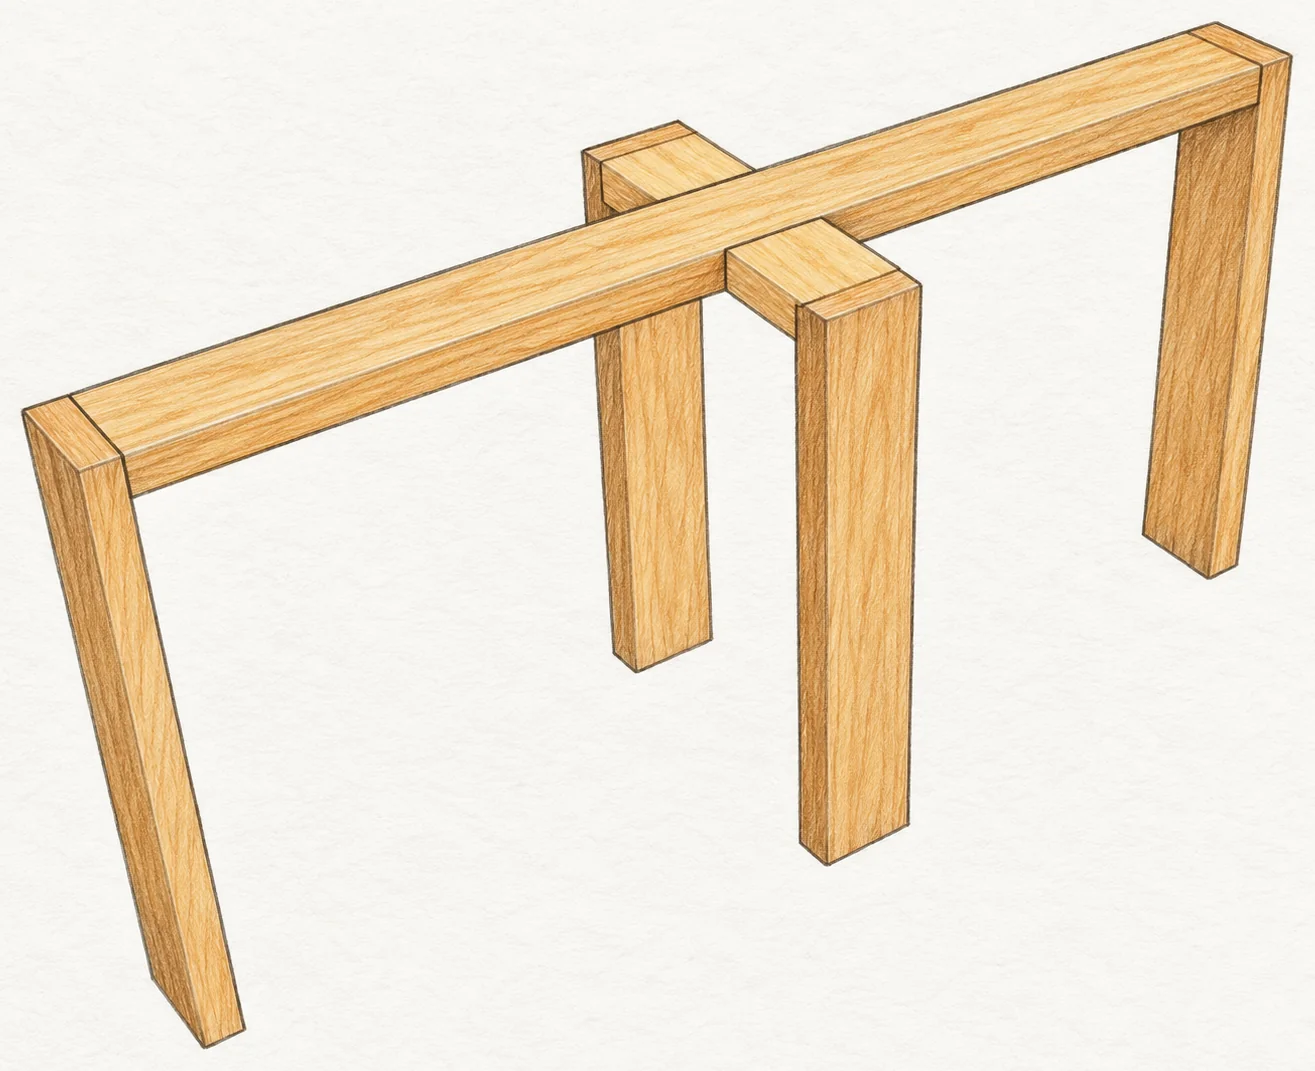
03 Complete the four leg base

Attach the remaining two A legs to the outer ends of the C runners with wood glue and 2 1/2 in pocket-hole screws. The runners meet the inside faces of these legs. Keep the leg ends flush with the runners' upper surface. The four legs form a cross arrangement, not a four-corner rectangle.

Assemble the top · Modern Farmhouse Console

Beginner check Compare the two center-leg joints with the original step drawing. Do not rest a runner on top of a leg or leave a projecting end.

Parts: A + B + C

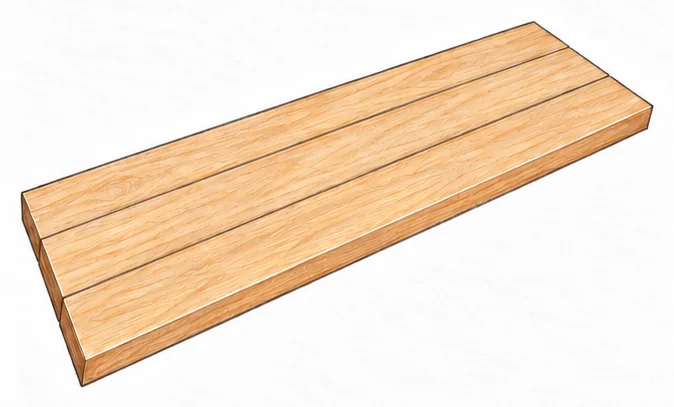
04 Join the three top planks

Cut three D planks. Set the pocket-hole jig for 1 1/2 in material and use the hole layout in the original cut drawing. Join the planks with 2 1/2 in pocket-hole screws. The drawing shows the underside; keep the opposite, finished face flush as the boards are joined.

Assemble the top · Modern Farmhouse Console

Beginner check Pocket holes are deliberately omitted from this restyled image. It is not a drilling template; open source guide p2 before drilling.

Parts: D

STEP 03 / ASSEMBLY

Fit the top and trim

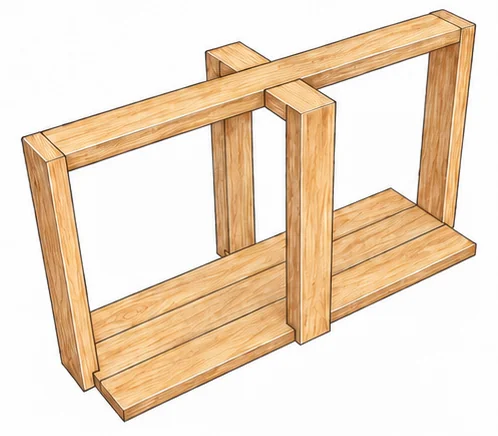
05 Attach the base to the top

Keep the top planks upside down on a supported work surface. Center the inverted base over them in the orientation shown. Attach the legs to the top planks using 2 1/2 in pocket-hole screws and wood glue. The floor runner remains uppermost while this connection is made.

Fit the top and trim · Modern Farmhouse Console

Beginner check Check the complete base position before fastening any leg. The long ends and center legs must stay aligned with the intended trim openings.

Parts: A + B + C + D

06 Turn upright and fit end trim

Turn the assembly right-side up. Measure and fit the four short F trim pieces to the actual top. The source shows one 45-degree end and one square end per piece. Drill pocket holes at the square ends, then attach with 2 1/2 in pocket-hole screws and glue.

Fit the top and trim · Modern Farmhouse Console

Beginner check Keep trim, leg tops and tabletop faces flush. Fit one piece before repeating cuts; the source depth and stock-width relationship still needs confirmation.

Parts: F

STEP 04 / FINISH

Finish the console

07 Fit the long trim

Measure and fit the four E long trim pieces. Drill pocket holes at their square ends using the source's 1 1/2 in setting. Attach to the top and legs with 2 1/2 in screws and glue. Use 2 in brads to join the mitered corners. The front and back center legs interrupt the trim.

Finish the console · Modern Farmhouse Console

Beginner check The trim does not run across the center-leg faces. Compare all four corner miters before nailing.

Parts: E

08 Sand and finish

The original guide finishes by sanding the table and applying a finish. Review the fitted joints and remove rough edges before finishing. Select a finish appropriate to the intended use and follow that product's preparation and curing directions. No specific finish schedule or load rating is verified here.

Beginner check Practical tip: inspect for wobble on a flat floor before styling the table. Do not treat this review sample as an independently tested plan.

Parts: Completed assembly

CHECK BEFORE YOU BUILD

Final checks and sources

Confirm the finished depth

The source labels 18 in (457.2 mm), but common stock widths and trim do not reconcile with that value. No verified ripping dimensions are supplied here.

Check the fit and intended use

Exact fastener counts, a load rating and any wall-restraint specification are unverified. Review those items before treating the sample as a construction-ready plan.

Source and attribution

Modern Farmhouse Console Table by Ashley Turner, Shanty 2 Chic. Technical source checked October 29, 2026. Assembly wording is summarized in English; original stage order and views are retained.

Original how to https://www.shanty-2-chic.com/diy-modern-farmhouse-console-table/

Inches are primary. Millimeters are converted at 25.4 mm per inch and rounded to 0.1 mm. Nominal lumber labels are not measured dimensions. Illustrations are AI-restyled source views, not independent structural or manufacturing verification.

MAKE IT YOURS

Measure your own stock and dry-fit before fastening. If you make this project, I would love to see what you built.

Share your build