WOODWORKING · DIY · A HANDMADE HOME @grainbyjoy
GRAIN by JoyWOODWORKING PLANS · WORKSHOP STORIES · HOME
FIND YOUR NEXT GOOD THING
WOODWORKING PLANPullout Bin Kitchen Island
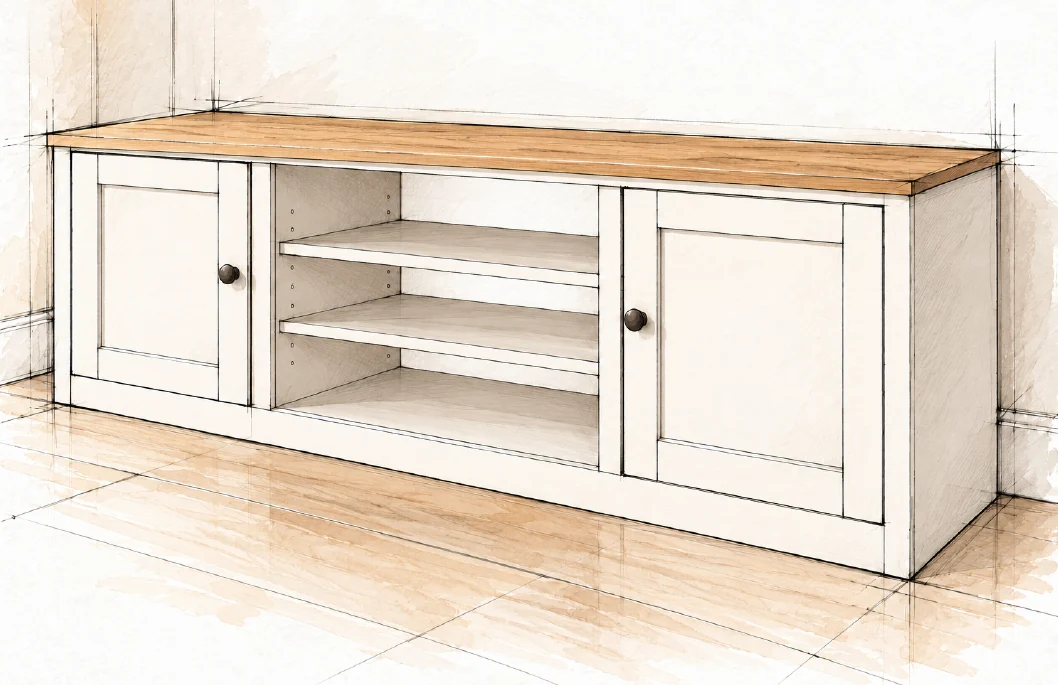
WOODWORKING PLANFarmhouse Media Console
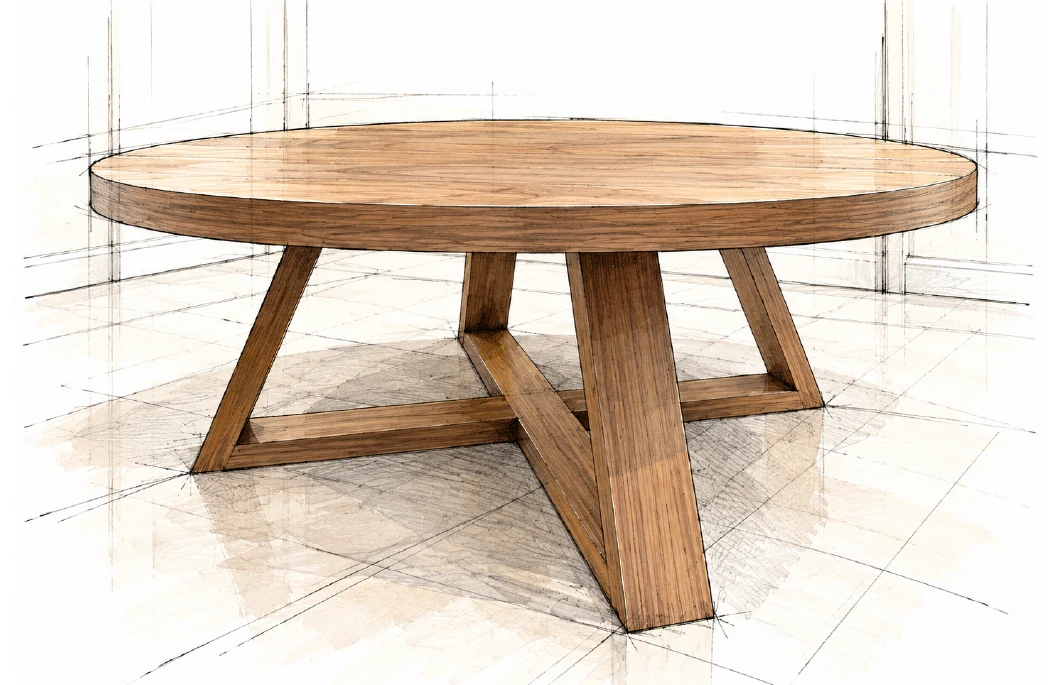
WOODWORKING PLANRound Coffee Table
WOODWORKING PLANGeometric Hairpin Coffee Table
WOODWORKING PLANHollow Panel Waterfall Console
WOODWORKING PLANFarmhouse Console Table
WOODWORKING PLANBarn Door Console
WOODWORKING PLANBeginner Farm Table
WOODWORKING PLANFarmhouse Coffee Table
FREE WOODWORKING PLAN
Storage / INTERMEDIATE

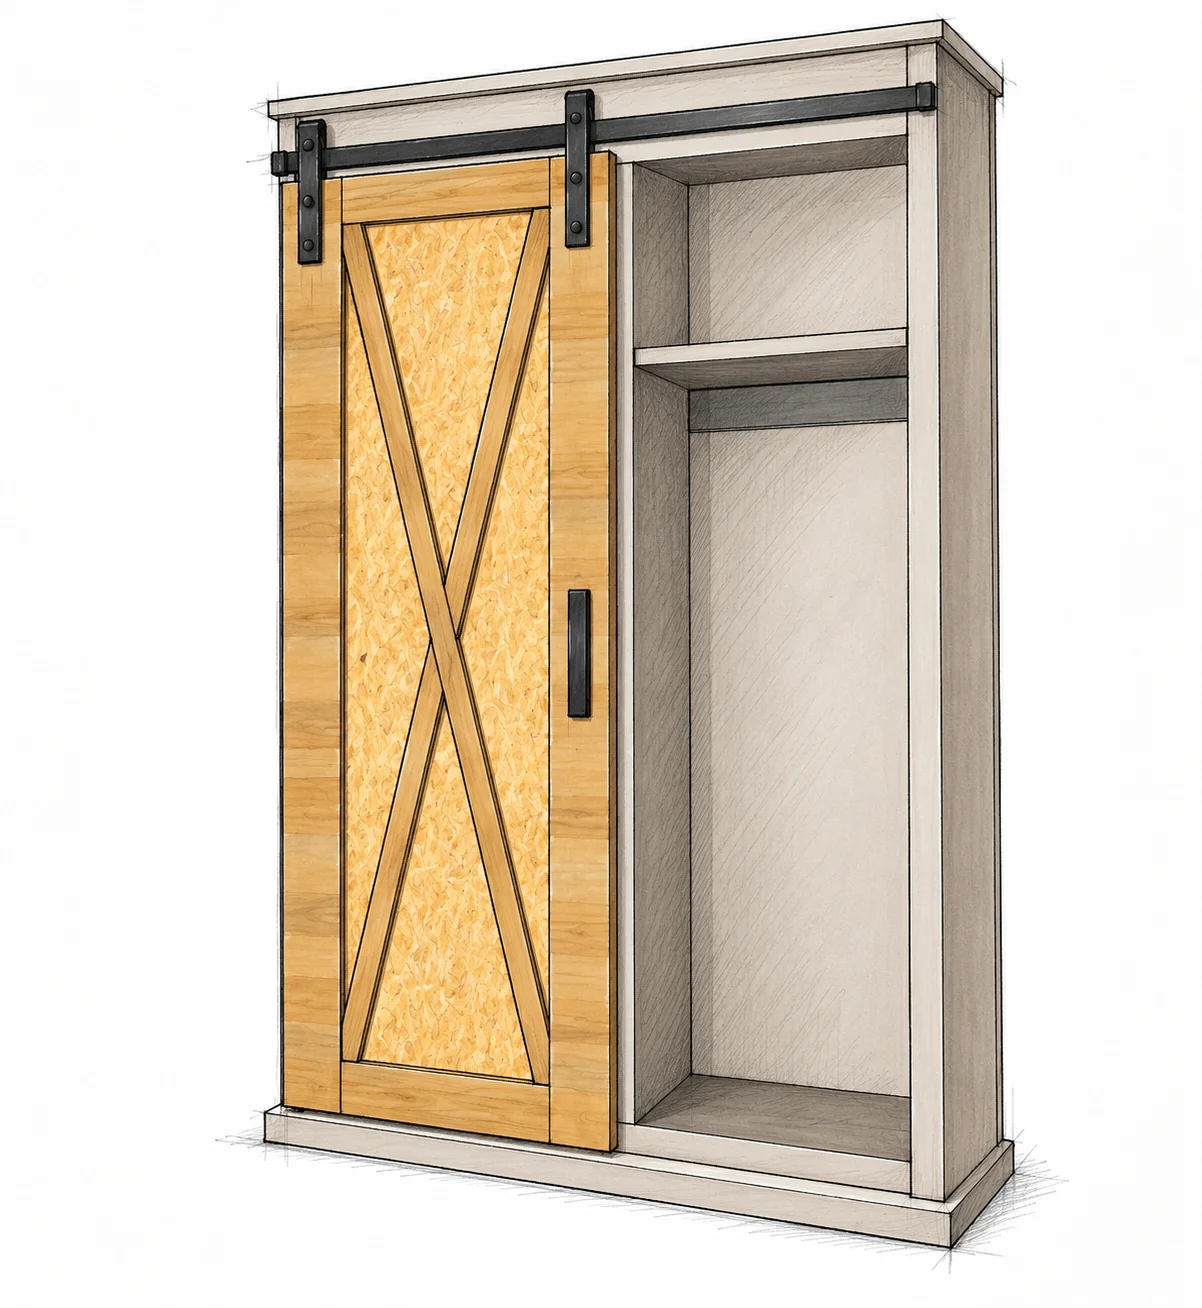
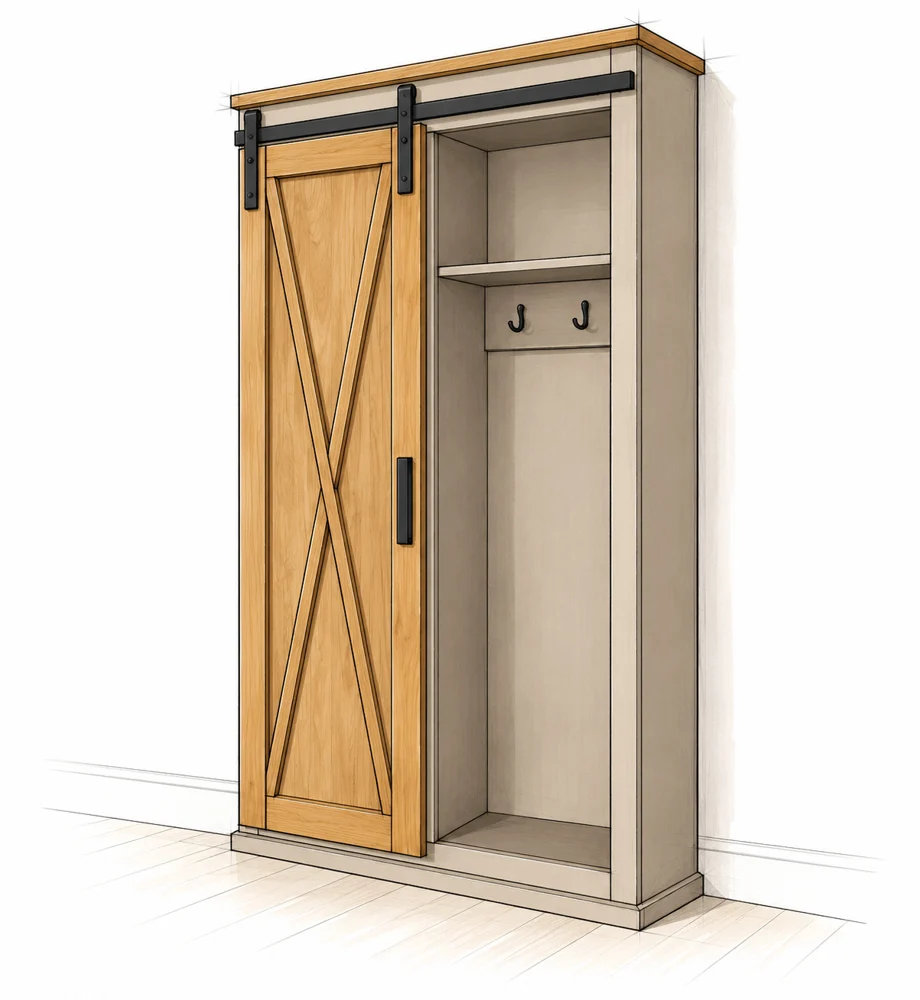
Entryway Barn Door Cabinet

A tall two-bay cabinet with shelves, hooks and a sliding X-detail door.

FINISHED DIMENSIONS49 3/4 × 12 3/4 × 84 3/4 in
SKILL LEVELIntermediate
WHAT IS INCLUDEDMaterials, cut list and illustrated steps
Read the free planMade this plan? Share your build
A GOOD BUILD STARTS WITH A CLEAR PLAN
  • Materials and tools
  • Cutting information and dimensions
  • Illustrated assembly steps
FROM THE FIRST CUT TO THE LAST DETAIL

Take it one step at a time

Everything you need to follow this build is written below. Read the materials, measurements and construction notes before your first cut.

Read the build steps

Yes. The complete plan is available to read on this page.
THE FREE BUILD GUIDE

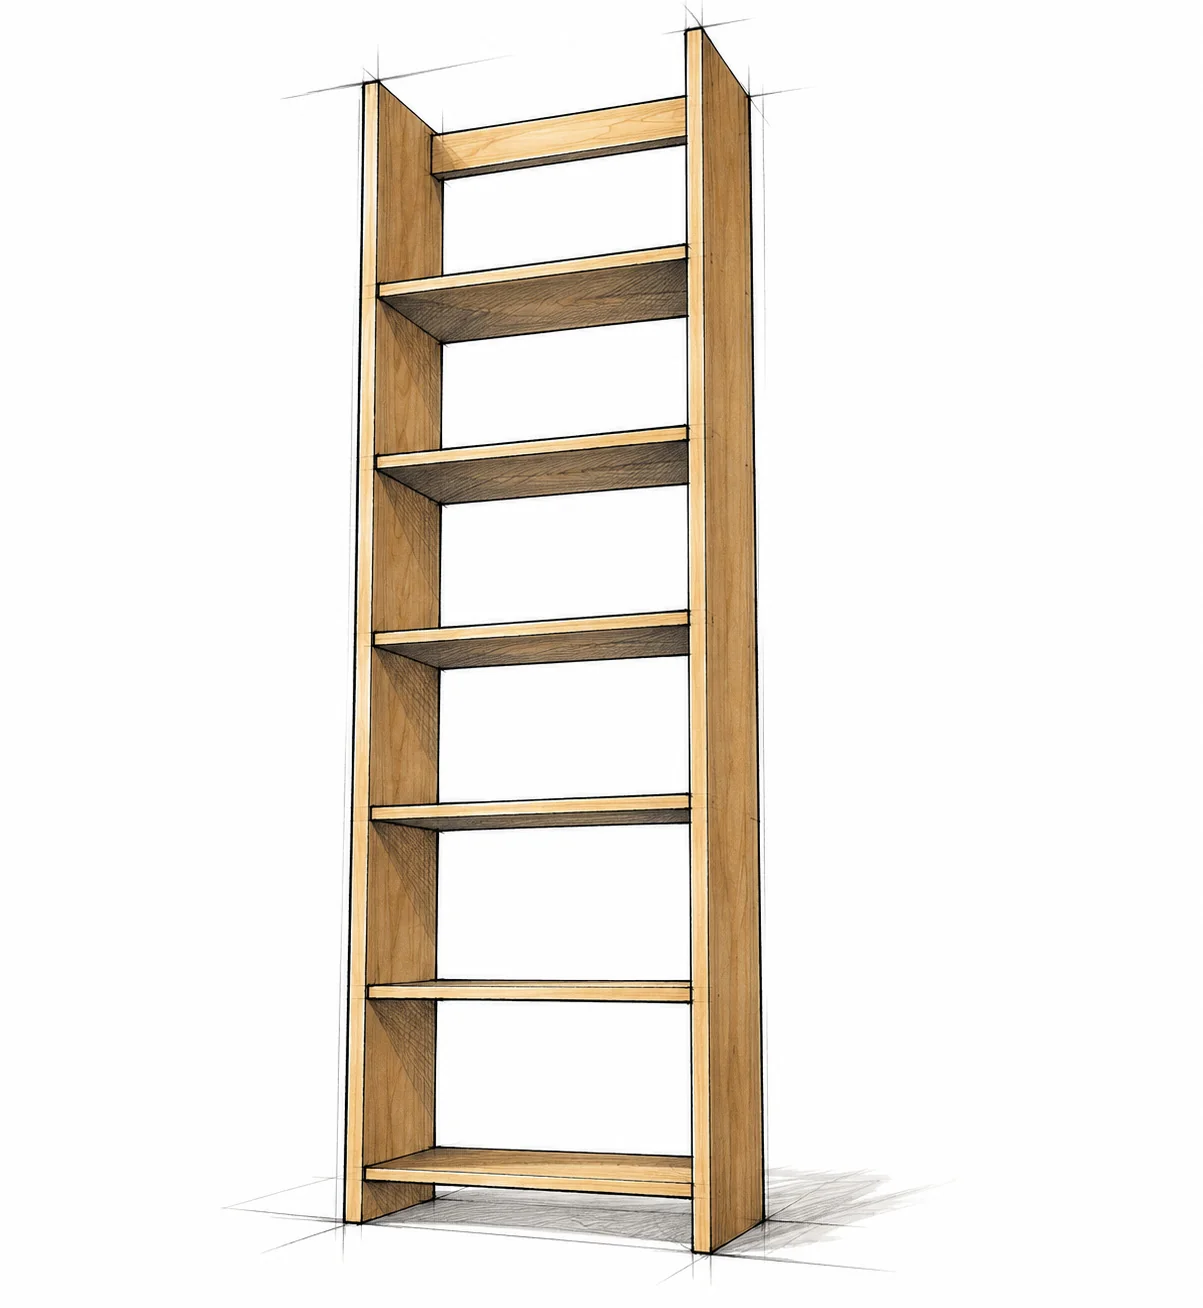
Entryway Barn Door Cabinet

A tall two-bay cabinet with shelves, hooks and a sliding X-detail door.

BEFORE THE FIRST CUT

Materials

Choose straight, dry boards. Check each actual thickness and width before you lay out the cuts.

QuantityNominal stockPurchase size
5 boards1×128 ft / 96 in / 2438.4 mm
1 board1×88 ft / 96 in / 2438.4 mm
1 board1×68 ft / 96 in / 2438.4 mm
3 boards1×48 ft / 96 in / 2438.4 mm
2 boards1×38 ft / 96 in / 2438.4 mm
4 boards1×28 ft / 96 in / 2438.4 mm
2 sheets1/4 in plywood 6.4 mm nominal48 × 96 in 1219.2 × 2438.4 mm

Plan each board before cutting

Reserve three 1×12 boards for the uprights. Each of the other two yields four 23 in shelves. Allow for saw kerf, end trimming and defects.

Consumables

Wood glue, filler, abrasives, cloth and compatible interior finish.

CHOOSE HARDWARE BEFORE BUILDING

Fasteners and fittings

Do not substitute ordinary screws for pocket-hole screws. Buy enough for every joint plus setup tests; exact package counts are not fixed.

HardwareWhere it is used
1 1/4 in / 31.8 mm pocket-hole screwsShelves, supports, face frame, top joint and door frame
1 1/4 in / 31.8 mm brad nailsFace frame, top and base trim
3/4 in / 19.1 mm brad nailsCabinet back and door backing
48 in / 1219.2 mm barn-door hardware kitMust accept a 1 in / 25.4 mm finished door and its weight
Hooks and handleChoose fittings and screws for the actual wood thickness
Furniture anti-tip restraintChoose for this cabinet and the actual wall construction

Confirm the whole sliding system

Use the kit maker’s required track fasteners, hangers, stops, anti-jump devices and bottom guide. Confirm mounting support, door clearances and travel before final door cuts or drilling.

WORKSHOP SETUP

Tools and safe preparation

This is an intermediate build. Practice the pocket-hole and brad-nail setup on offcuts before working on the cabinet.

Measure and cut

Tape measure, square, pencil, circular saw with a straight guide, compound miter saw and sander. Support full sheets and long boards. Mark the waste side and allow for blade kerf.

Assemble

Drill/driver, suitable bits, a pocket-hole jig for 3/4 in (19.1 mm) stock, brad nailer, clamps, a level work surface and a long straightedge. Use a level and wall-detection tools for the final installation.

Protect yourself

Wear eye and hearing protection. Control dust and use suitable respiratory protection. Clamp work, keep hands clear of cutting and nailing paths, and disconnect power before tool adjustments.

Handle the tall frame with help

Assemble supported on a flat surface where practical. Use a helper for lifting, turning and standing the cabinet; never leave an unsecured tall frame where it can tip. Do not climb on shelves or hang from the door.

Read drawings correctly

Sketches explain form, not machining tolerances. Use the written measurements and your actual stock, not scaled lengths from a drawing. The finish and visible hardware are illustrative.

PARTS A TO G

Cabinet cut list

All lengths below are finished cuts. Keep shelf ends square and matching; label all pieces before assembly.

Part and useQtyStockCut size inCut size mm
A Sides and divider31×12842133.6
B Shelves81×1223584.2
C Top rear supports21×423584.2
D Hook rail11×823584.2
E Back panel11/4 in plywood48 × 841219.2 × 2133.6
F Rear top board11×849 3/41263.7
G Front top board11×649 3/41263.7

Allocate the shelves

Six B pieces belong in the shelving bay. The other two form the bottom and upper shelf of the hook bay. C is an upright rear support at the top of each bay, not a shelf.

PARTS H TO M

Face frame and door cuts

Door rails M are provisional until the fitted opening and chosen hardware have been checked. See the door fit gate below.

Part and useQtyStockLength inLength mm
H Outer stiles21×3842133.6
I Face header11×643 1/41098.6
J Face footer11×443 1/41098.6
K Center stile11×2751905.0
L Door stiles21×476 1/21943.1
M Door rails21×417 1/4*438.2*

Door fit gate

*Using 3 1/2 in (88.9 mm) wide stiles, the listed rails make a 24 1/4 in (616.0 mm) wide door. This is a starting size, not a universal kit fit. Dry-fit the frame and confirm overlap, travel and all clearances before cutting the rails to final length.

Keep the face frame square

Place I and J between the two H stiles. K fits between I and J over the cabinet divider. Check both diagonals before tightening the joints.

MEASURE THE ASSEMBLED WORK

Parts cut to fit

Do not turn approximate trim lengths or sketched brace angles into fixed cuts. Mark them from the assembled cabinet or door.

PieceStockStarting size or method
Front base wrap1×2About 49 3/4 in / 1263.7 mm; fit to actual front
Two base returns1×2About 12 in / 304.8 mm each; fit to actual sides
Door X members1×2Scribe ends and crossing from the assembled frame
Door back panel1/4 in plywoodTrace and cut to the completed door frame

Efficient stock layout

The 1×8 yields the 23 in hook rail and 49 3/4 in top. The 1×6 yields the 49 3/4 in top and 43 1/4 in face header. Check usable board length before committing those paired cuts.

Reserve the three 1×4 boards

Two boards each yield one 76 1/2 in door stile and one provisional 17 1/4 in rail. The third yields two 23 in top supports and the 43 1/4 in face footer. Include saw kerf and end cleanup in every layout.

MEASURE THE WOOD YOU HAVE

Nominal and actual sizes

Nominal labels are purchase names. These typical dry, surfaced sizes explain the geometry; verify your own boards.

NominalActual section inActual section mm
1×23/4 × 1 1/219.1 × 38.1
1×33/4 × 2 1/219.1 × 63.5
1×43/4 × 3 1/219.1 × 88.9
1×63/4 × 5 1/219.1 × 139.7
1×83/4 × 7 1/419.1 × 184.2
1×123/4 × 11 1/419.1 × 285.8

Check sheet and door thickness

Plywood thickness varies. A 3/4 in frame plus 1/4 in backing makes a nominal 1 in (25.4 mm) door. Measure the actual stack and confirm kit compatibility.

Pocket-hole setup

Set the jig and drill stop for the actual 3/4 in stock. Clamp joints flush, then drive 1 1/4 in (31.8 mm) pocket screws without overdriving. Test on matching offcuts first.

1 in = 25.4 mm. Rounded to 0.1 mm. Use one unit system.

PLAN THE INSTALLATION

Size and clearances

Woodwork dimensions / Diagram not to scale

49 3/4 in / 1263.7 mm 12 3/4 in / 323.9 mm

84 3/4 in / 2152.7 mm

Front Side

Allow more room for hardware

The listed depth is the woodwork envelope. The sliding door, track, handle and wall restraint need additional clearance. Confirm the actual installed envelope and movement with the chosen kit.

Calculated checks: carcass width 48 1/4 in (1225.6 mm); top overhang 3/4 in (19.1 mm) per side when centered.

STEP 01 / ASSEMBLY

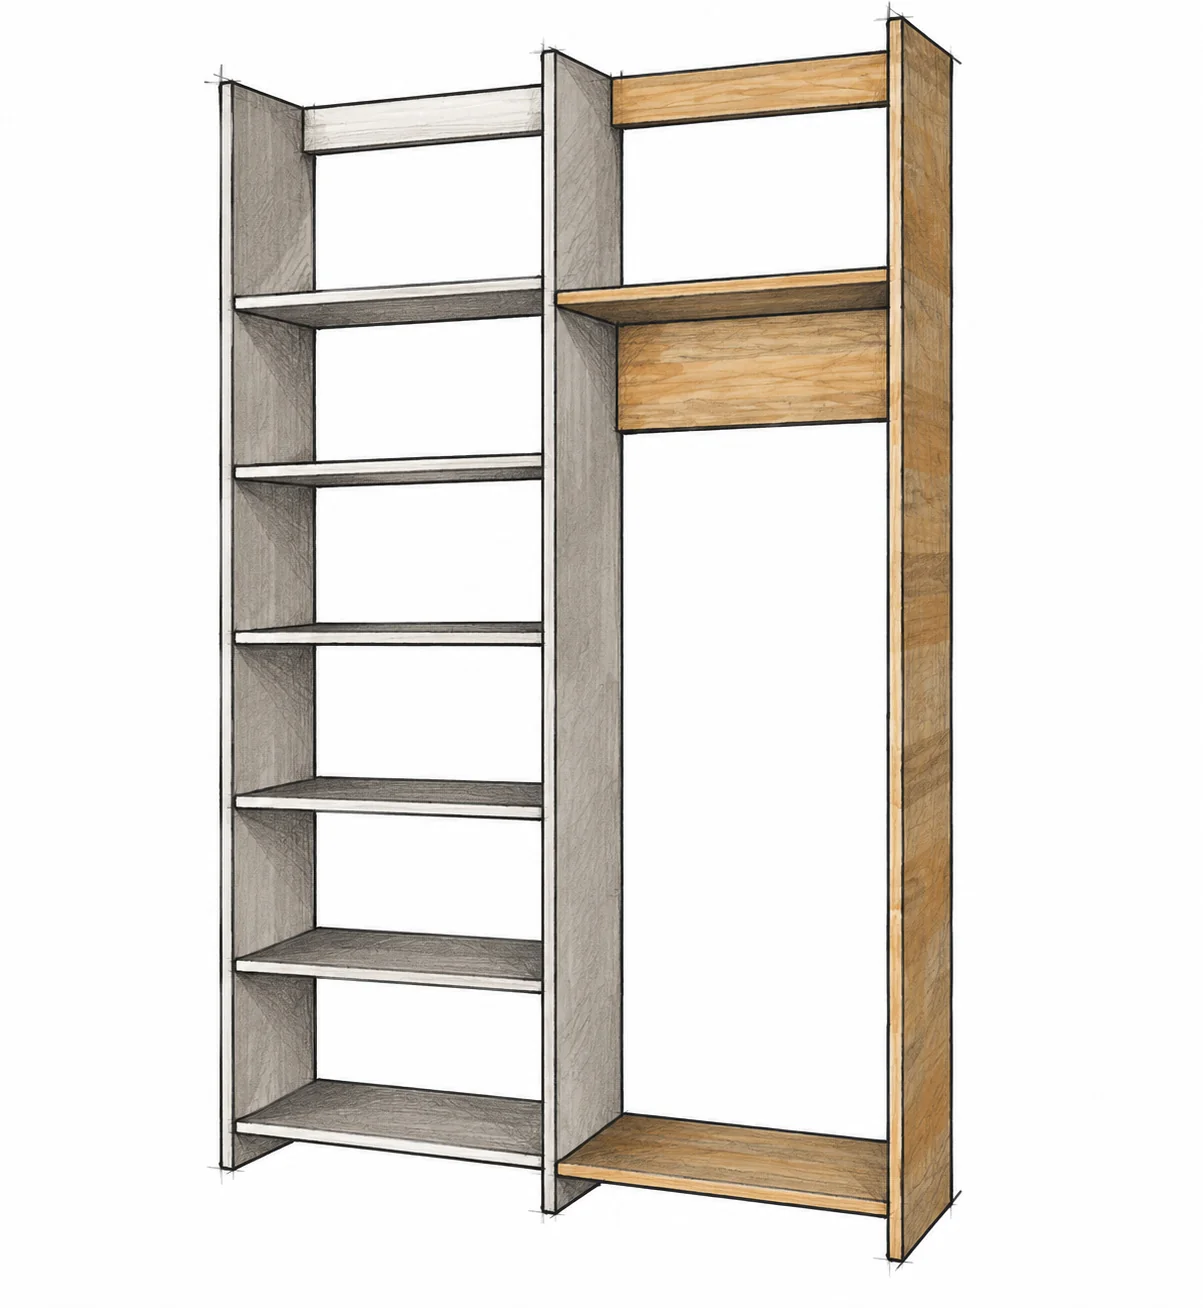
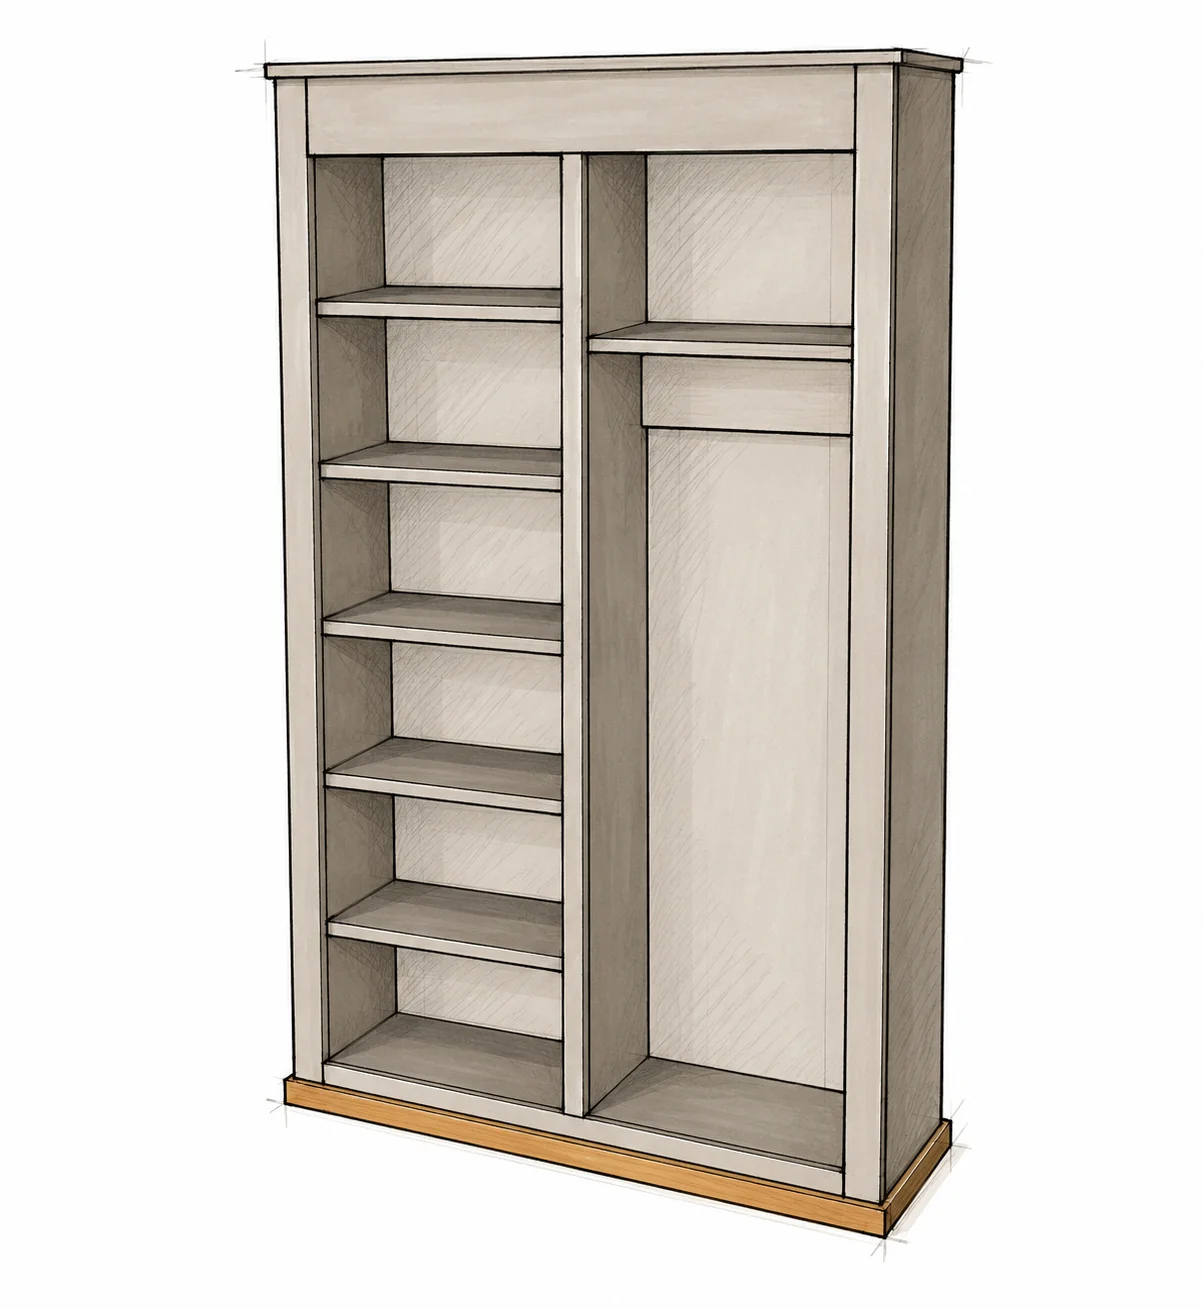
Build the shelving bay

A × 2 / B × 6 / C × 1

Build the shelving bay · Entryway Barn Door Cabinet

Mark both uprights

Use one side A and the divider A. From their bottoms, mark shelf undersides at 2 3/4, 15 1/2, 28 1/4, 41, 53 3/4 and 66 1/2 in. Keep matching marks square across both pieces.

Drill and join

Drill three pocket holes at each end of all B shelves and C supports, with the jig set for 3/4 in stock. Clamp six B between the uprights and fasten with 1 1/4 in pocket screws.

Add the top support

Fit C upright across the rear, flush with the upright tops. Screw it in place. Maintain the fixed center shelf and secured bottom shelf and top support.

BEFORE YOU CONTINUE

Shelf underside heights in mm: 69.9, 393.7, 717.6, 1041.4, 1365.3 and 1689.1. Standard stock leaves 12 in (304.8 mm) clear between shelves.

STEP 02 / ASSEMBLY

Add the hook compartment

A × 1 / B × 2 / C × 1 / D × 1

Add the hook compartment · Entryway Barn Door Cabinet

Add the third upright

Join the remaining A to the divider with two B shelves. Align the bottom shelf with the shelving bay bottom and the upper shelf with its highest shelf.

Secure the rear support

Install the second C upright at the top rear, flush with the upright tops. Use the same 3/4 in pocket-hole setup and 1 1/4 in screws.

Fit the hook rail

Place D against the rear plane just below the upper shelf. Pocket-screw it to the uprights and to the underside of that shelf. Keep the front of the hook bay open.

BEFORE YOU CONTINUE

Both internal bays are 23 in (584.2 mm) wide. Keep the front and rear edges aligned, and compare diagonals before moving the frame.

STEP 03 / ASSEMBLY

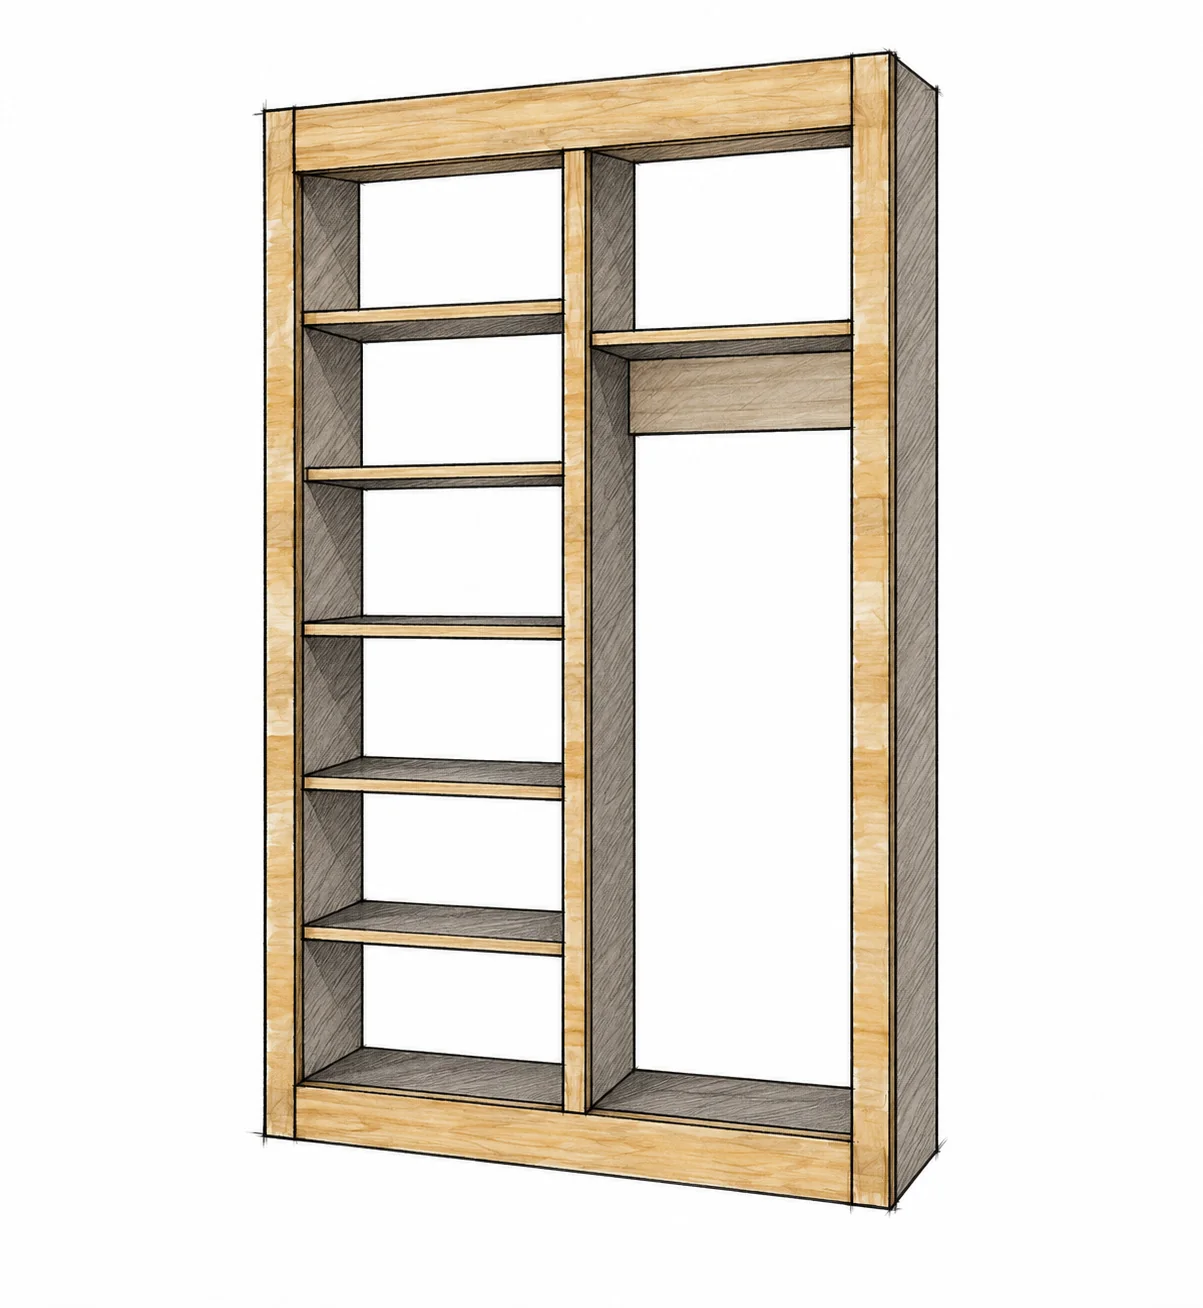
Make and attach the face frame

H × 2 / I × 1 / J × 1 / K × 1

Make and attach the face frame · Entryway Barn Door Cabinet

Build the frame flat

Place I at the top and J at the bottom between the two H stiles. K joins them at the center. Use 3/4 in pocket holes and 1 1/4 in pocket screws.

Check the fit

Lay the frame on the cabinet front. Keep the outside edges flush and K centered over the divider. Check both diagonal measurements and clamp the parts without twisting them.

Glue and nail

Spread glue on the mating edges, then attach with 1 1/4 in (31.8 mm) brad nails. Aim into solid wood and keep hands away from the nail path.

BEFORE YOU CONTINUE

The outer frame is 48 1/4 × 84 in (1225.6 × 2133.6 mm) with standard stock. Do not force a racked cabinet to fit a square face frame.

STEP 04 / ASSEMBLY

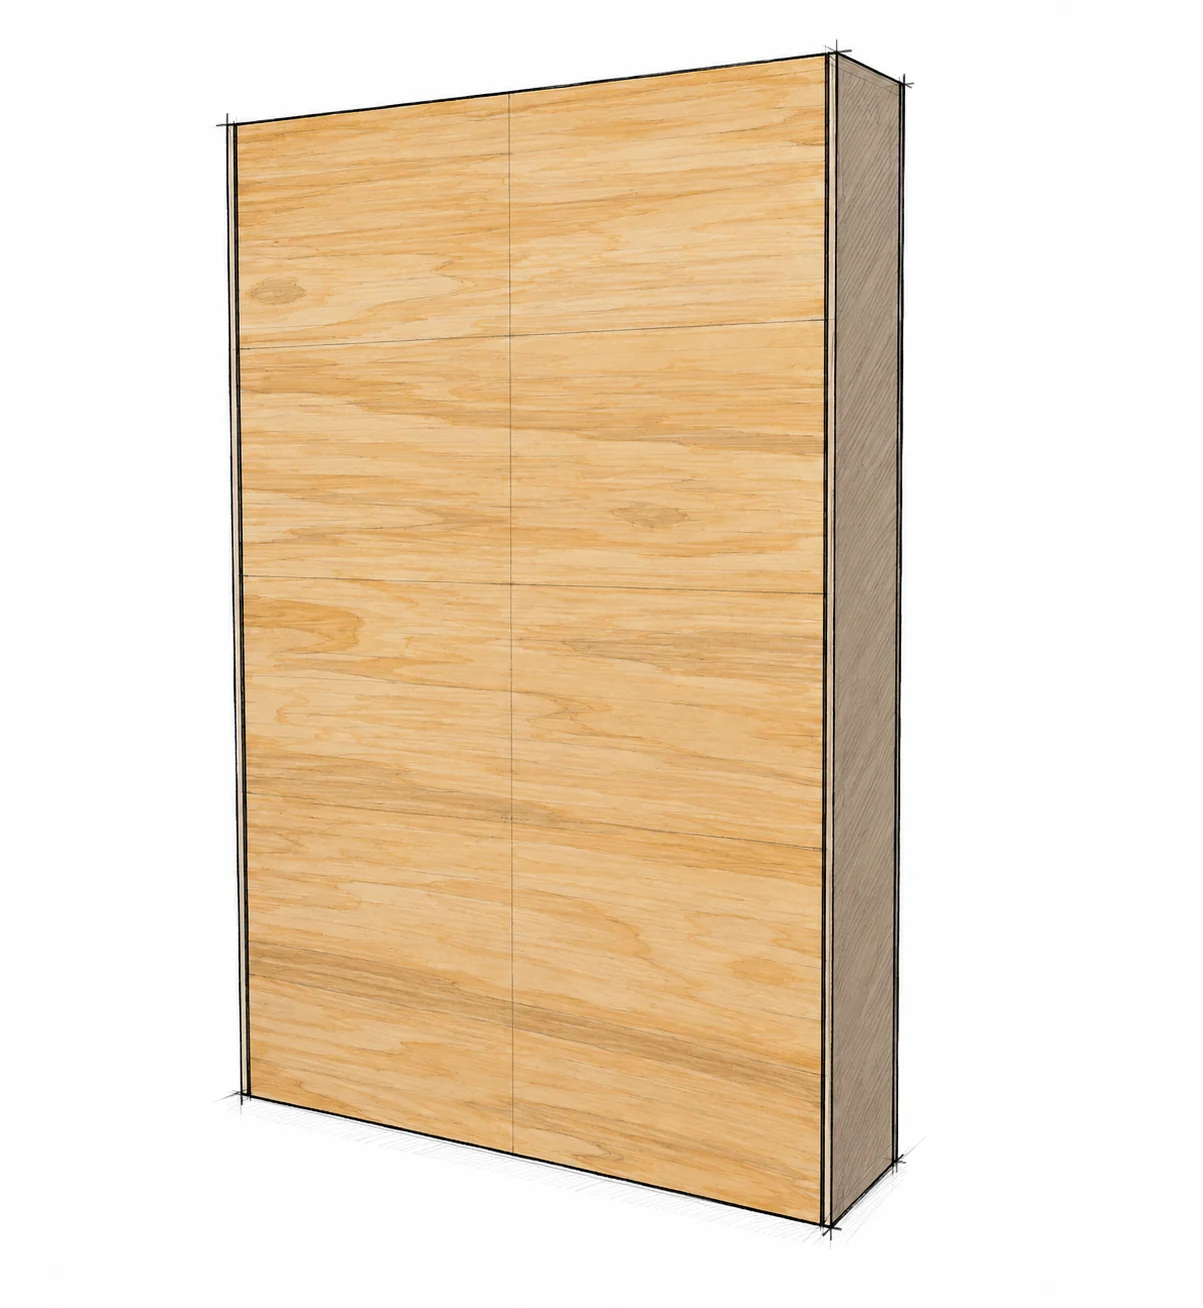
Square the cabinet and add the back

E × 1 / 3/4 in brads and glue

Square the cabinet and add the back · Entryway Barn Door Cabinet

Mark the fastening lines

Before covering the back, transfer shelf and divider locations onto the cabinet edges. Use a straightedge to continue those lines onto the plywood once it is positioned.

Center the back

Use help to support the cabinet securely. Check its diagonals, then center the 48 in wide panel on the 48 1/4 in wide carcass. This leaves 1/8 in inset at each side.

Glue and nail

Fasten with glue and 3/4 in (19.1 mm) brads into sides, divider, shelves and top supports. Follow your marked lines, not guessed positions.

BEFORE YOU CONTINUE

The 1/8 in (3.2 mm) side insets are intentional for this panel size. This thin back is not an anti-tip anchoring point; use suitable structural cabinet members.

STEP 05 / ASSEMBLY

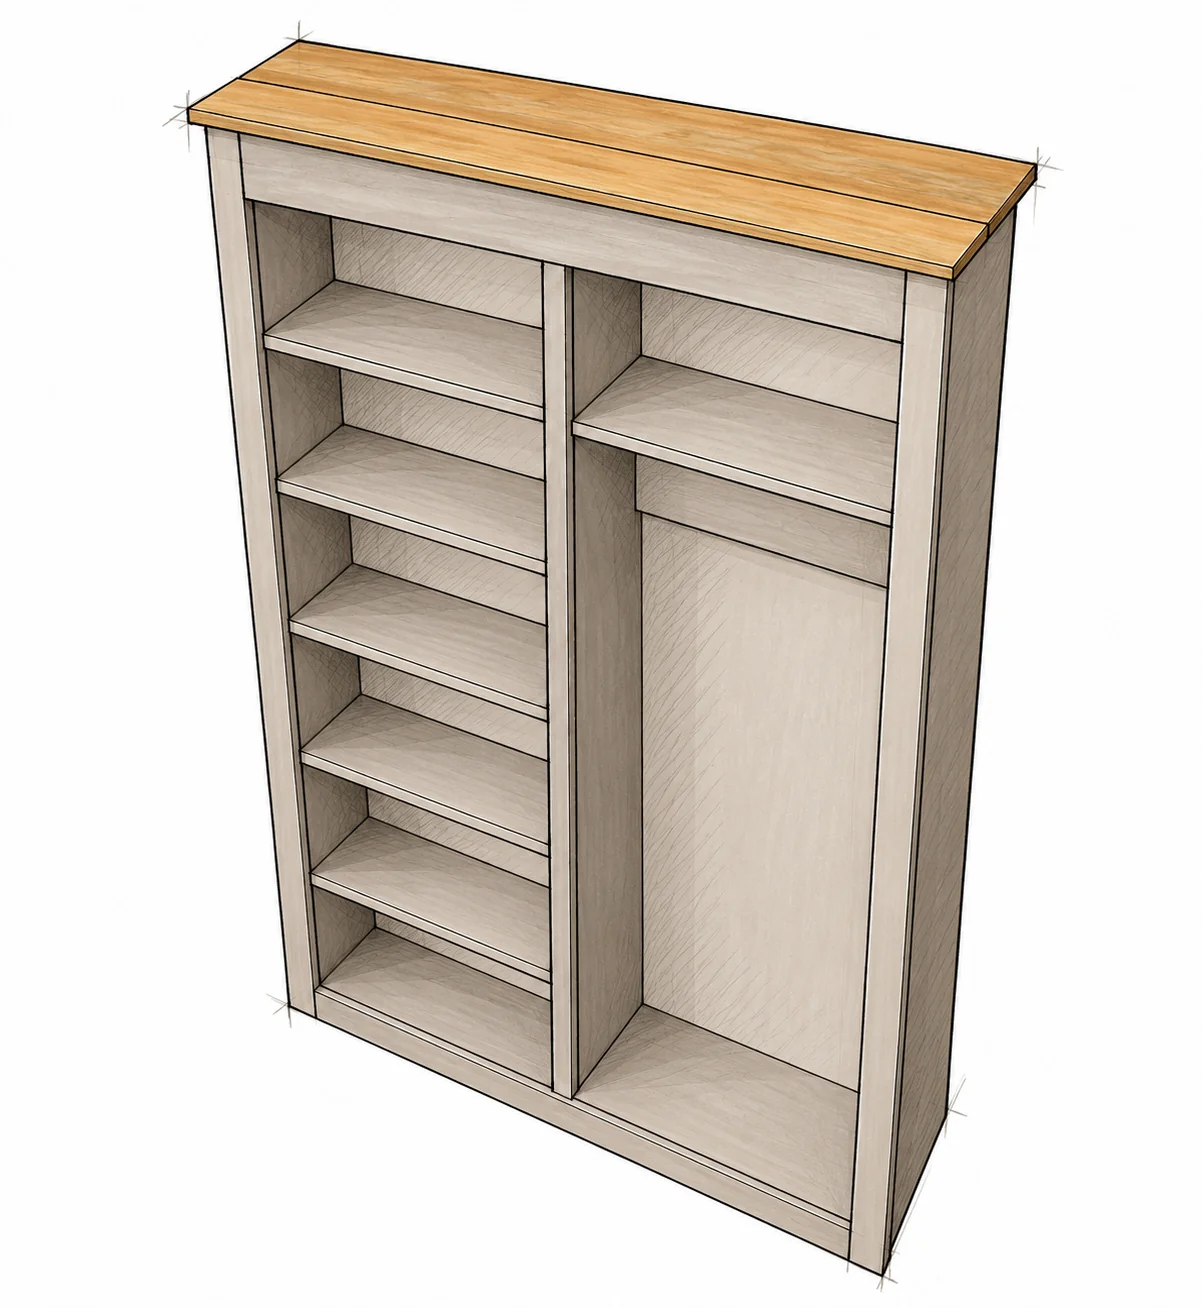
Join and install the top

F × 1 / G × 1

Join and install the top · Entryway Barn Door Cabinet

Join the two boards

Place the 1×8 F behind the 1×6 G, with their ends aligned. Join the long edge with glue and 1 1/4 in (31.8 mm) pocket screws. Keep the top faces flat and flush.

Position the top

Dry-fit over the cabinet. Center it left to right; typical stock gives 3/4 in (19.1 mm) overhang at each side. Check front placement against the selected sliding kit.

Attach securely

Glue and fasten with 1 1/4 in brads. Add suitable screws to reinforce the top attachment; choose length and path from the actual parts so no point can break through.

BEFORE YOU CONTINUE

Do not guess the reinforcing screw specification: thickness, penetration and clearance must be checked. Confirm the top is flat and does not obstruct the track or hangers.

STEP 06 / ASSEMBLY

Fit the base wrap

1×2 front trim and two side returns

Fit the base wrap · Entryway Barn Door Cabinet

Fit from the cabinet

Use the approximate 49 3/4 in front and 12 in side lengths only as starting guides. Mark the actual corners and return lengths with the top, face and back already installed.

Keep the trim level

Dry-fit all three pieces around the bottom perimeter. Align their lower edges and corner joints. Do not use trim to conceal an out-of-square or rocking cabinet.

Glue and fasten

Apply glue and attach with 1 1/4 in (31.8 mm) brad nails into solid cabinet material. Check the direction of every nail to avoid a point emerging inside.

BEFORE YOU CONTINUE

Recheck the chosen door guide position before fastening trim. The base wrap must not obstruct the guide or the door’s bottom clearance.

STEP 07 / ASSEMBLY

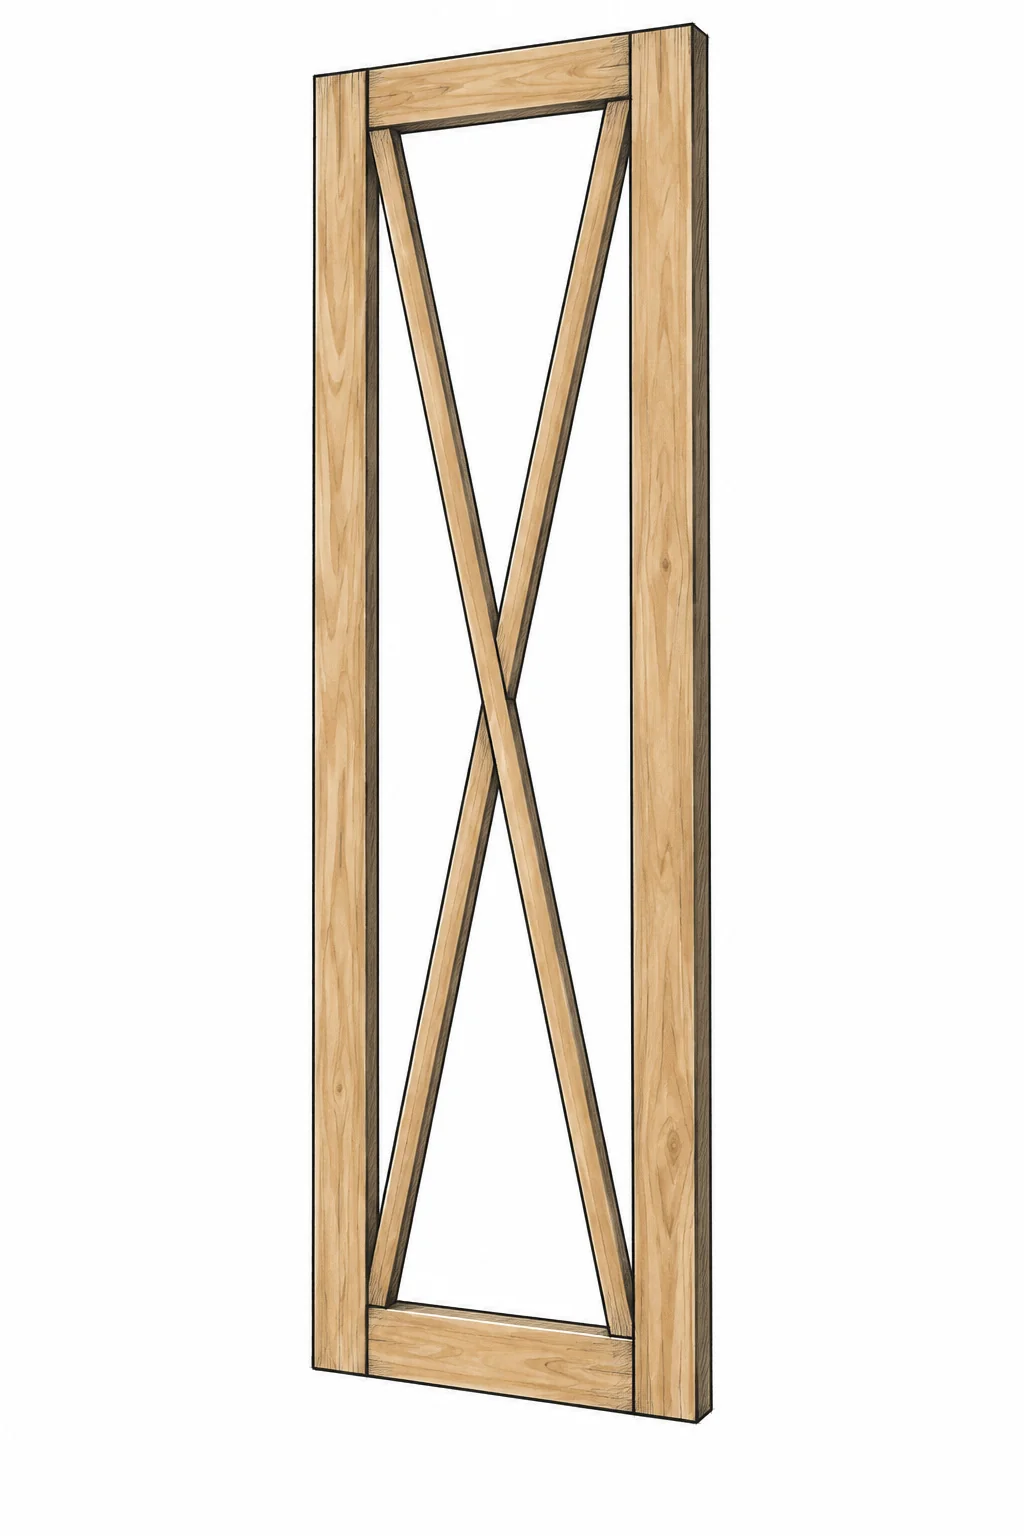
Build and fit the X door

L × 2 / M × 2 / 1×2 fitted X

Build and fit the X door · Entryway Barn Door Cabinet

Confirm before final cuts

Dry-fit the 76 1/2 in stiles and provisional 17 1/4 in rails. Confirm the kit’s overlap and travel requirements. Then join with 3/4 in pockets and 1 1/4 in screws.

Scribe the first diagonal

Lay a 1×2 beneath the frame and trace where it meets the inside corners. Cut on the marked waste side, then test-fit. Do not use an assumed angle or length.

Fit the crossing pieces

Fit the other diagonal to the opening and crossing. Keep X faces in one plane, not stacked. Scribe the two short sections against the continuous diagonal, then pocket-screw the fitted joints.

BEFORE YOU CONTINUE

The frame must stay square and flat. Recheck the actual outside size and finished thickness against the kit before adding the plywood backing.

STEP 08 / ASSEMBLY

Back the door and fit the track

1/4 in door backing / Selected 48 in kit

Back the door and fit the track · Entryway Barn Door Cabinet

Cut the backing to fit

Trace the finished door frame onto plywood, cut and dry-fit. Attach with glue and 3/4 in (19.1 mm) brads into the frame and X members. Keep edges flush and nail tips buried.

Finish before final fitting

Sand and finish the cabinet and door, keeping hardware contact areas as required by the kit. Let the finish cure. Place, level and anchor the cabinet as described on the next page.

Install the complete kit

With help, fit track and hangers using the kit’s exact instructions. Install its stops, anti-jump devices and bottom guide. Fit the handle and hooks with suitable screws.

BEFORE YOU CONTINUE

Do not operate or load the unanchored cabinet. Check full travel slowly: the door must stay guided, clear the top and base, and stop without leaving the track.

REQUIRED BEFORE USE

Anchor and verify the hardware

The cabinet is tall and shallow. Secure it against tipping before hanging the door, operating it or placing anything on the shelves.

Choose the correct restraint

Use an anti-tip system suitable for this cabinet and wall. Follow its instructions for attachment number, location and type. Identify the wall structure before choosing fasteners.

Fix into sound structural material

Attach to a solid cabinet member, not the thin plywood alone. Identify suitable wall structure and avoid hidden wiring or pipes. If the attachment is uncertain, use a qualified installer.

Level and secure

With help, place the cabinet level and plumb. Account for baseboards without twisting the frame. Install and tighten the restraint as directed; verify that its attachments cannot shift.

Check door fit before drilling

Calculated from typical stock, each face opening is 20 7/8 in (530.2 mm). A 24 1/4 in door leaves 3 3/8 in (85.7 mm) total potential overlap. Verify each edge and full travel against the kit requirements.

No universal mounting template

Track height, holes, spacers, screws, guide and clearances depend on the kit. Check door weight against its rating. Never copy hardware positions from sketches.

FINISH AND INSPECT

Make it ready for everyday use

Allow the full finish cure time before fitting items or closing the door against freshly coated surfaces.

Prepare the surfaces

Inspect for splits, open joints, proud nails and exposed screw tips. Fill visible holes if suitable for your finish, soften sharp edges and sand with the grain. Remove dust thoroughly; test the finish on an offcut first.

Apply an interior finish

For paint, use a compatible primer and durable interior coating. For stained wood, wipe stain as directed and protect with a compatible clear finish. Follow the maker’s ventilation, drying and curing instructions; handle oily rags safely.

Test the moving parts

With the cabinet anchored, move the door slowly through its whole travel. Recheck stops, anti-jump devices, bottom guide and handle. Keep fingers clear of pinch points and confirm hooks or stored items cannot strike the door.

Load cautiously

No tested shelf, hook or cabinet load rating is provided. Store heavier items low and distribute contents evenly. Do not use shelves as steps, sit on the cabinet or allow children to climb or pull on the door.

Inspect periodically

Check wall restraints, joints, hook screws and sliding hardware for looseness or wear. Stop using the cabinet if anything shifts or binds; repair it before reuse. Follow the kit maker’s maintenance instructions.

MAKE IT YOURS

Measure your own stock and dry-fit before fastening. If you make this project, I would love to see what you built.

Share your build